> For the complete documentation index, see [llms.txt](/llms.txt).
Creating a user-friendly web interface for smart contracts on the Rootstock network enhances user interaction. Here, we'll focus on using [Wagmi](https://wagmi.sh/) and [RainbowKit](https://www.rainbowkit.com/), some popular libraries for connecting your smart contracts to a web front-end.
## Project Setup
1. Create a new web project. In this case, we'll be using [Next.js](https://nextjs.org/) as our web framework.
```shell
npx create-next-app@latest
```
2. Go to the root of your Next.js project and, using your preferred package manager, install these dependencies:
```shell
yarn add @rainbow-me/rainbowkit wagmi viem@2.x @tanstack/react-query
```
3. Create an `.env` file at the root of your project and add the following content. You can get your Wallet Connet ID from [WalletConnect Dashboard](https://cloud.reown.com/sign-in).
```shell
touch .env.local
echo "NEXT_PUBLIC_WC_PROJECT_ID=
);
}
```
5. And now import and use the `Providers` component to wrap your application in the `layout.tsx` file inside the `app` directory:
```tsx
import type { Metadata } from "next";
import "./globals.css";
import localFont from "next/font/local";
import Providers from "./providers";
import "@rainbow-me/rainbowkit/styles.css";
export const metadata: Metadata = {
title: "Rootstock Wagmi Starter",
description:
"Interact with contracts on Rootstock Network with Wagmi and RainbowKit",
};
const geistSans = localFont({
src: "./fonts/GeistVF.woff",
variable: "--font-geist-sans",
weight: "100 900",
});
const geistMono = localFont({
src: "./fonts/GeistMonoVF.woff",
variable: "--font-geist-mono",
weight: "100 900",
});
export default function RootLayout({
children,
}: Readonly<{
children: React.ReactNode;
}>) {
return (
);
}
```
6. Finally, start the web server.
```
yarn dev
```
If everything went well, you should be able to access your web app by navigating to `http://localhost:3000` in your browser.
### Congrats!
You're all set up. Let's get to the smart contract interaction.
## Call Smart Contract using Connect Button and Wagmi hooks
We're going to be editing the `page.tsx` file inside the `app` directory. Follow these steps to interact with the smart contract:
1. Delete the default content and add the `` component to check if it's working fine.
```tsx
import { ConnectButton } from "@rainbow-me/rainbowkit";
export default function Home() {
return (
);
}
```
And you should see something like this in the browser:
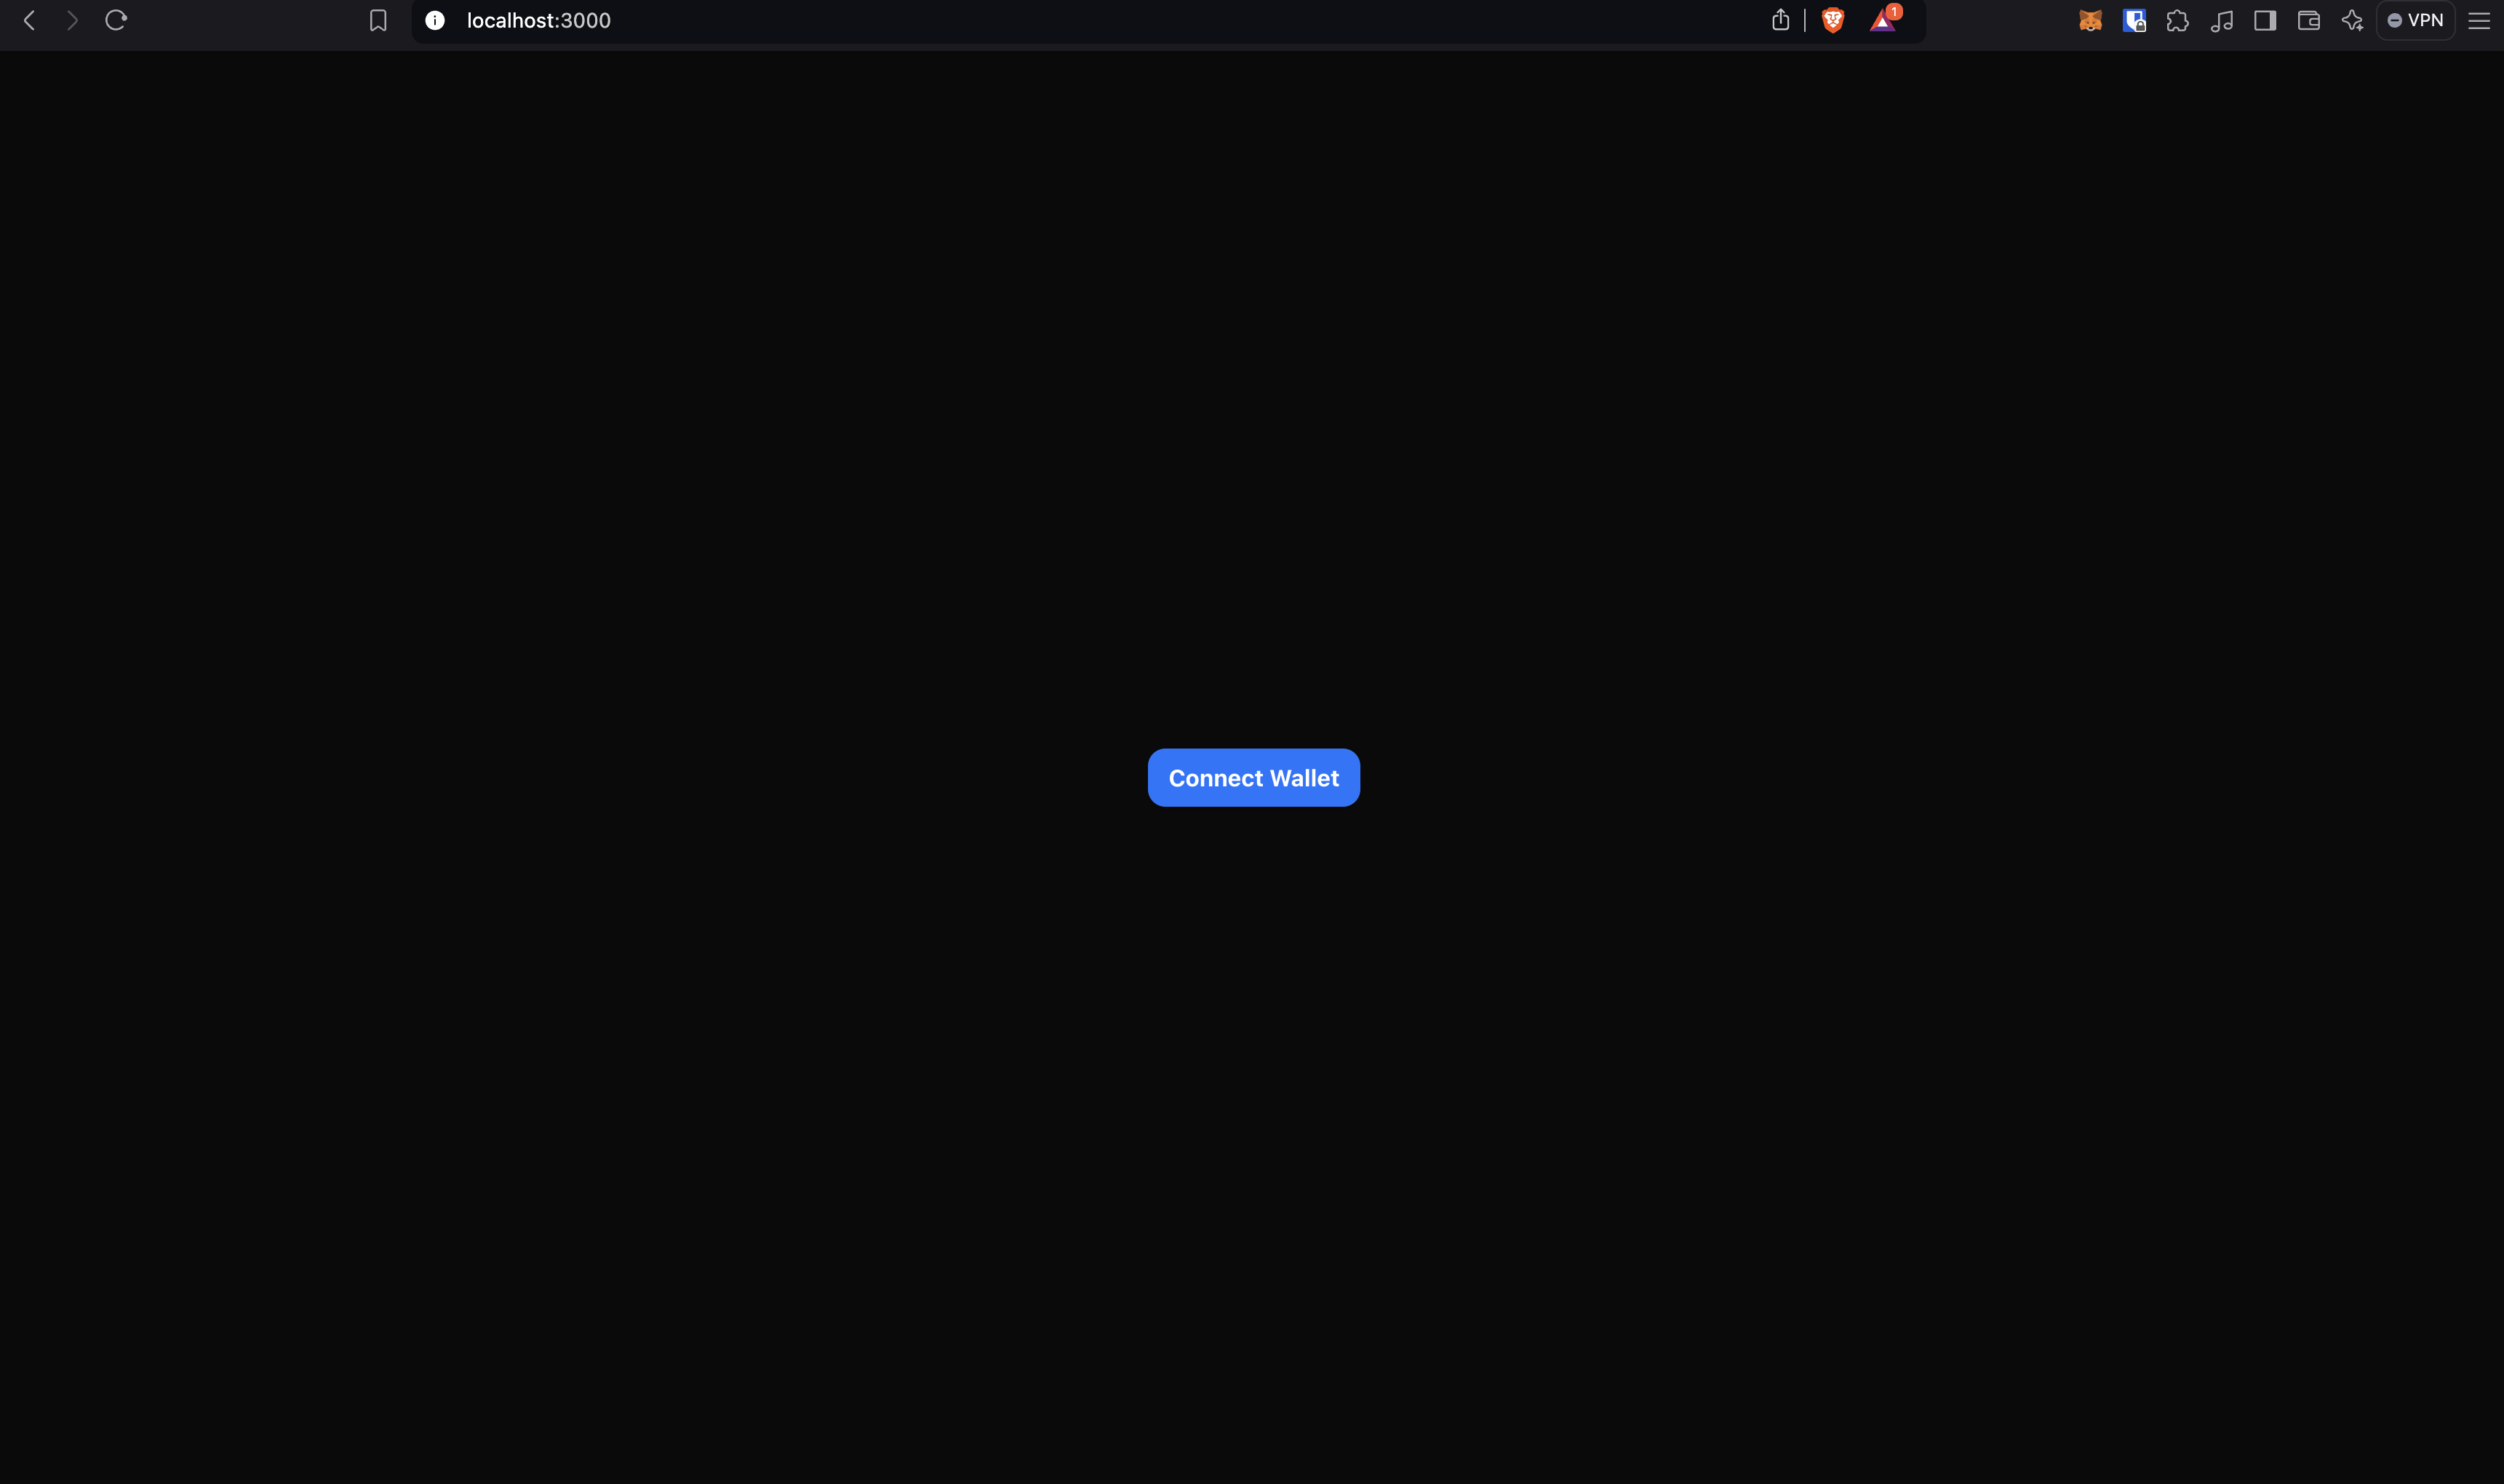
Please try connecting your wallet.
2. Now we're going to use our first hook from Wagmi to check if a user wallet is connected and, if so, get the connected address. The hook is `useAccount` and is used like this:
```tsx
const {
address, // Connected address
isConnected, // true if a wallet is connected
} = useAccount();
```
> **Note:** As we're using react hooks in a Next.js project, don't forget to add the `'use client'` directive at the top of your `page.tsx` file.
Now that we know if a wallet is connected, we can add some conditional rendering content and show the connected address.
```tsx
{
isConnected &&
Connected address: {address}
;
}
```
So the full code on the `page.tsx` file should be something like this:
```tsx
"use client";
import { ConnectButton } from "@rainbow-me/rainbowkit";
import { useAccount } from "wagmi";
export default function Home() {
const { isConnected, address } = useAccount();
return (
{isConnected &&
Connected address: {address}
}
);
}
```
And the browser should look something like this:

3. We're now going to make our first read from the blockchain. The hook we're using for that is `useReadContract` and is used like this:
```tsx
const {
data: balance, // Retrieved data from the function
isLoading, // Check if the data is still being fetched
error, // Check if an error occurred
} = useReadContract({
address: "
{isConnected && (
<>
Connected address: {address}
Balance:{" "}
{
isLoading // Check if the data is still being fetched
? "Loading..."
: error // Check if there was an error
? "Error retrieving balance"
: balance?.toString() // If the data is ready, display the balance
}
)}
);
}
```
And the browser should look something like this:
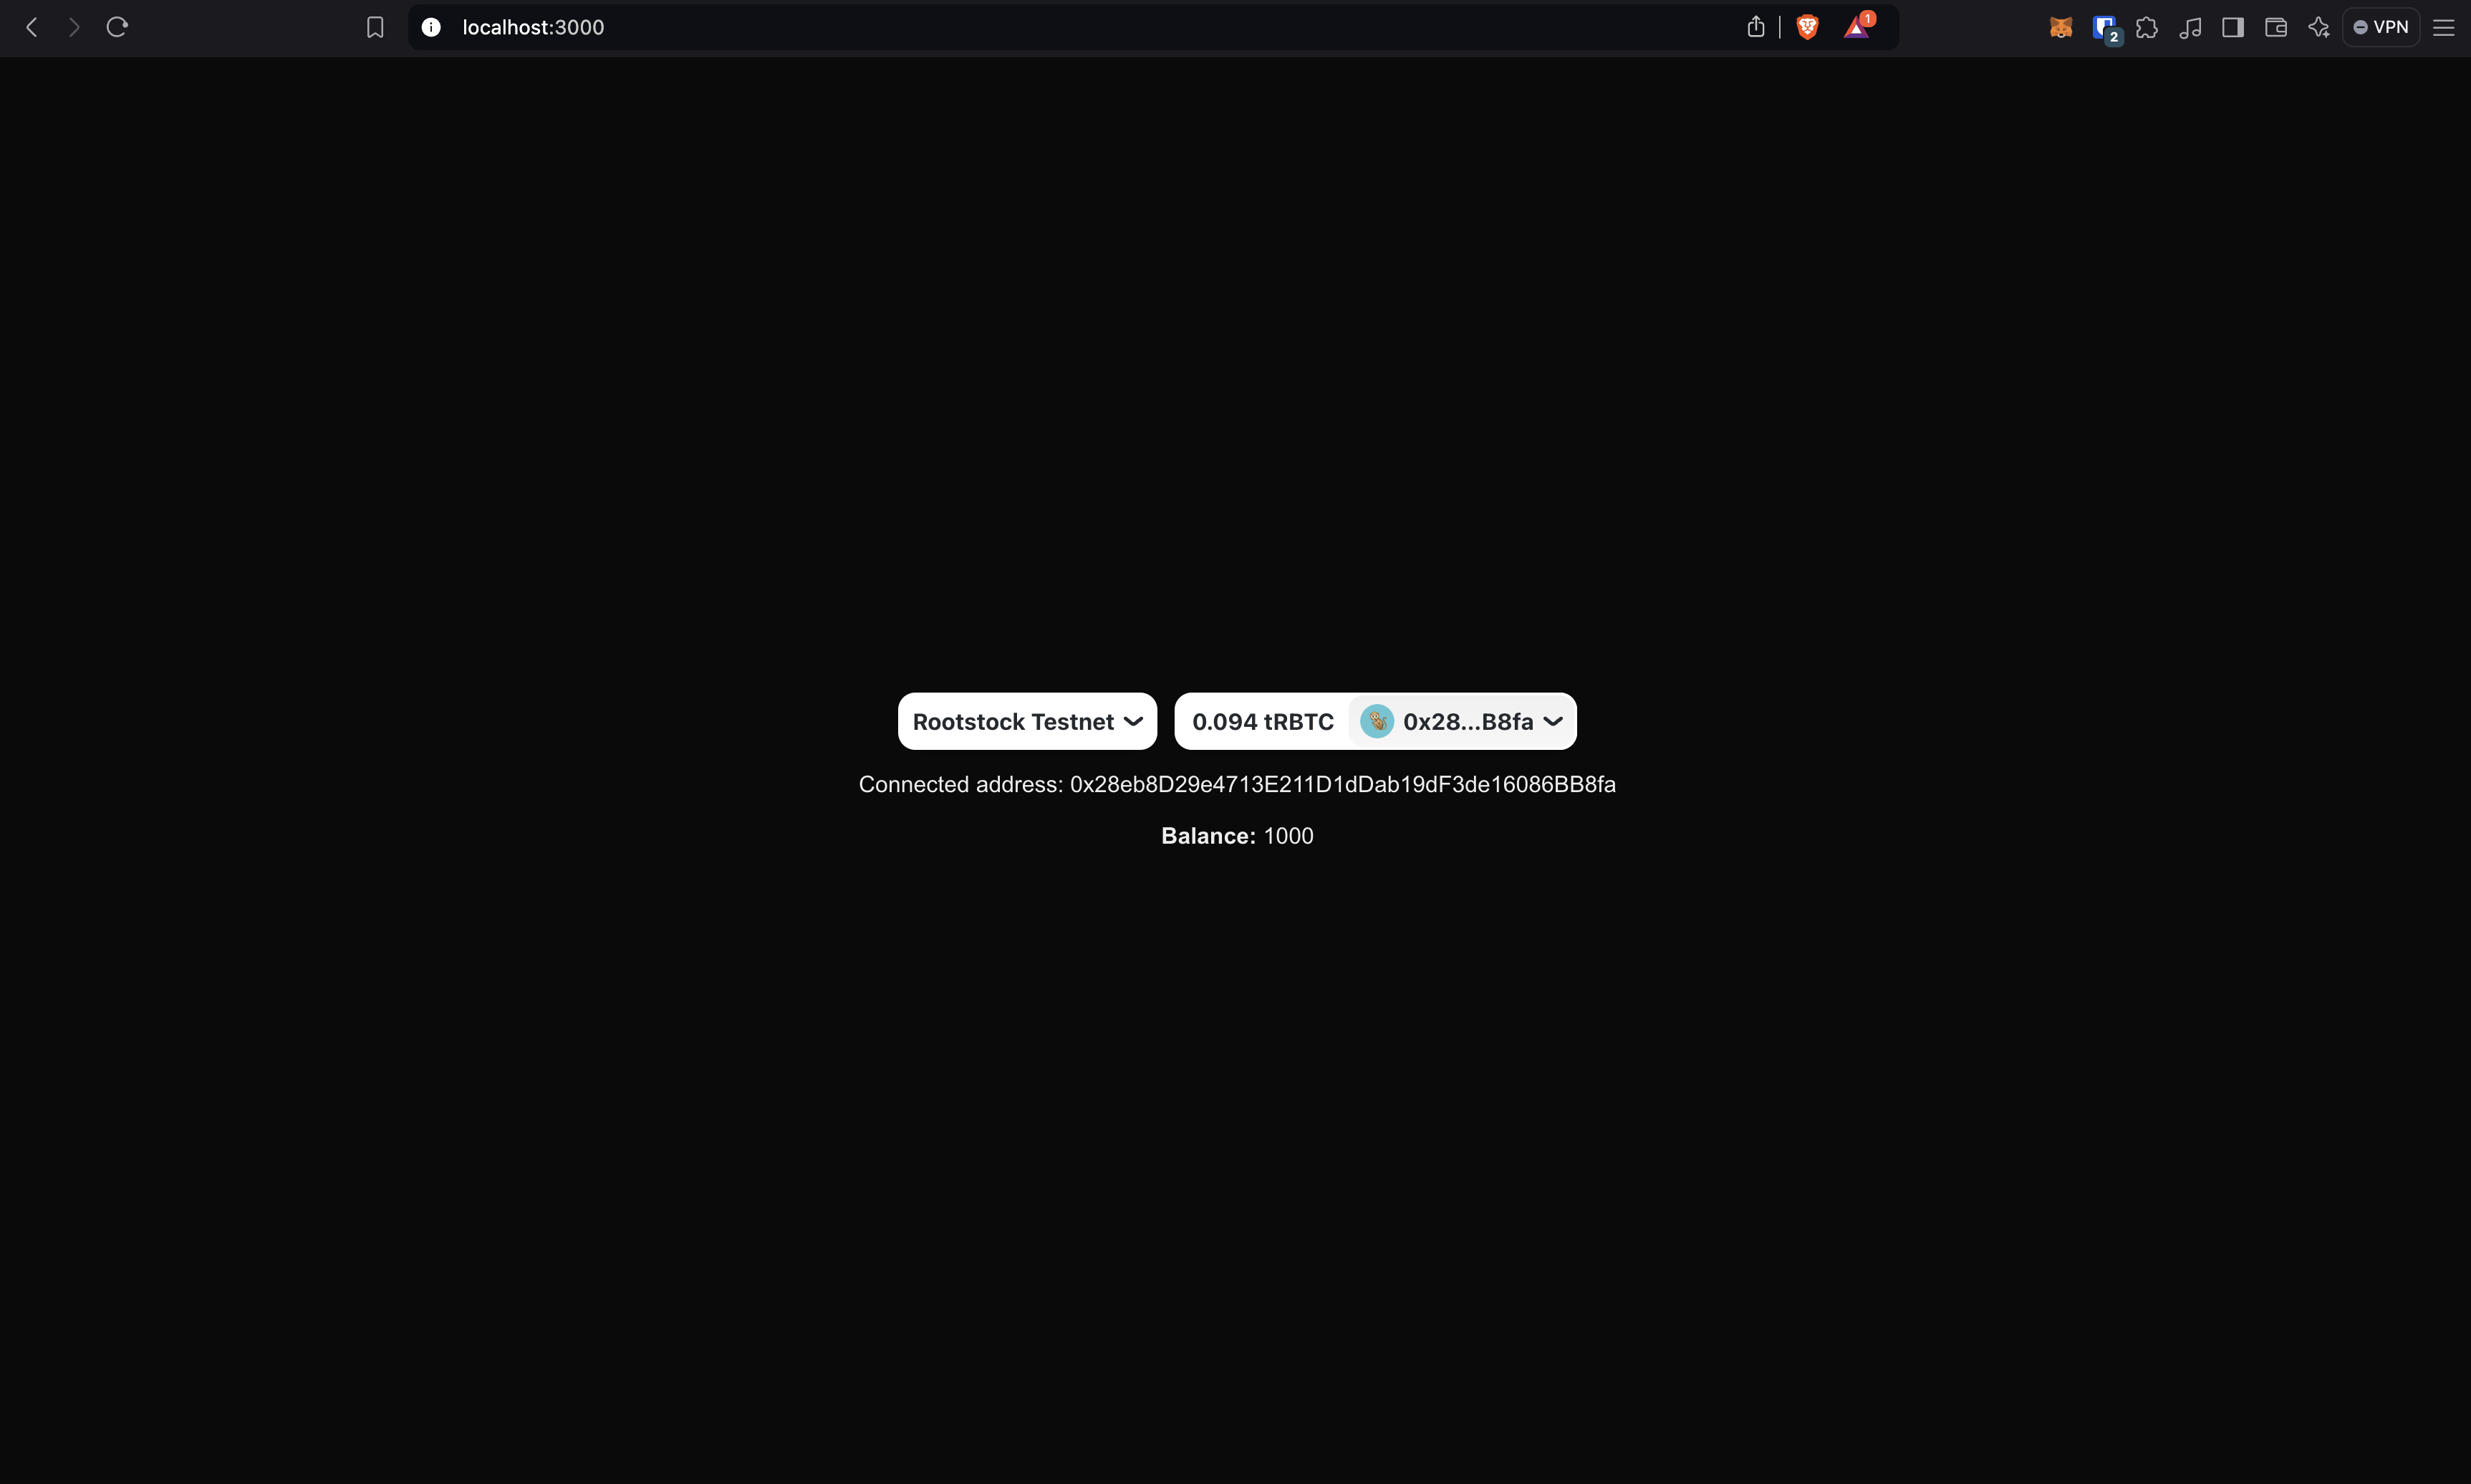
### Well done!
You made your first read from the Rootstock blockchain in a web application. Now let's move on to the writing.
4. The hook we're using for calling a write function is `useWriteContract`. When calling write functions, I recommend mixing the hook with another wagmi tool called `waitForTransactionReceipt`. Later in the article we'll see why it is important and how to use it. For now, this is how you use `useWriteContract` hook.
```tsx
const {
writeContractAsync, // The callable asynchronous function
} = useWriteContract();
```
And the `writeContractAsync` function is called very similar to the `useReadContract` hook:
```tsx
const hash = await writeContractAsync({
address: CONTRACT_ADDRESS, // Your deployed contract address
abi, // Contract abi
functionName: "mint", // The name of the function you want to call
args: [address, amount], // Function arguments if they are required
});
```
The `writeContractAsync` function returns a hash that enables the `waitForTransactionReceipt` power. The `waitForTransactionReceipt` function allows you to wait until the transaction is confirmed the number of times you specify. You can call it like this:
```tsx
await waitForTransactionReceipt(
config, // the wagmi config
{
hash, // the transaction hash
confirmations: 1, // the number of confirmations to wait for
}
);
```
> **Note:** Sometimes getting the wagmi config can be a bit tricky. You can get it very easily using the `useConfig` hook. In the next section we'll see how to do it.
So, now that we have all things needed, we're creating a button that will allow us to transfer tokens. For now, we'll fix the token amount to 10 and the address, but you can modify this starter kit as you can, your imagination is the limit. Your code should look something like this:
```tsx
"use client";
import { abi } from "@/assets/MyTokenAbi";
import { ConnectButton } from "@rainbow-me/rainbowkit";
import { useState } from "react";
import {
useAccount,
useConfig,
useReadContract,
useWriteContract,
} from "wagmi";
import { waitForTransactionReceipt } from "wagmi/actions";
const CONTRACT_ADDRESS = "0x543ba9fc0ade6f222bd8c7bf50a0cd9923faf569";
export default function Home() {
const [loading, setLoading] = useState(false); // Add loading state
const config = useConfig(); // Get the wagmi config
const { isConnected, address } = useAccount();
const {
data: balance,
isLoading,
error,
refetch,
} = useReadContract({
address: CONTRACT_ADDRESS,
abi,
functionName: "balanceOf",
args: [address],
});
const { writeContractAsync } = useWriteContract(); // get the callable write contract function
async function handleTransfer() {
try {
setLoading(true);
const hash = await writeContractAsync({
address: CONTRACT_ADDRESS,
abi,
functionName: "transfer",
args: ["0x4913AbCD40a9455a28134b4ccc37f4f95225e593", 10], // Replace with the address and amount you want to transfer
});
await waitForTransactionReceipt(config, {
hash,
confirmations: 1,
});
refetch(); // Refetch the balance after transfer
} catch (error) {
alert("Error transferring MTK. Look at the console.");
console.error(error);
} finally {
setLoading(false);
}
}
return (
{isConnected && (
<>
)}
);
}
```
> **Note:** Please make sure you have available tokens in your wallet before transferring. Otherwise, you'll get an error.
Note that we retrieved the `refetch` function from the `useReadContract` hook. This allows us to refetch the balance after the transfer. Also, there is shown how to use the `useConfig` hook to get the wagmi config.
By now, the page should look something like this:
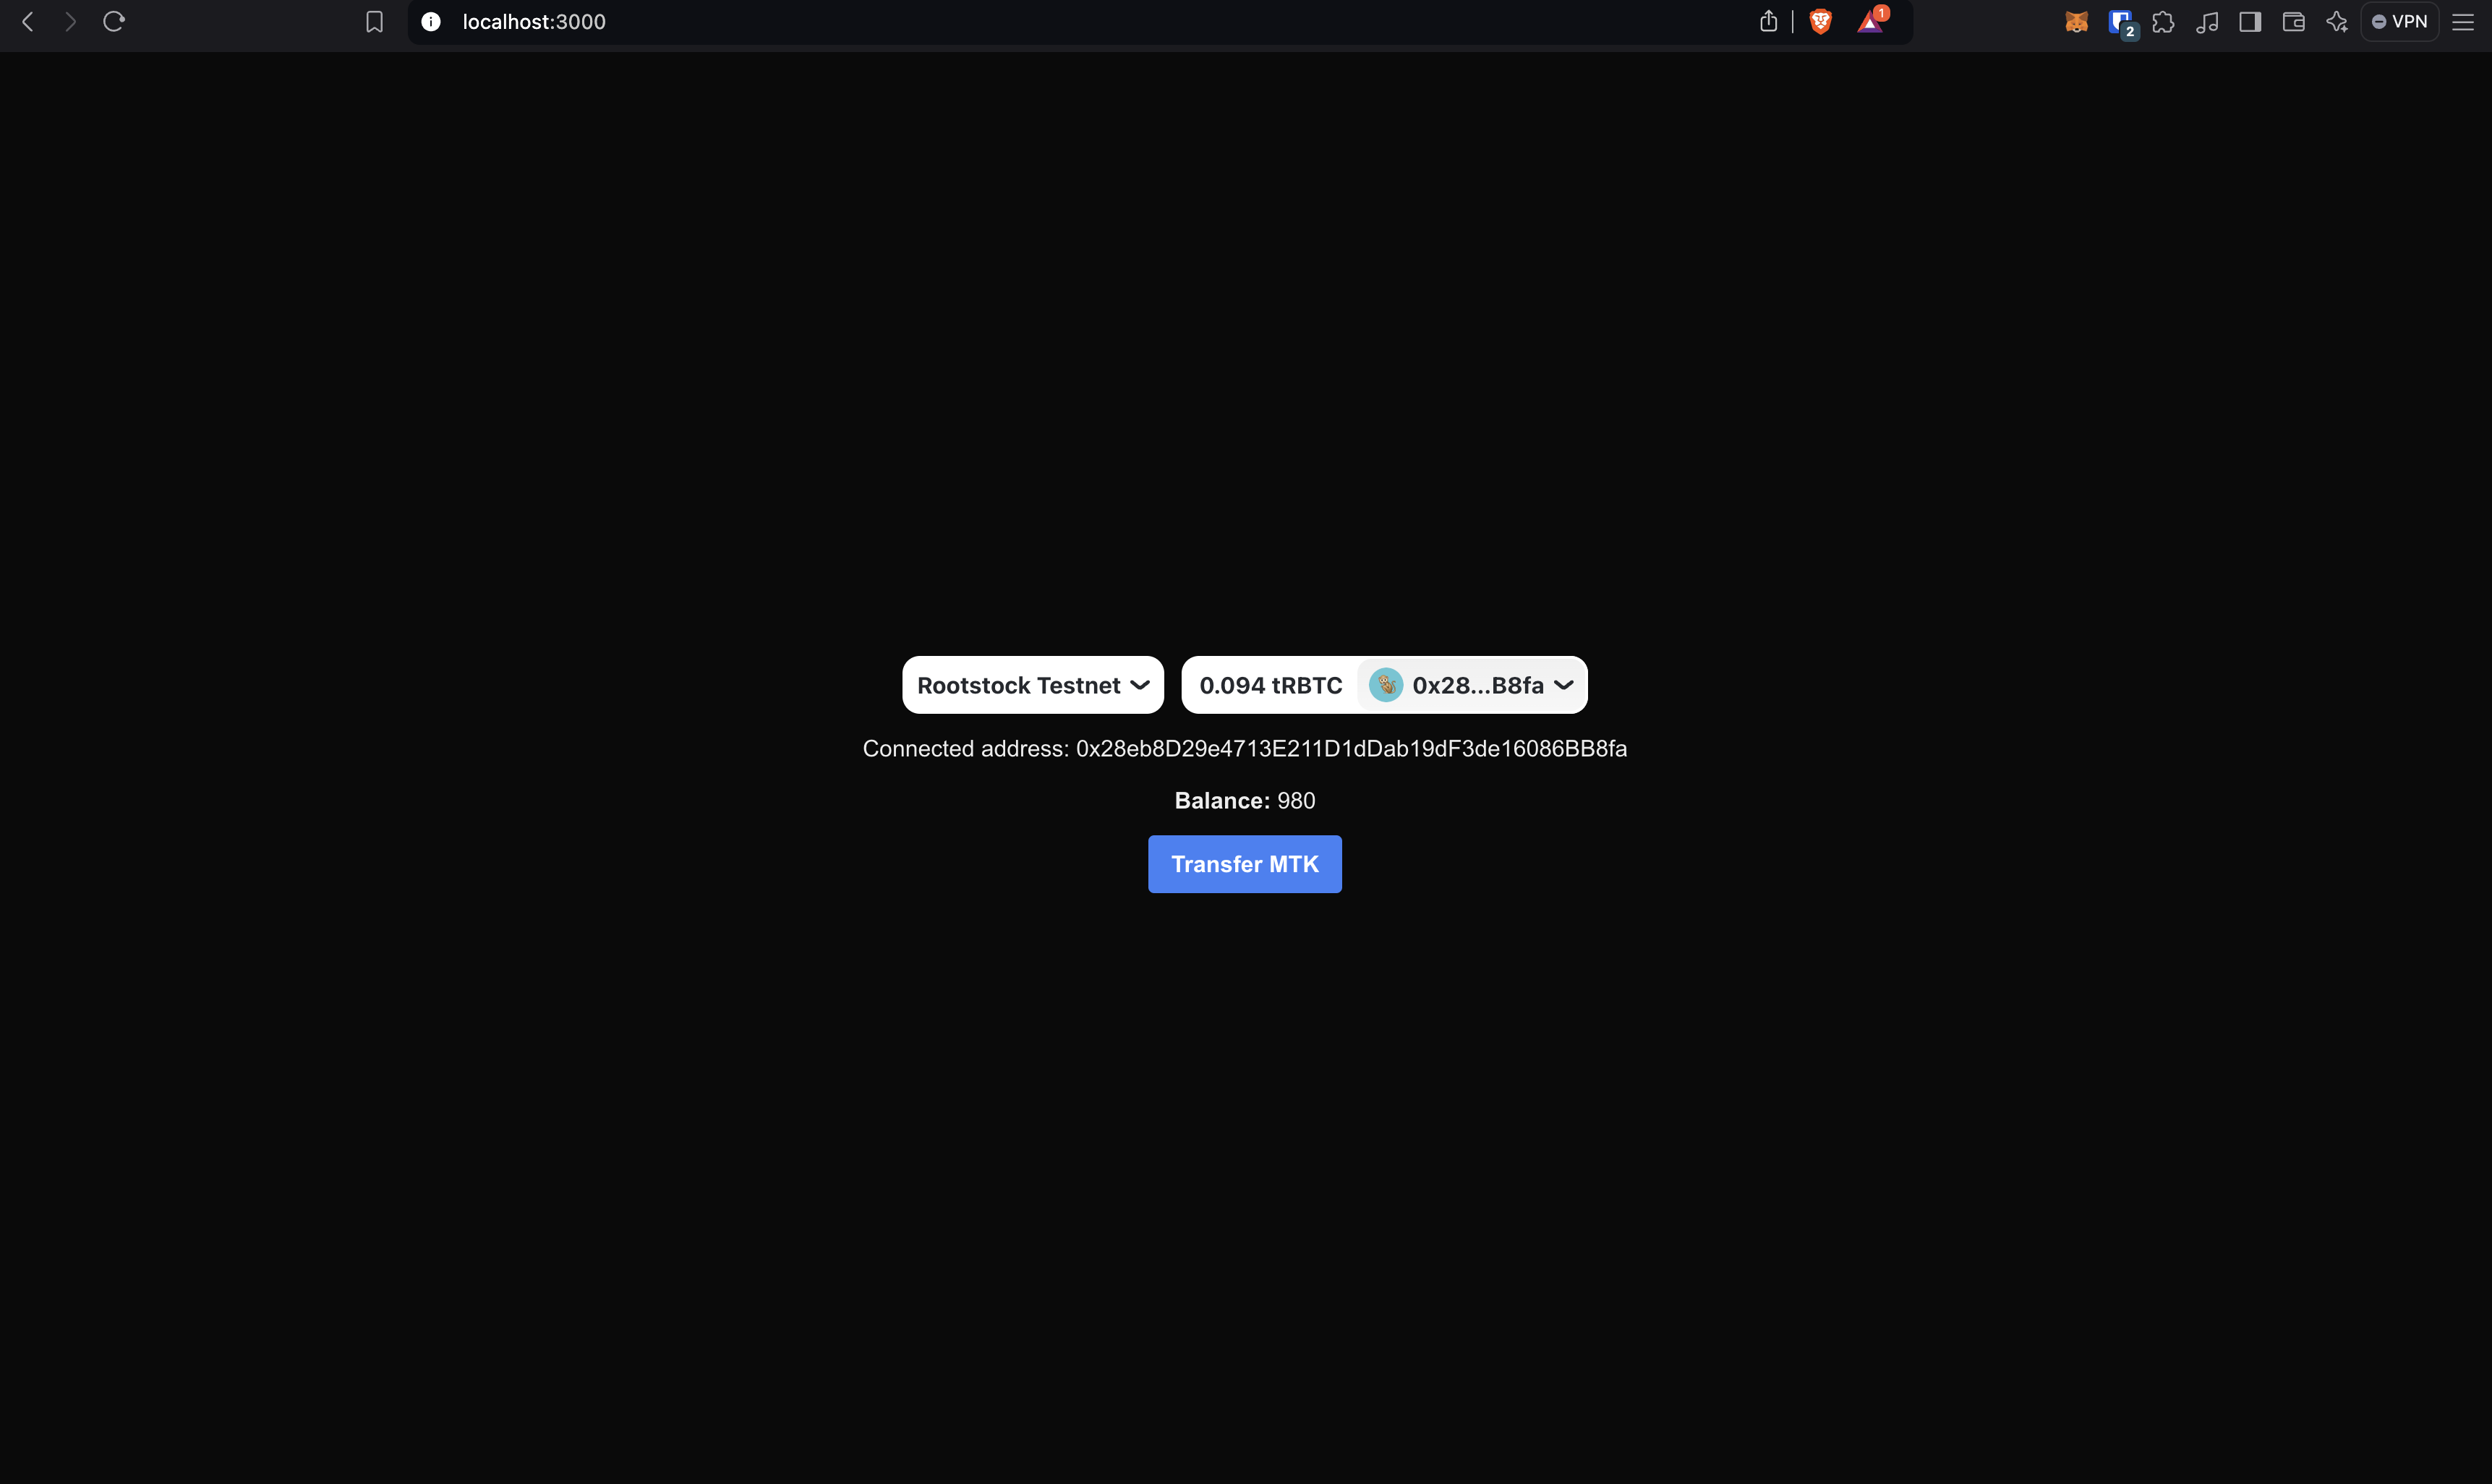
When transferring, the button should look something like this:
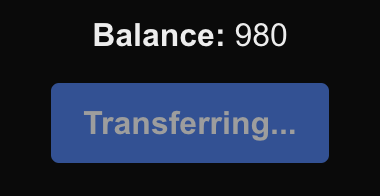
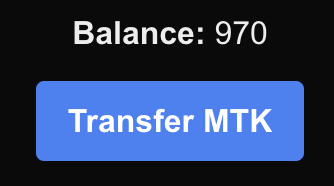
And when the transfer is complete, the balace should update immediately:
### Well done!
You just made created a dApp that allows you to send write/read transactions to the Rootstock blockchain!
## Resources
These tools are specifically designed to make Web3 development smoother, particularly for integrating blockchain functionalities into web applications. Below is a list of key libraries and tools that were used in the article, with brief explanations:
````mdx-code-block
````