> For the complete documentation index, see [llms.txt](/es/llms.txt).
### Performing a peg-in transaction with Ledger {#performing-a-peg-in-transaction-with-ledger}

## Performing a peg-out transaction using rLogin(Trezor and Ledger)
> - Note that we will be using the PowPeg App on [Testnet](https://powpeg.testnet.rootstock.io/) for learning purposes.
> - For transactions using **real tokens**, use the [Mainnet](https://powpeg.rootstock.io/) application.
> - We're using Ledger Nano and Trezor One hardware wallets on this tutorial.
> - To use Ledger hardware wallet to create a **peg-in** see [How to perform a peg-in transaction using Ledger](/resources/guides/powpeg-app/pegin/ledger/)
> - To use Trezor hardware wallet to create a **peg-in** see [How to perform a peg-in transaction using Trezor](/resources/guides/powpeg-app/pegin/trezor/)
### Get started with Ledger
To perform a peg-out transaction using the Ledger device directly, follow the steps below:
Step 1: Plug the Ledger device into the computer
Step 2: Enter your pin to unlock it
Step 3: On the device, navigate to the TRSK or RSK Test App on your Ledger device
Step 4: Access **peg-out** screen:
Step 5: Choose Ledger option:
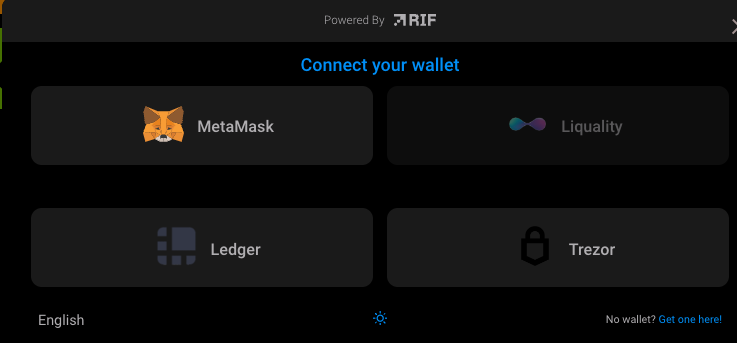
Step 6: Click on **Ledger** button

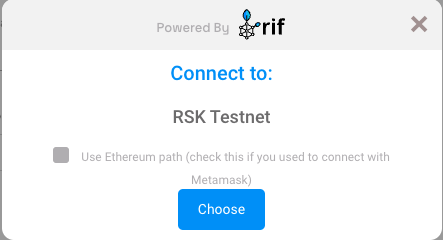
Step 8: The application will show what network you are connecting on. For this tutorial we are using **Testnet**
Step 9: The application will show a simple tutorial:
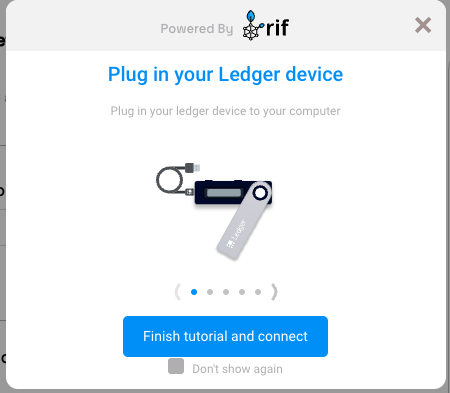
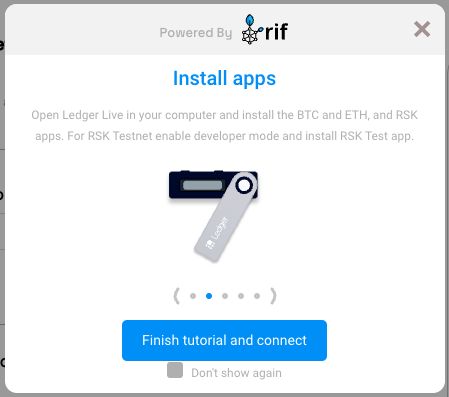
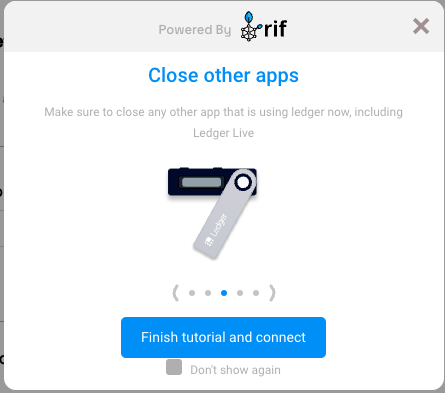
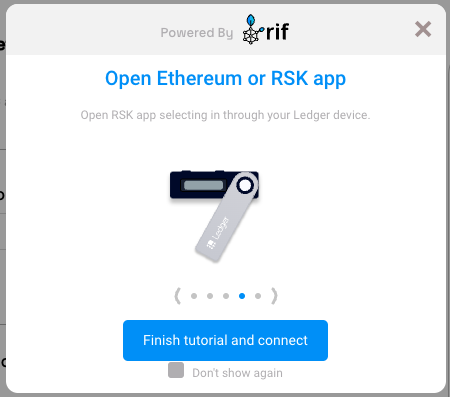
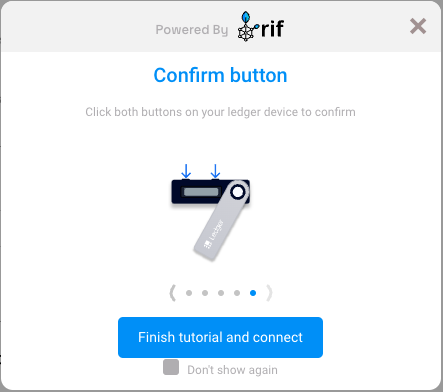
Step 10: Click on the **Finish tutorial and connect** button:
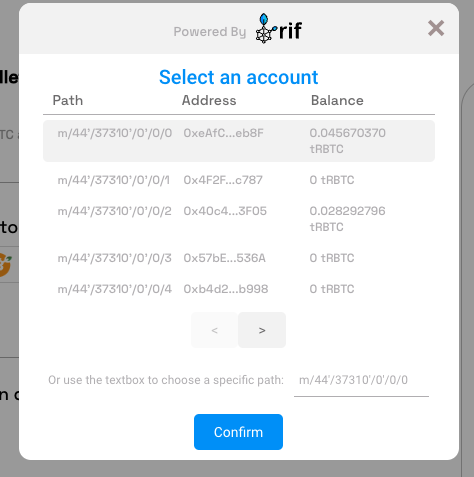
Step 11: Select an account
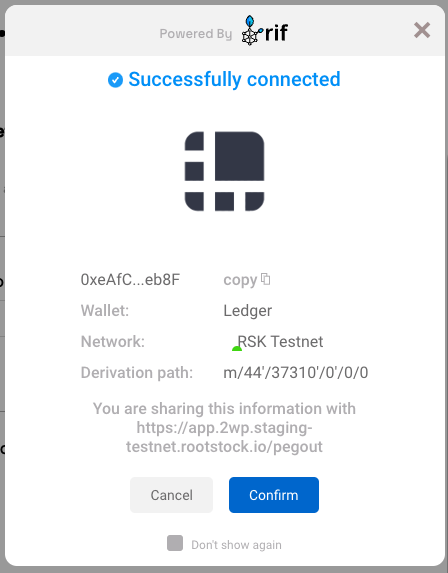
Step 12: Ledger Connected
Step 13: Continue filling in the other fields as amount and click on the Send button
Step 14: After finish the pegout transaction creation, click here to see how to see the steps to access to Bitcoin derived address in hardware wallet using [Electrum](/resources/guides/powpeg-app/advanced-operations)
----
## Next
* See [Performing a peg-out transaction using Ledger and Liquality](/resources/guides/powpeg-app/pegout/ledger-liquality/)
----
## Resources
* PowPeg App frontend [repo](https://github.com/rsksmart/2wp-app)
* PowPeg App backend [repo](https://github.com/rsksmart/2wp-api)
* [Rootstock Testnet Faucet](https://faucet.rootstock.io/)
* [Thirdweb Faucet](https://thirdweb.com/rootstock-testnet)
* [Blast Faucet](https://blastapi.io/faucets/rootstock-testnet)
* [Design architecture](/resources/guides/powpeg-app/advanced-operations/design-architecture/)