Time to read: 1 min
How to use Super Bridge
Tip
To exchange on Super Bridge you need enough funds in a crypto wallet. See Minimum Transaction Amounts for limits per provider.
Getting Started
- Open Super Bridge App
- Go to https://bridge.rootstock.io (or testnet if applicable).
- You do not need to connect a wallet to start.

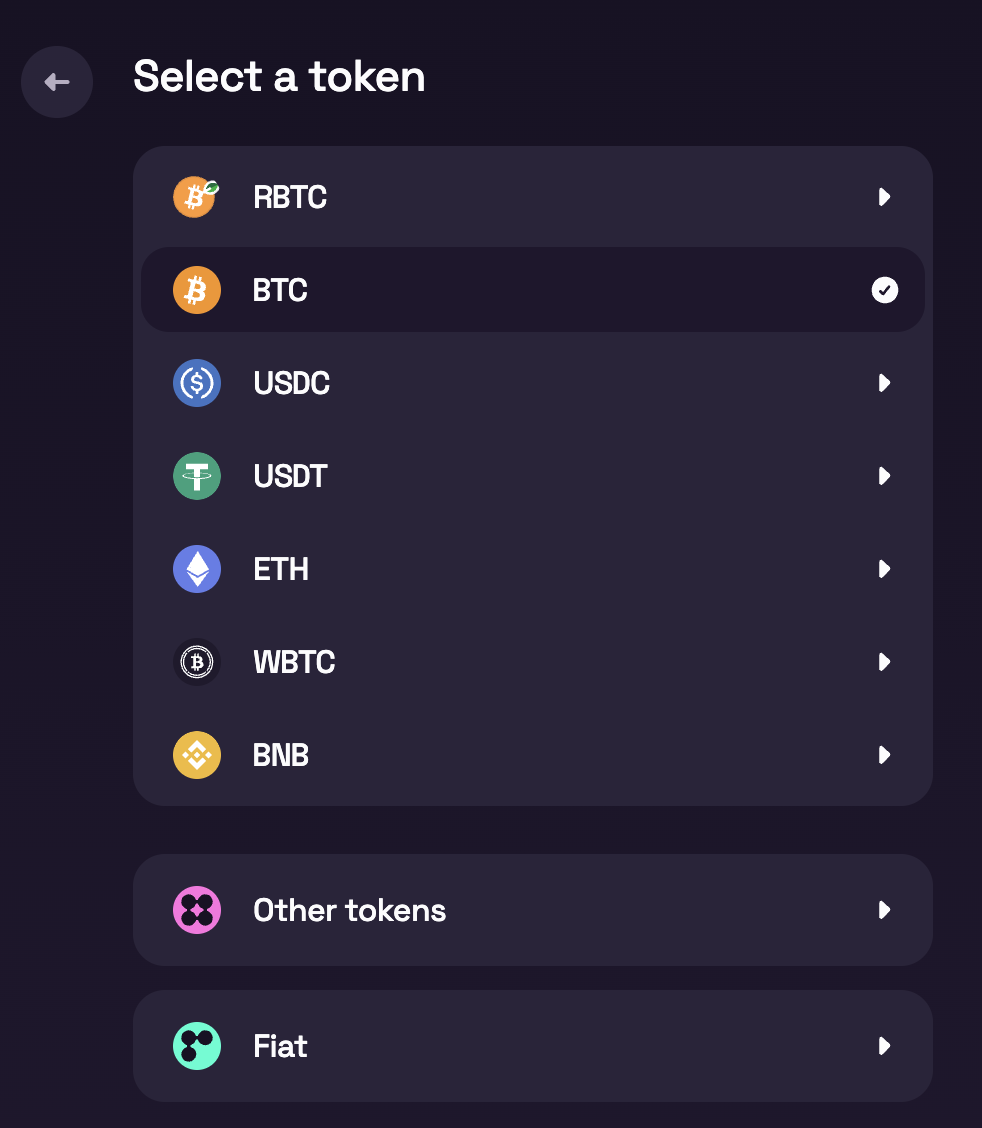
- Select the desired pair
- Choose source and destination assets. One side must always be a Rootstock token (e.g. rBTC, trBTC). The other is the asset on the other chain (e.g. BTC, ETH, USDT).
- See Mainnet and Testnet available swaps in the User Guide for supported pairs.
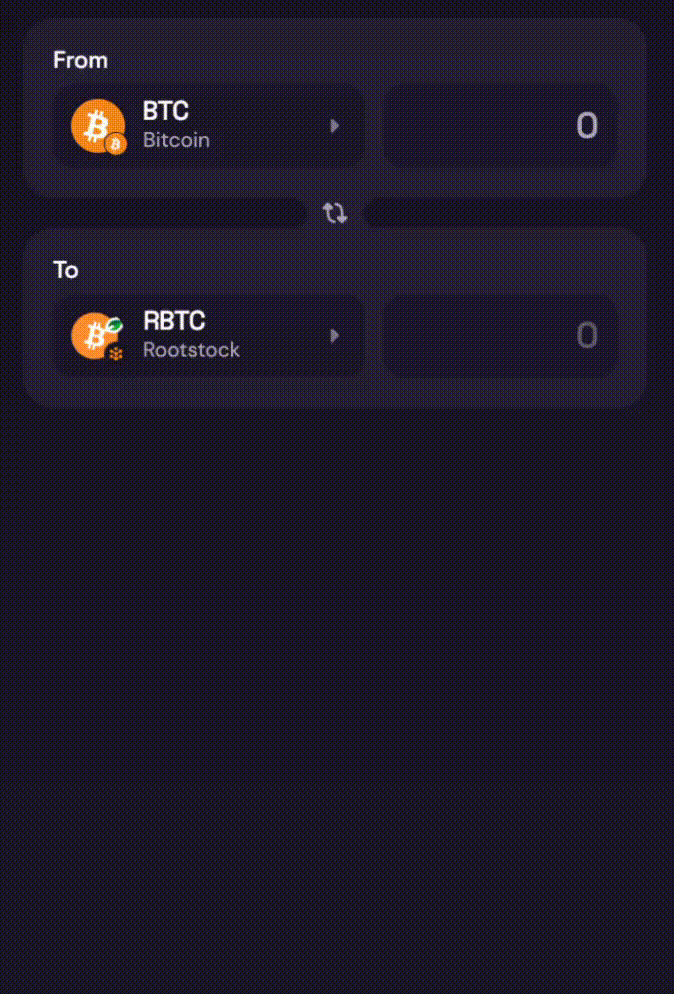
- Enter the amount
- Type the amount you want to bridge.
- If no providers appear, your amount may be below the minimum, confirm Minimum Transaction Amounts and adjust.
- Choose a provider
- The bridge lists all available providers for your pair and amount.
- Compare rates, fees, and conditions, then select the provider you want, then click on "Review transaction".
- Review provider details and add destination address
- Review fee and details of the provider selected
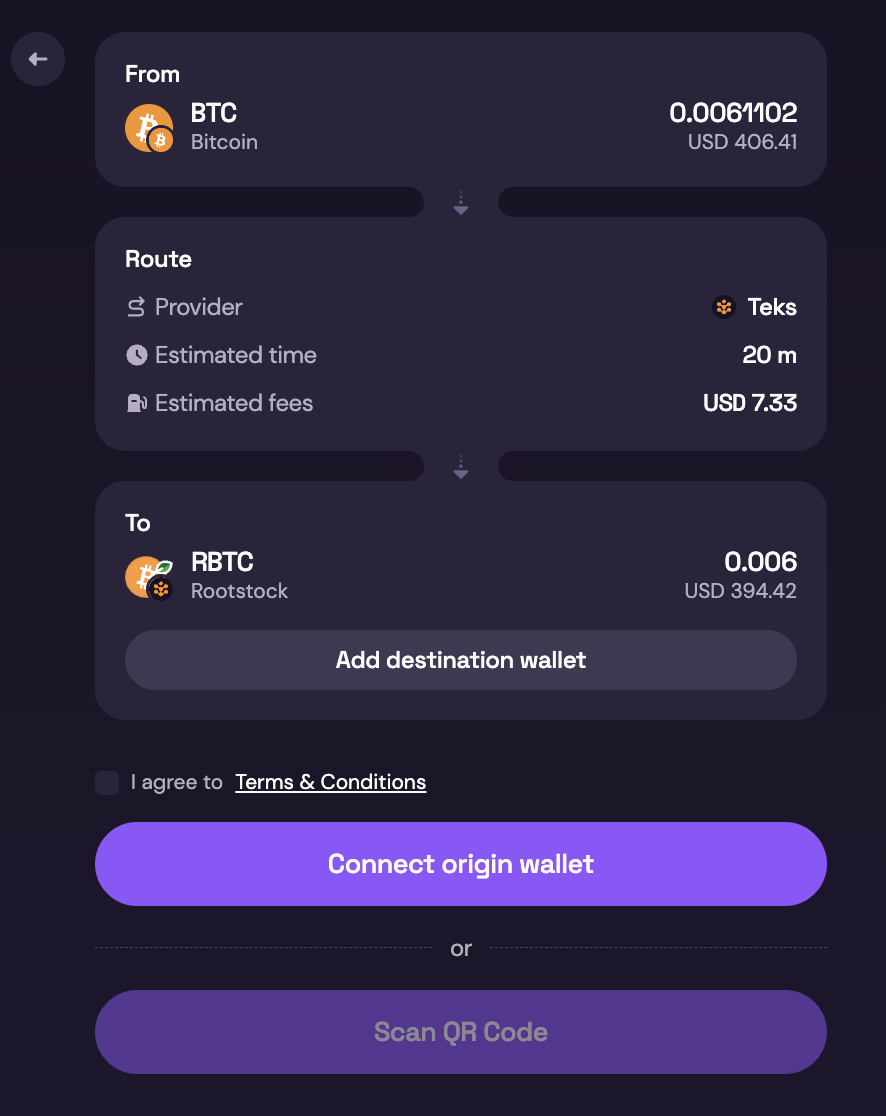
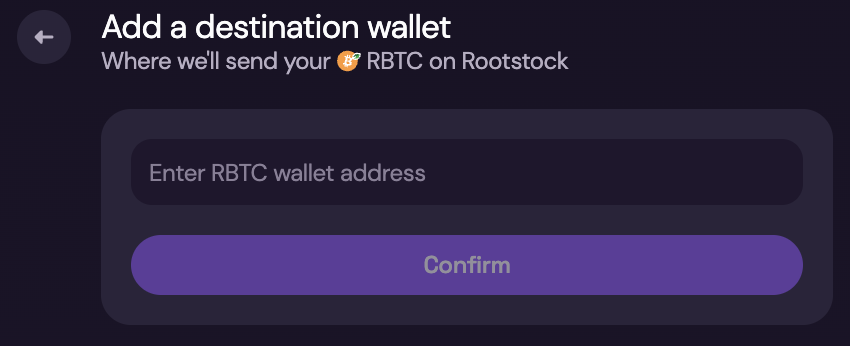
- Click on "Add Destination Wallet" button, and copy paste the addess where you wish to receive ypur funds.
- Complete the transaction After selecting a provider, and accepting Terms and Conditions, finish in one of two ways:
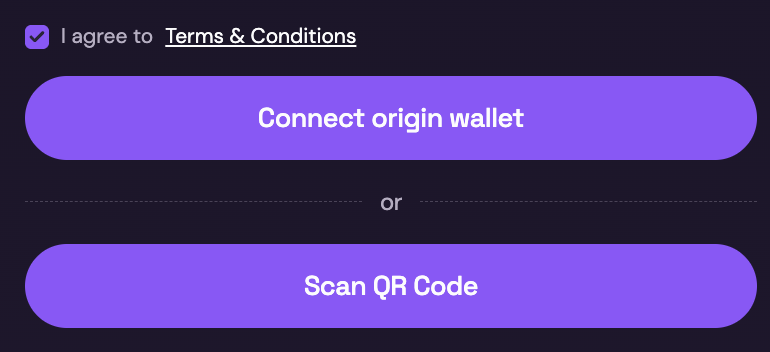
- With a wallet Connect a compatible wallet (e.g. MetaMask for Rootstock, Leather for Bitcoin) and authorize the transaction when prompted.
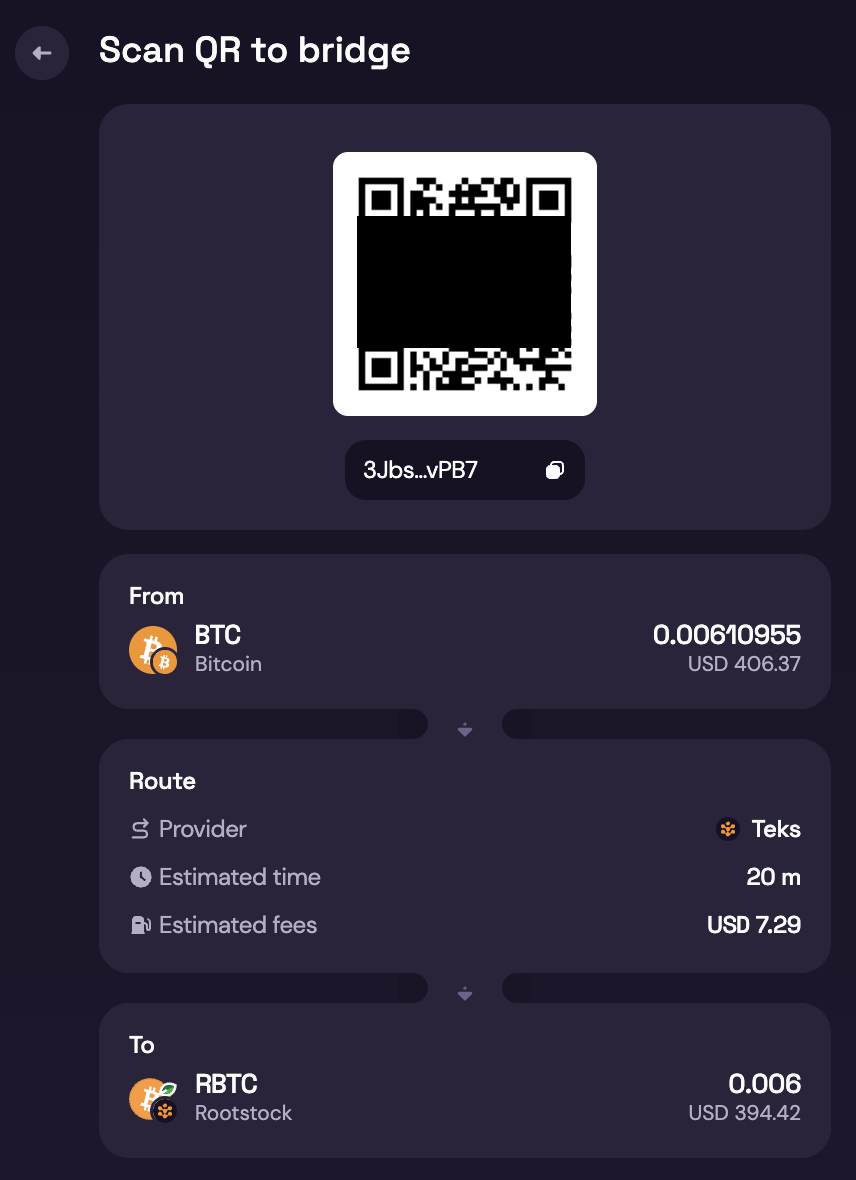
- Without a wallet Complete via QR code: scan and follow the provider’s instructions; no wallet connection required.
- Review and confirm
- Check fees, destination address, and amounts before confirming.
- Wait for confirmations. See Expected Time & Confirmations.
- Track progress in the bridge UI.
- Done
- You should have received the asset on the destination network. Check on your wallet.
Warning: Important Visual Warnings (UI Callouts)
⚠️ Do NOT send BTC from an exchange
⚠️ Only use wallets you control
⚠️ Always verify the destination address
⚠️ Bitcoin transactions are irreversible
Status Indicators Users Will See
- 🟡 Waiting for network confirmations
- 🟡 Processing bridge transaction
- 🟢 Completed successfully
- 🔴 Action required / error
The diagram below shows the full user flow from opening the bridge to receiving assets on the destination network. Each box is a step; you can complete the transaction with a connected wallet or via QR code (no wallet required).
┌──────────────┐
│   User       │
│ (No wallet   │
│  needed yet) │
└──────┬───────┘
       │
       ▼
┌────────────────────────────────────┐
│ bridge.rootstock.io                │
│ 1. Select the desired pair         │
│    (one side = Rootstock token)    │
│    e.g. BTC ↔ rBTC, ETH → rBTC     │
└──────┬─────────────────────────────┘
       │
       ▼
┌────────────────────────────────────┐
│ 2. Enter amount                    │
└──────┬─────────────────────────────┘
       │
       ▼
┌────────────────────────────────────┐
│ 3. Bridge lists available providers│
│    Compare rates & fees → pick one │
└──────┬─────────────────────────────┘
       │
       ▼
┌────────────────────────────────────┐
│ 4. Complete the transaction        │
│    ┌─────────────────────────────┐ │
│    │ With wallet: connect &      │ │
│    │ authorize in wallet         │ │
│    └─────────────────────────────┘ │
│    ┌─────────────────────────────┐ │
│    │ Without wallet: scan QR     │ │
│    │ and follow provider steps   │ │
│    └─────────────────────────────┘ │
└──────┬─────────────────────────────┘
       │
       ▼
┌────────────────────────────────────┐
│ 5. Review & confirm                │
│    Wait for confirmations          │
│    Track status in bridge UI       │
└────────────────────────────────────┘