Interact with the Frontend for Your NFT Marketplace on Rootstock
In Part 1: Deploy a Marketplace Contract of this two parts guide, we learnt how to set up an account on the Thirdweb marketplace and deployed a smart contract on the Thirdweb marketplace and added the Direct Listing extension. In this section, we will build the core user-facing features of your NFT marketplace using the Thirdweb SDK, we will implement key marketplace functionalities such as listing NFTs for sale, purchasing listed assets, and canceling active offers.
You’ll also learn how to customize essential parameters like price, accepted currency, and listing duration, giving you full flexibility and control over your trading experience.
By the end of this guide, your NFT marketplace on Rootstock will be fully operational and ready for real user interaction.
Ensure to complete Part 1: Deploy an NFT Marketplace Contract of the guide before continuing on this section. To access the frontend application, open http://localhost:3000 in your browser.
Key Functionalities
- Listing NFTs via Direct Listing Use the directListing function from the Thirdweb SDK to put NFTs up for sale on your marketplace with custom parameters.
- Fetching Active Listings or Offers Retrieve and display all active listings in your frontend so users can easily explore available assets.
- Canceling a Listing Allow sellers to remove their NFTs from the marketplace if they change their mind or want to modify the listing.
- Buying listed offers Integrate the purchasing flow using Thirdweb's tools to allow users to seamlessly buy NFTs with the configured currency.
The Thirdweb SDK simplifies the integration of these core operations and supports additional extensions for enhanced user experiences, making it easier to develop and focus on the use case rather than the processes.
You can explore many more advanced features and best practices in the Thirdweb documentation, should you need to expand or tailor your marketplace further.
Using the NFT Marketplace
You can do the following on the Thirdweb NFT Marketplace:
- Sell an NFT: Navigate to the Sell tab, fill out the form, and submit to list an NFT on the marketplace.
- Buy an NFT: Click on the NFT you are interested in, connect your wallet, click on Buy, sign the transaction and enjoy your NFT.
Launching Your NFT Collection
To launch your NFT collection, do the following:
- Navigate to the Marketplace Contract
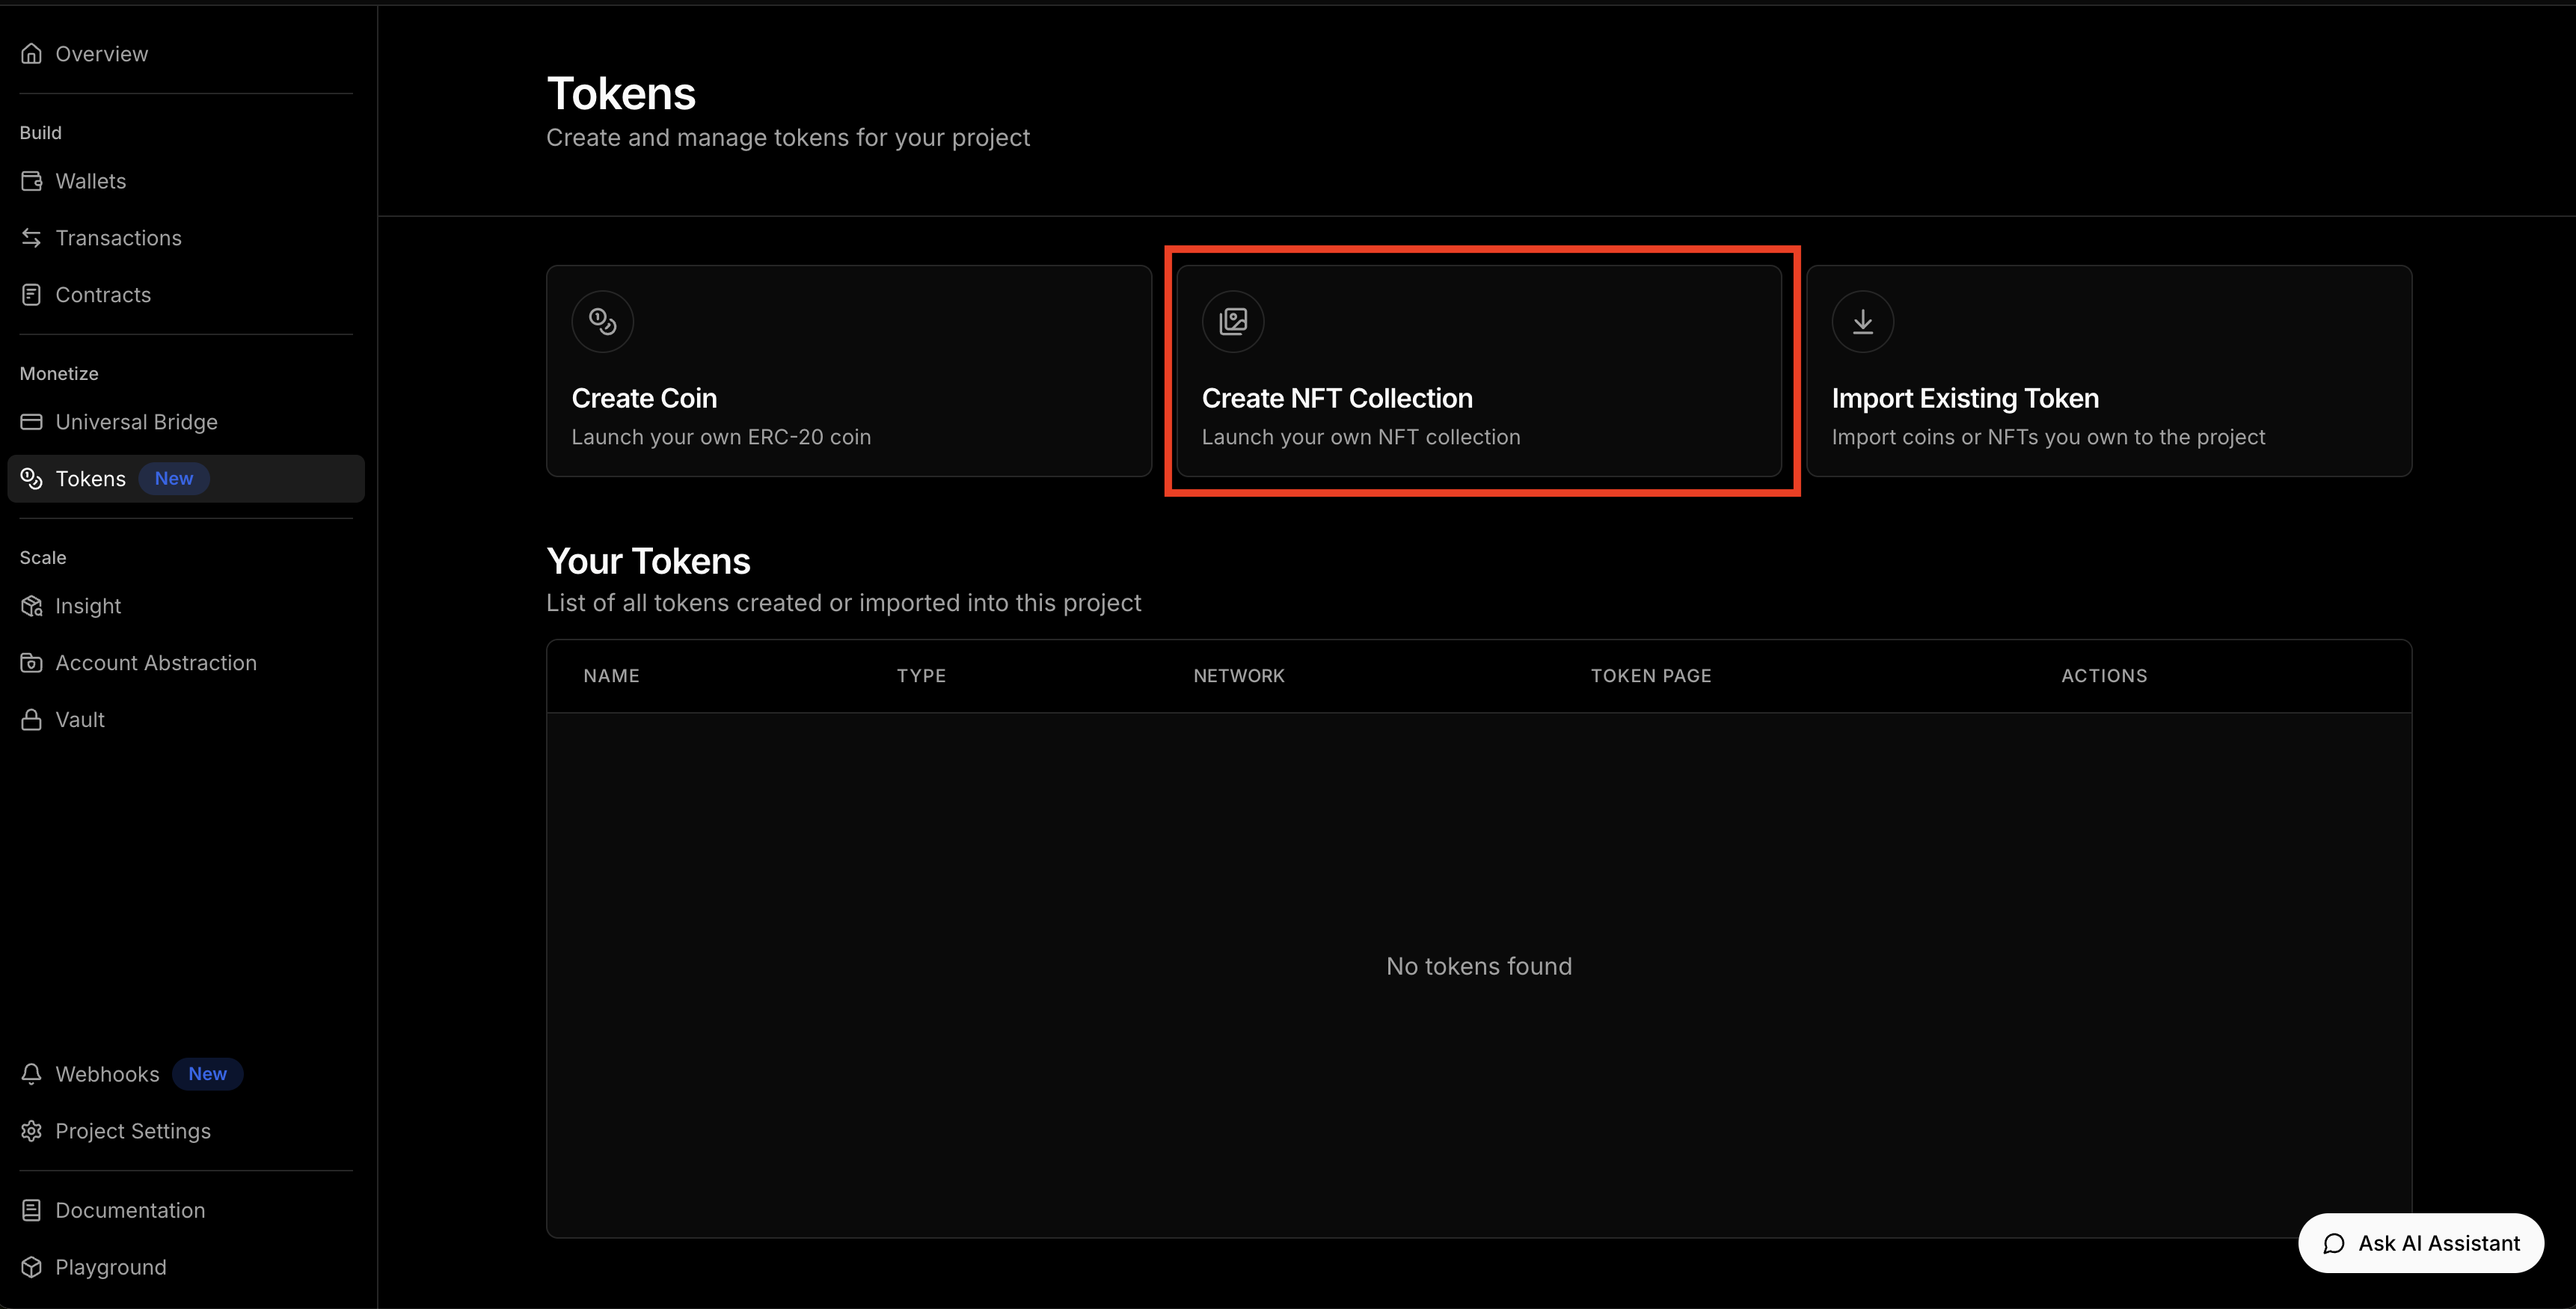
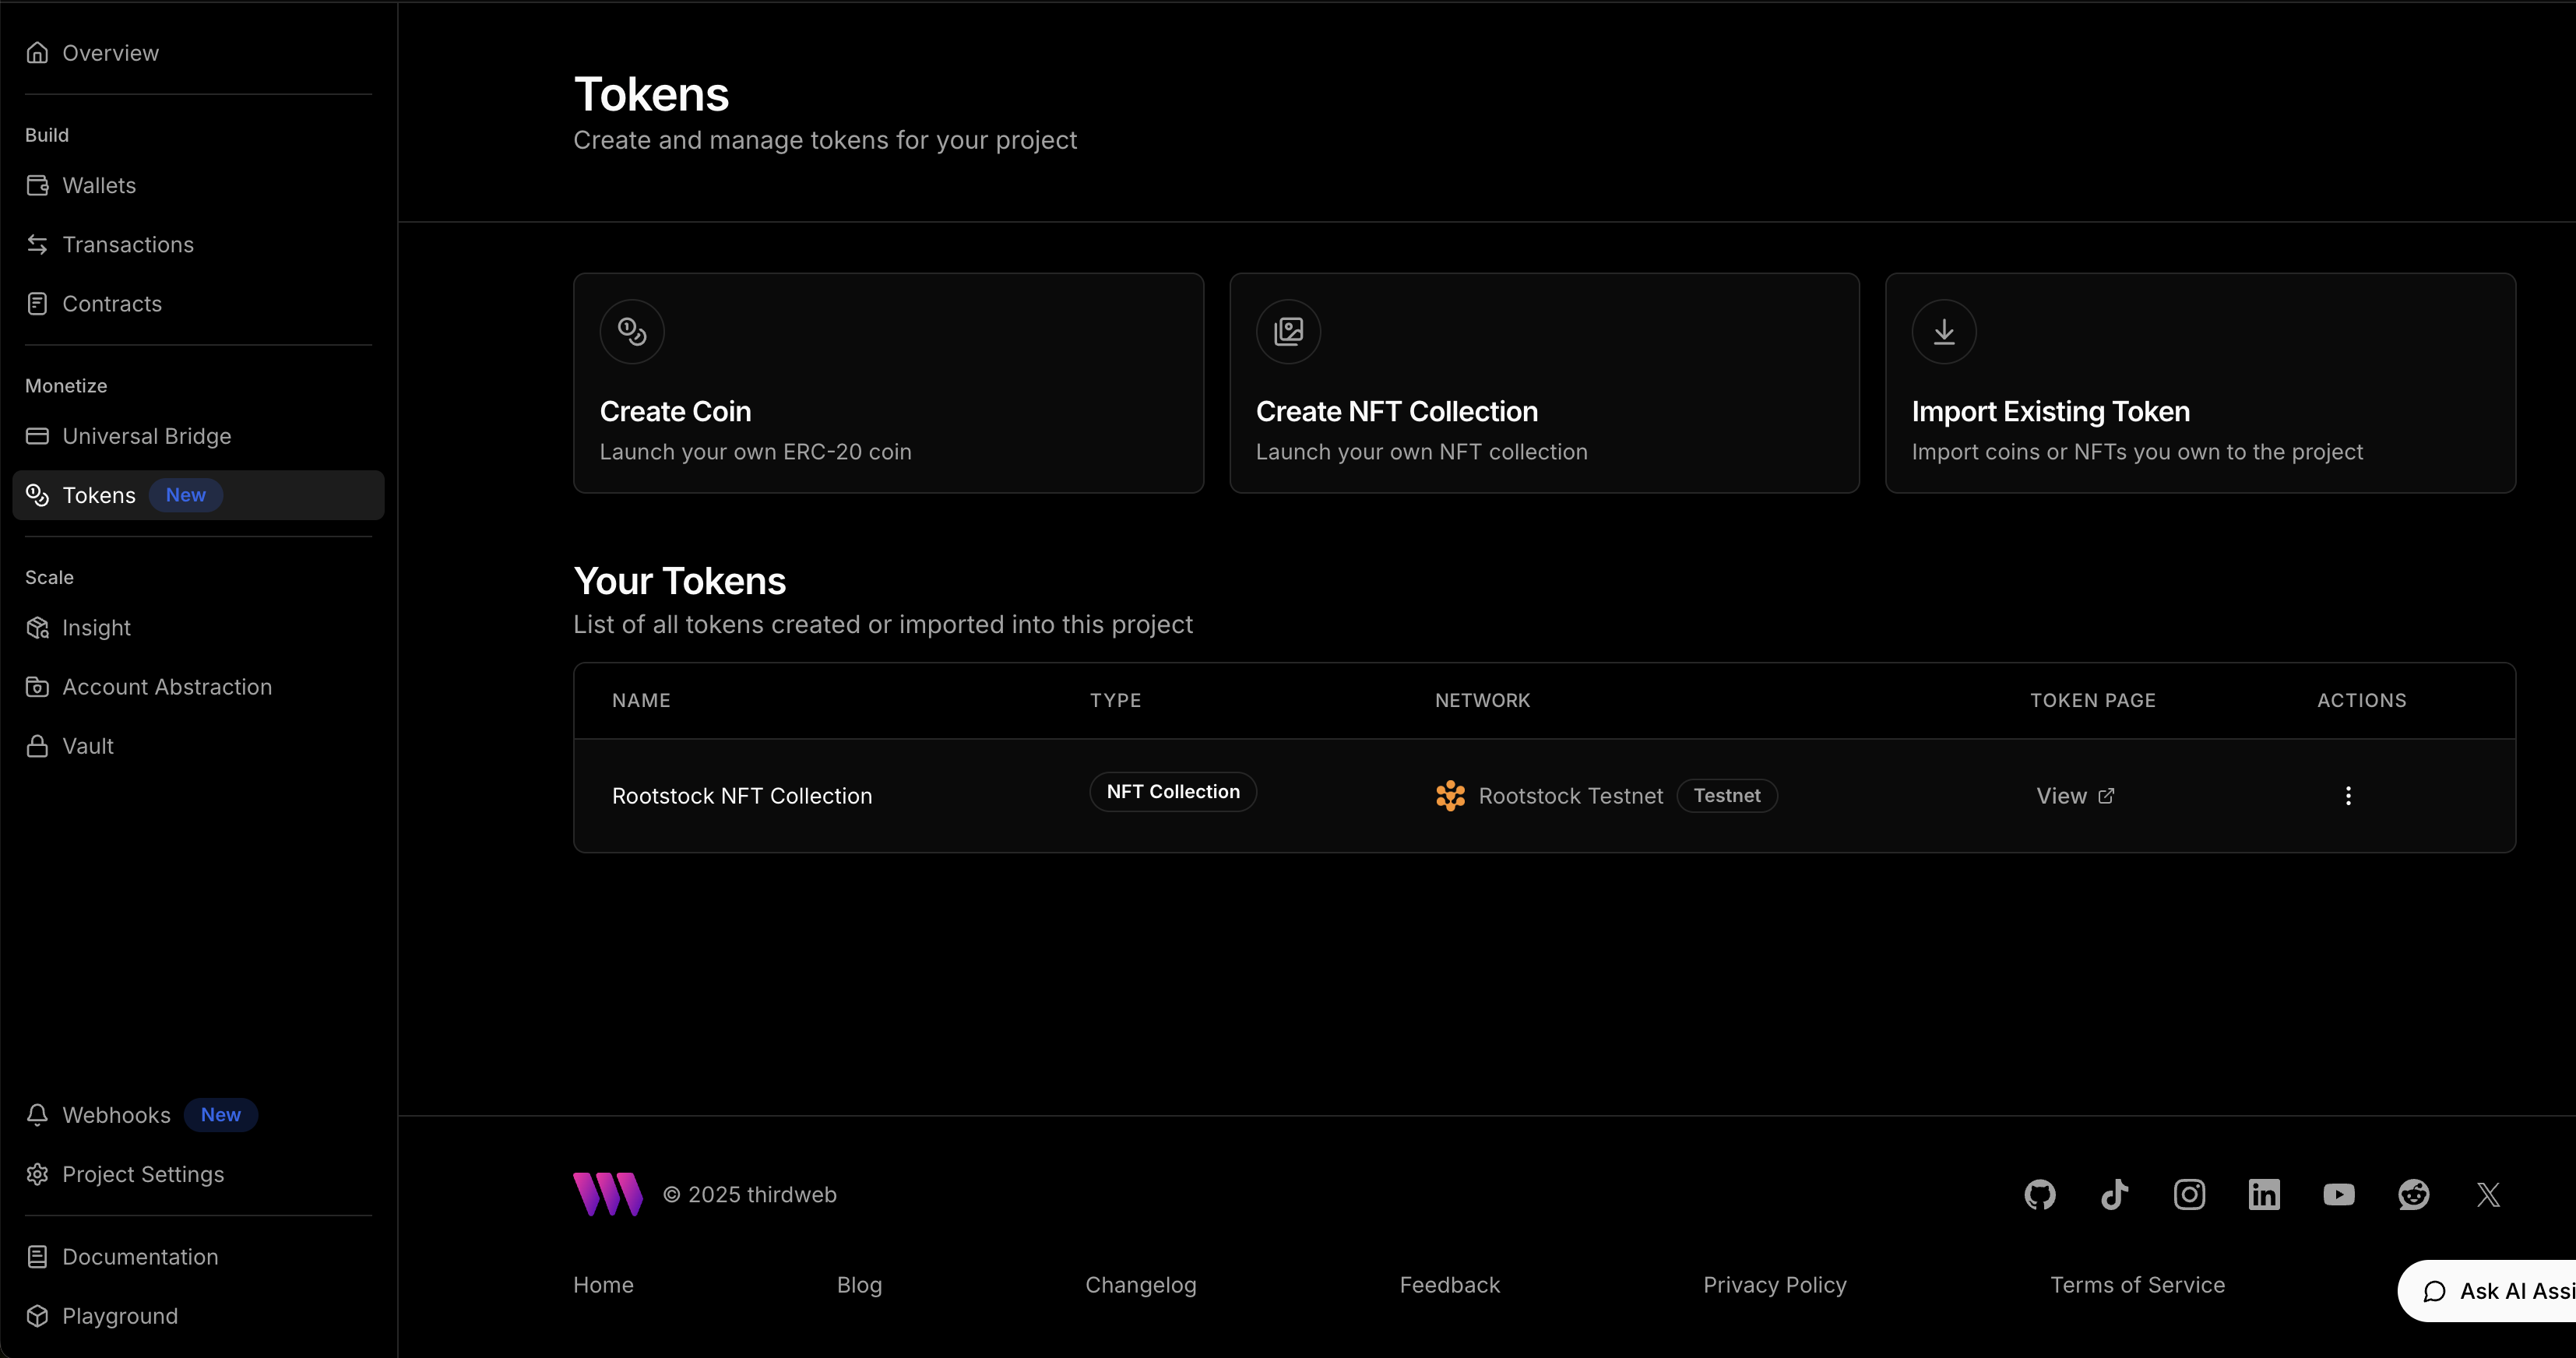
In part 1 of this guide, we created a marketplace contract, now we will launch our NFT collection to allow buyers to purchase the NFTs. To do this open the Marketplace project and select Tokens on the left panel to create NFT Collection.
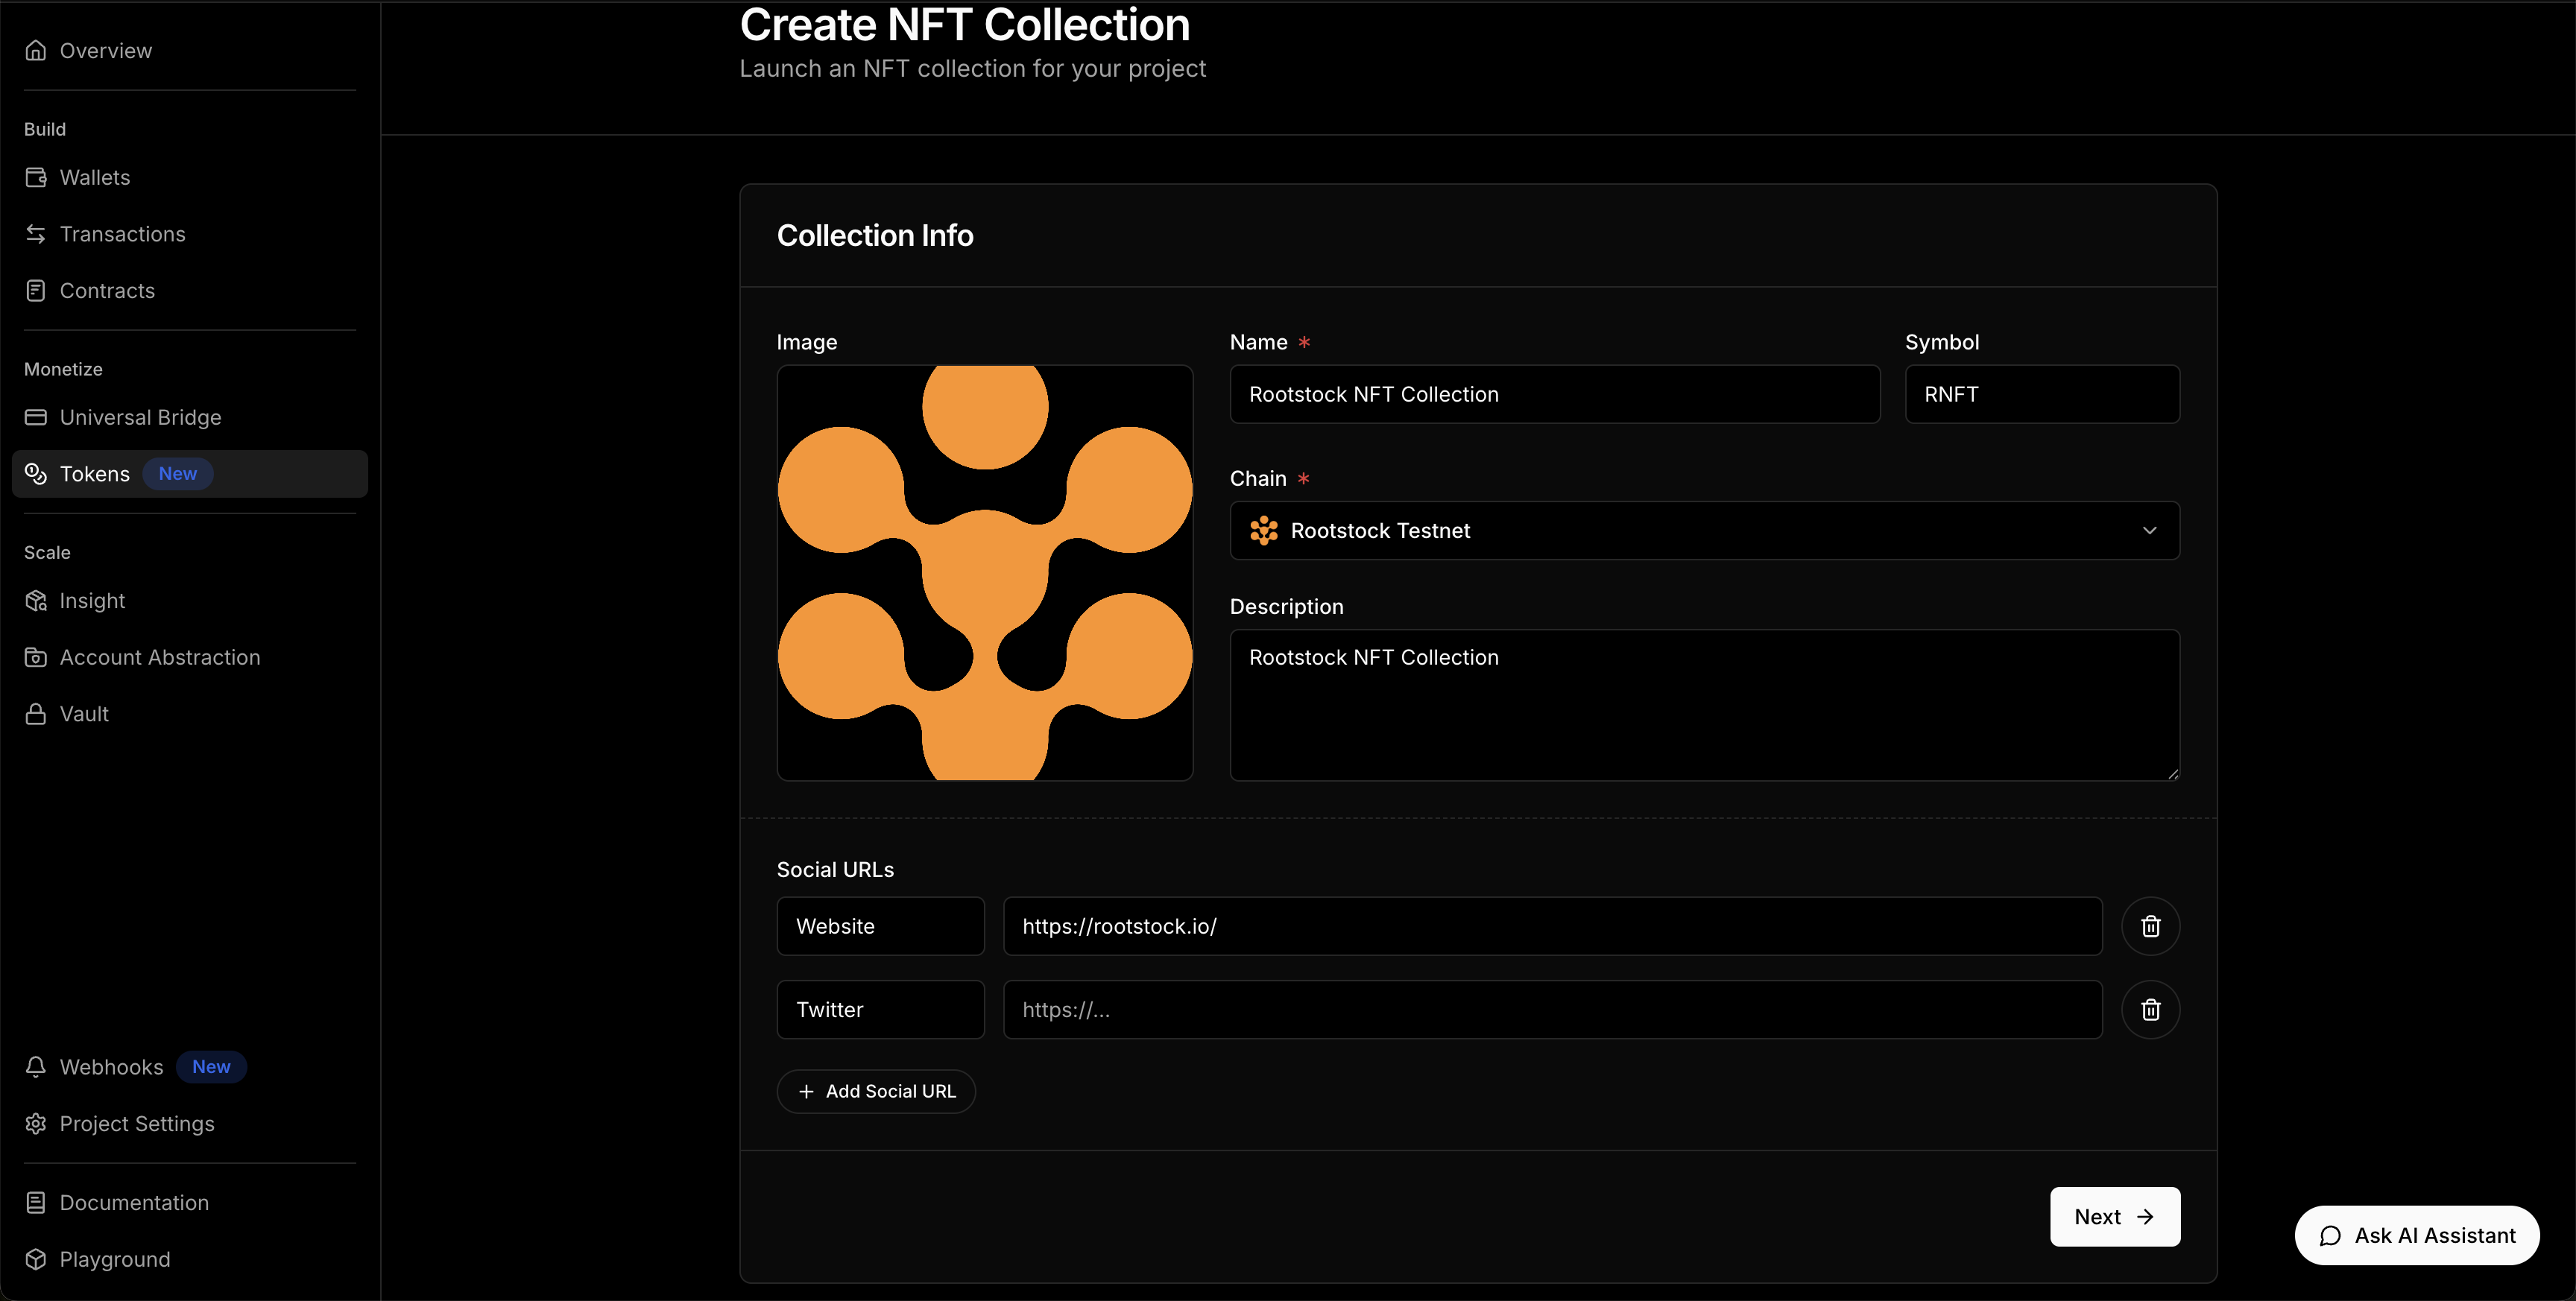
- Add the Token Collection info
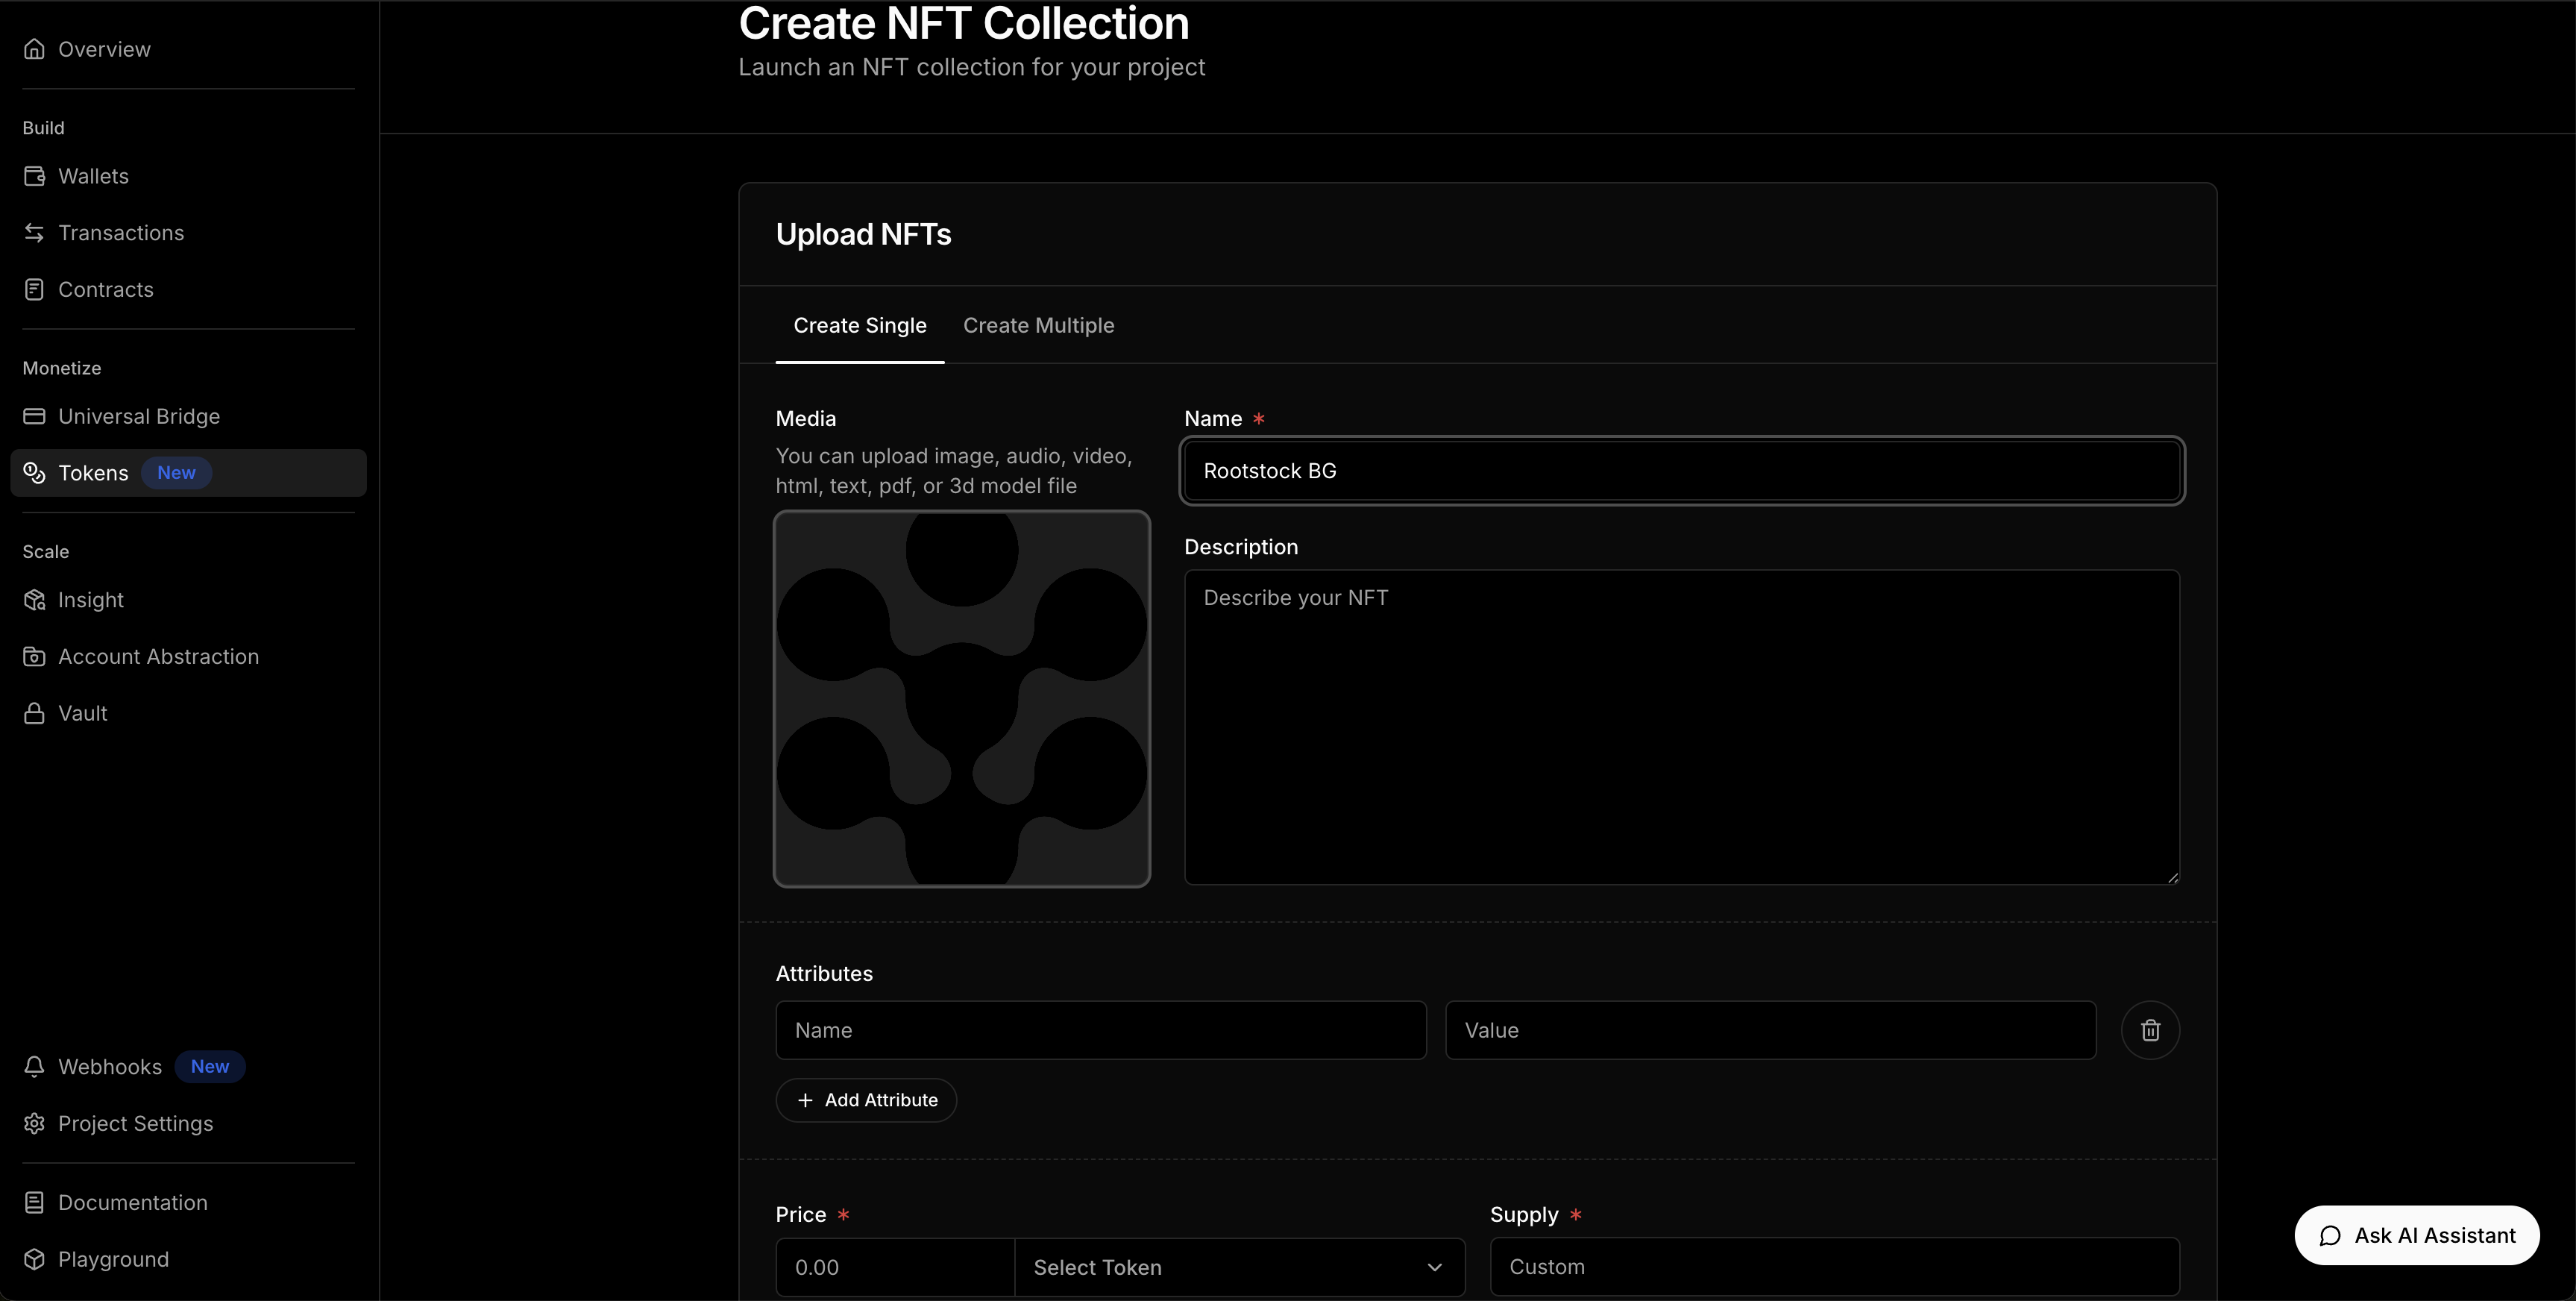
- Upload NFT in Collection
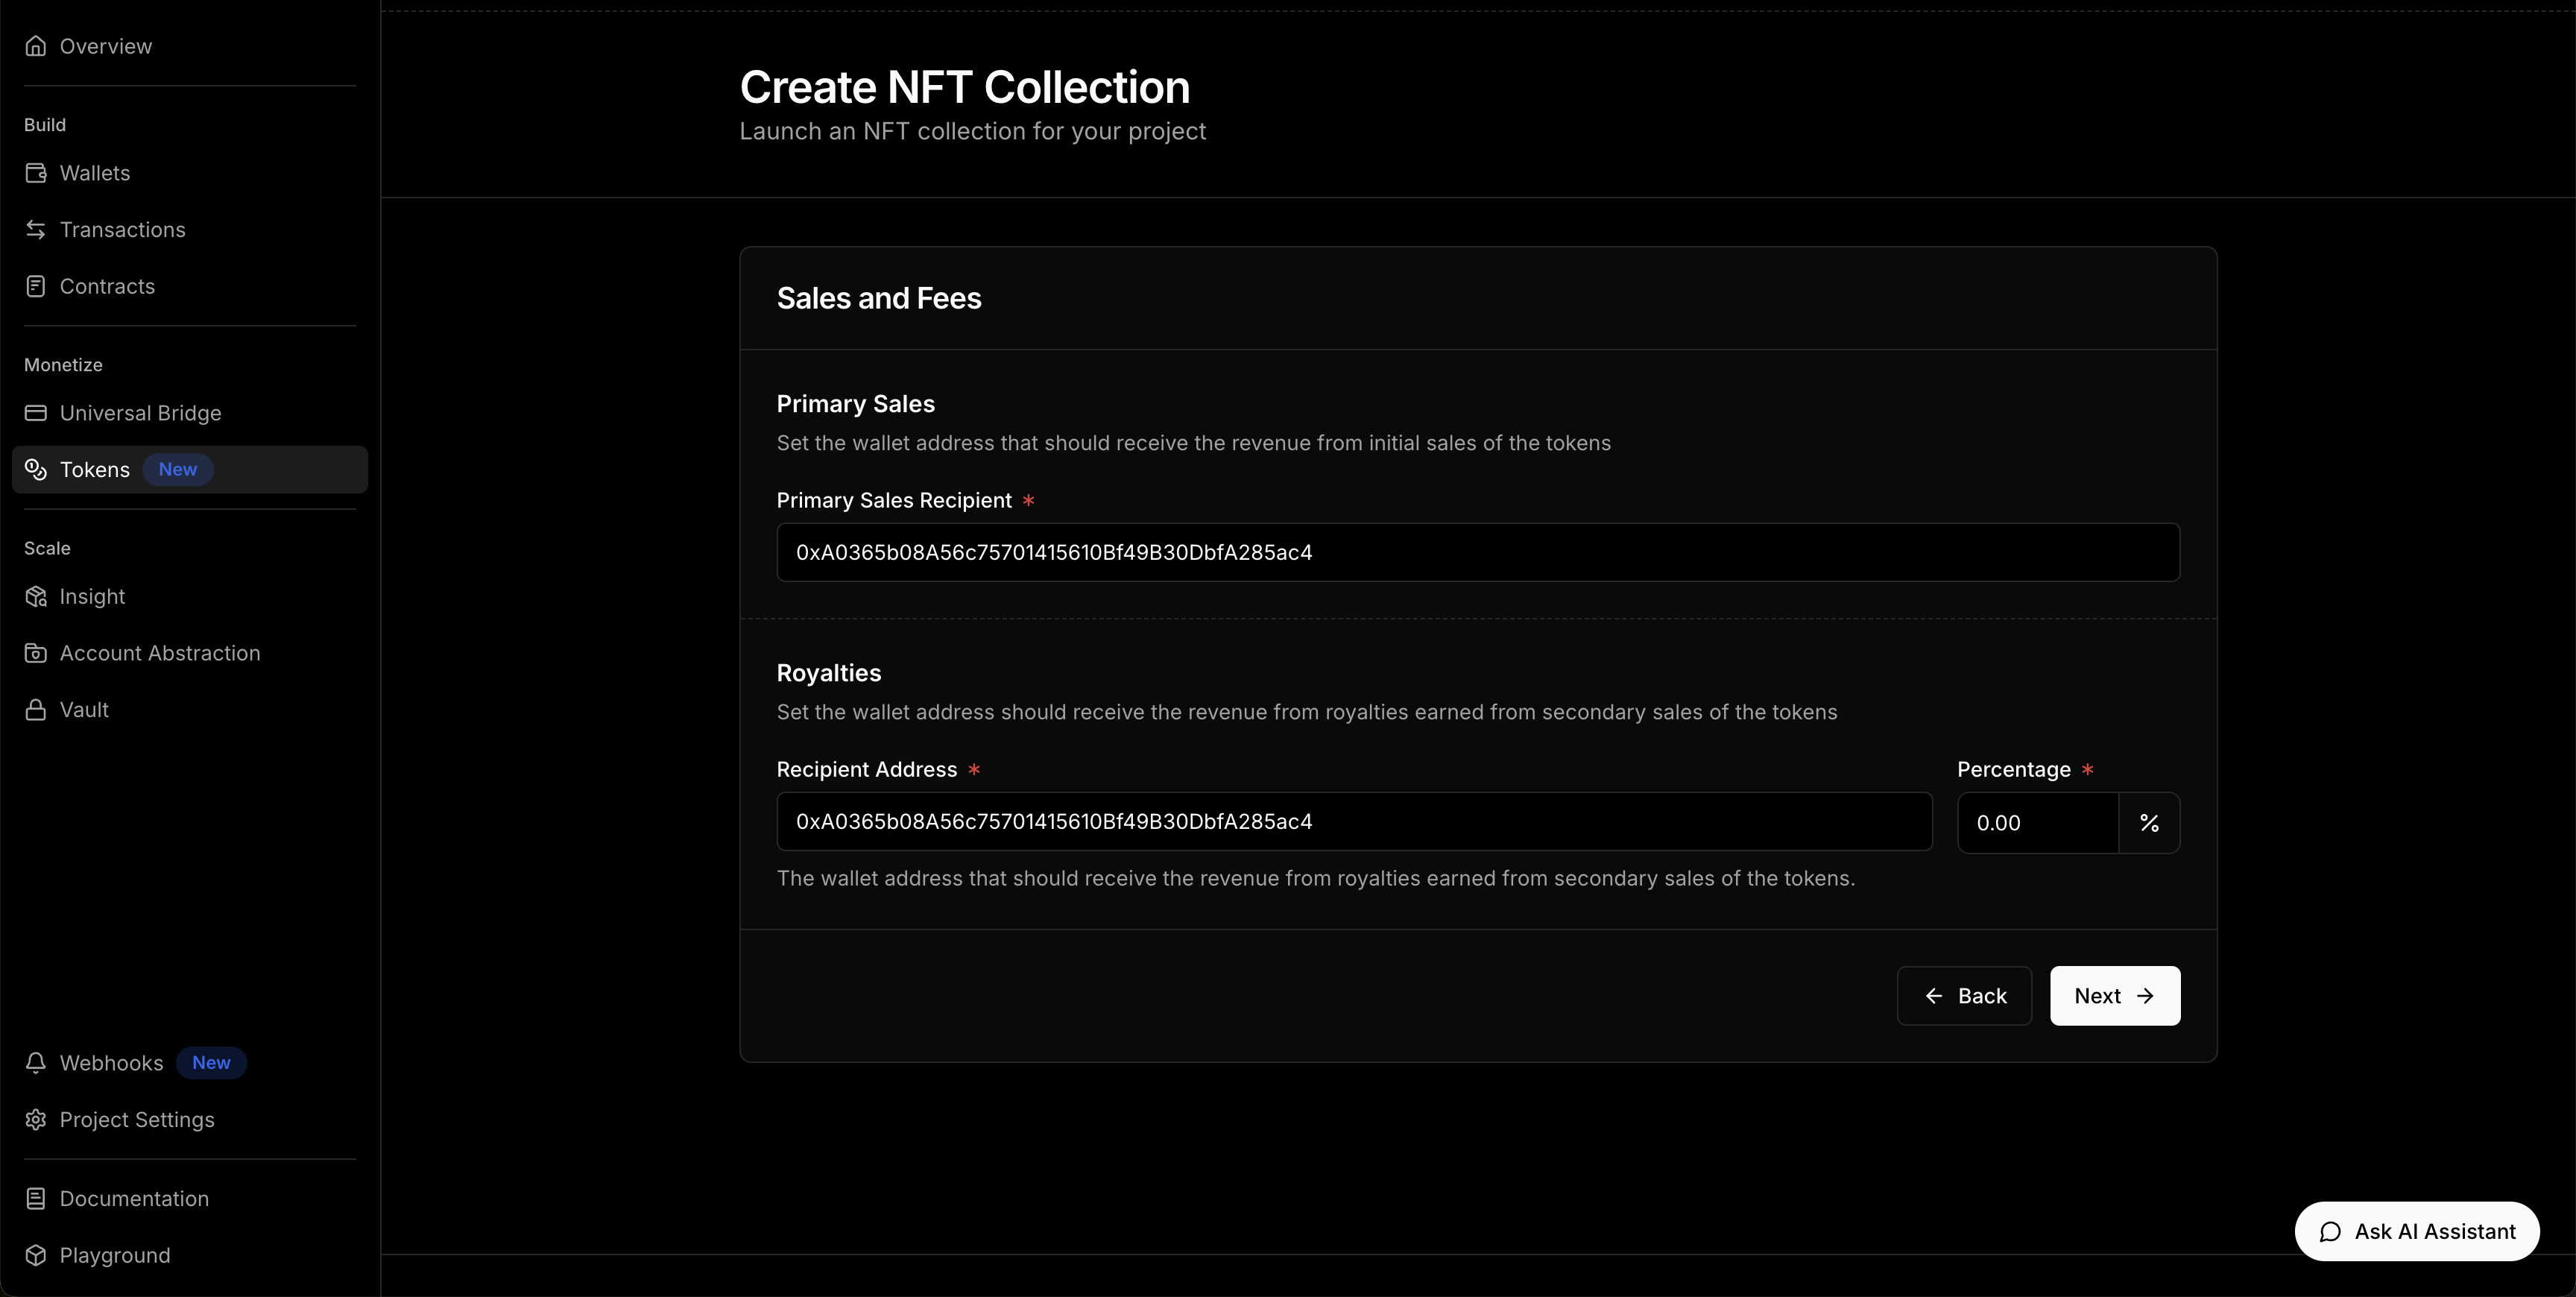
- Configure Sales and Fees
- Preview and Launch the NFT Collection
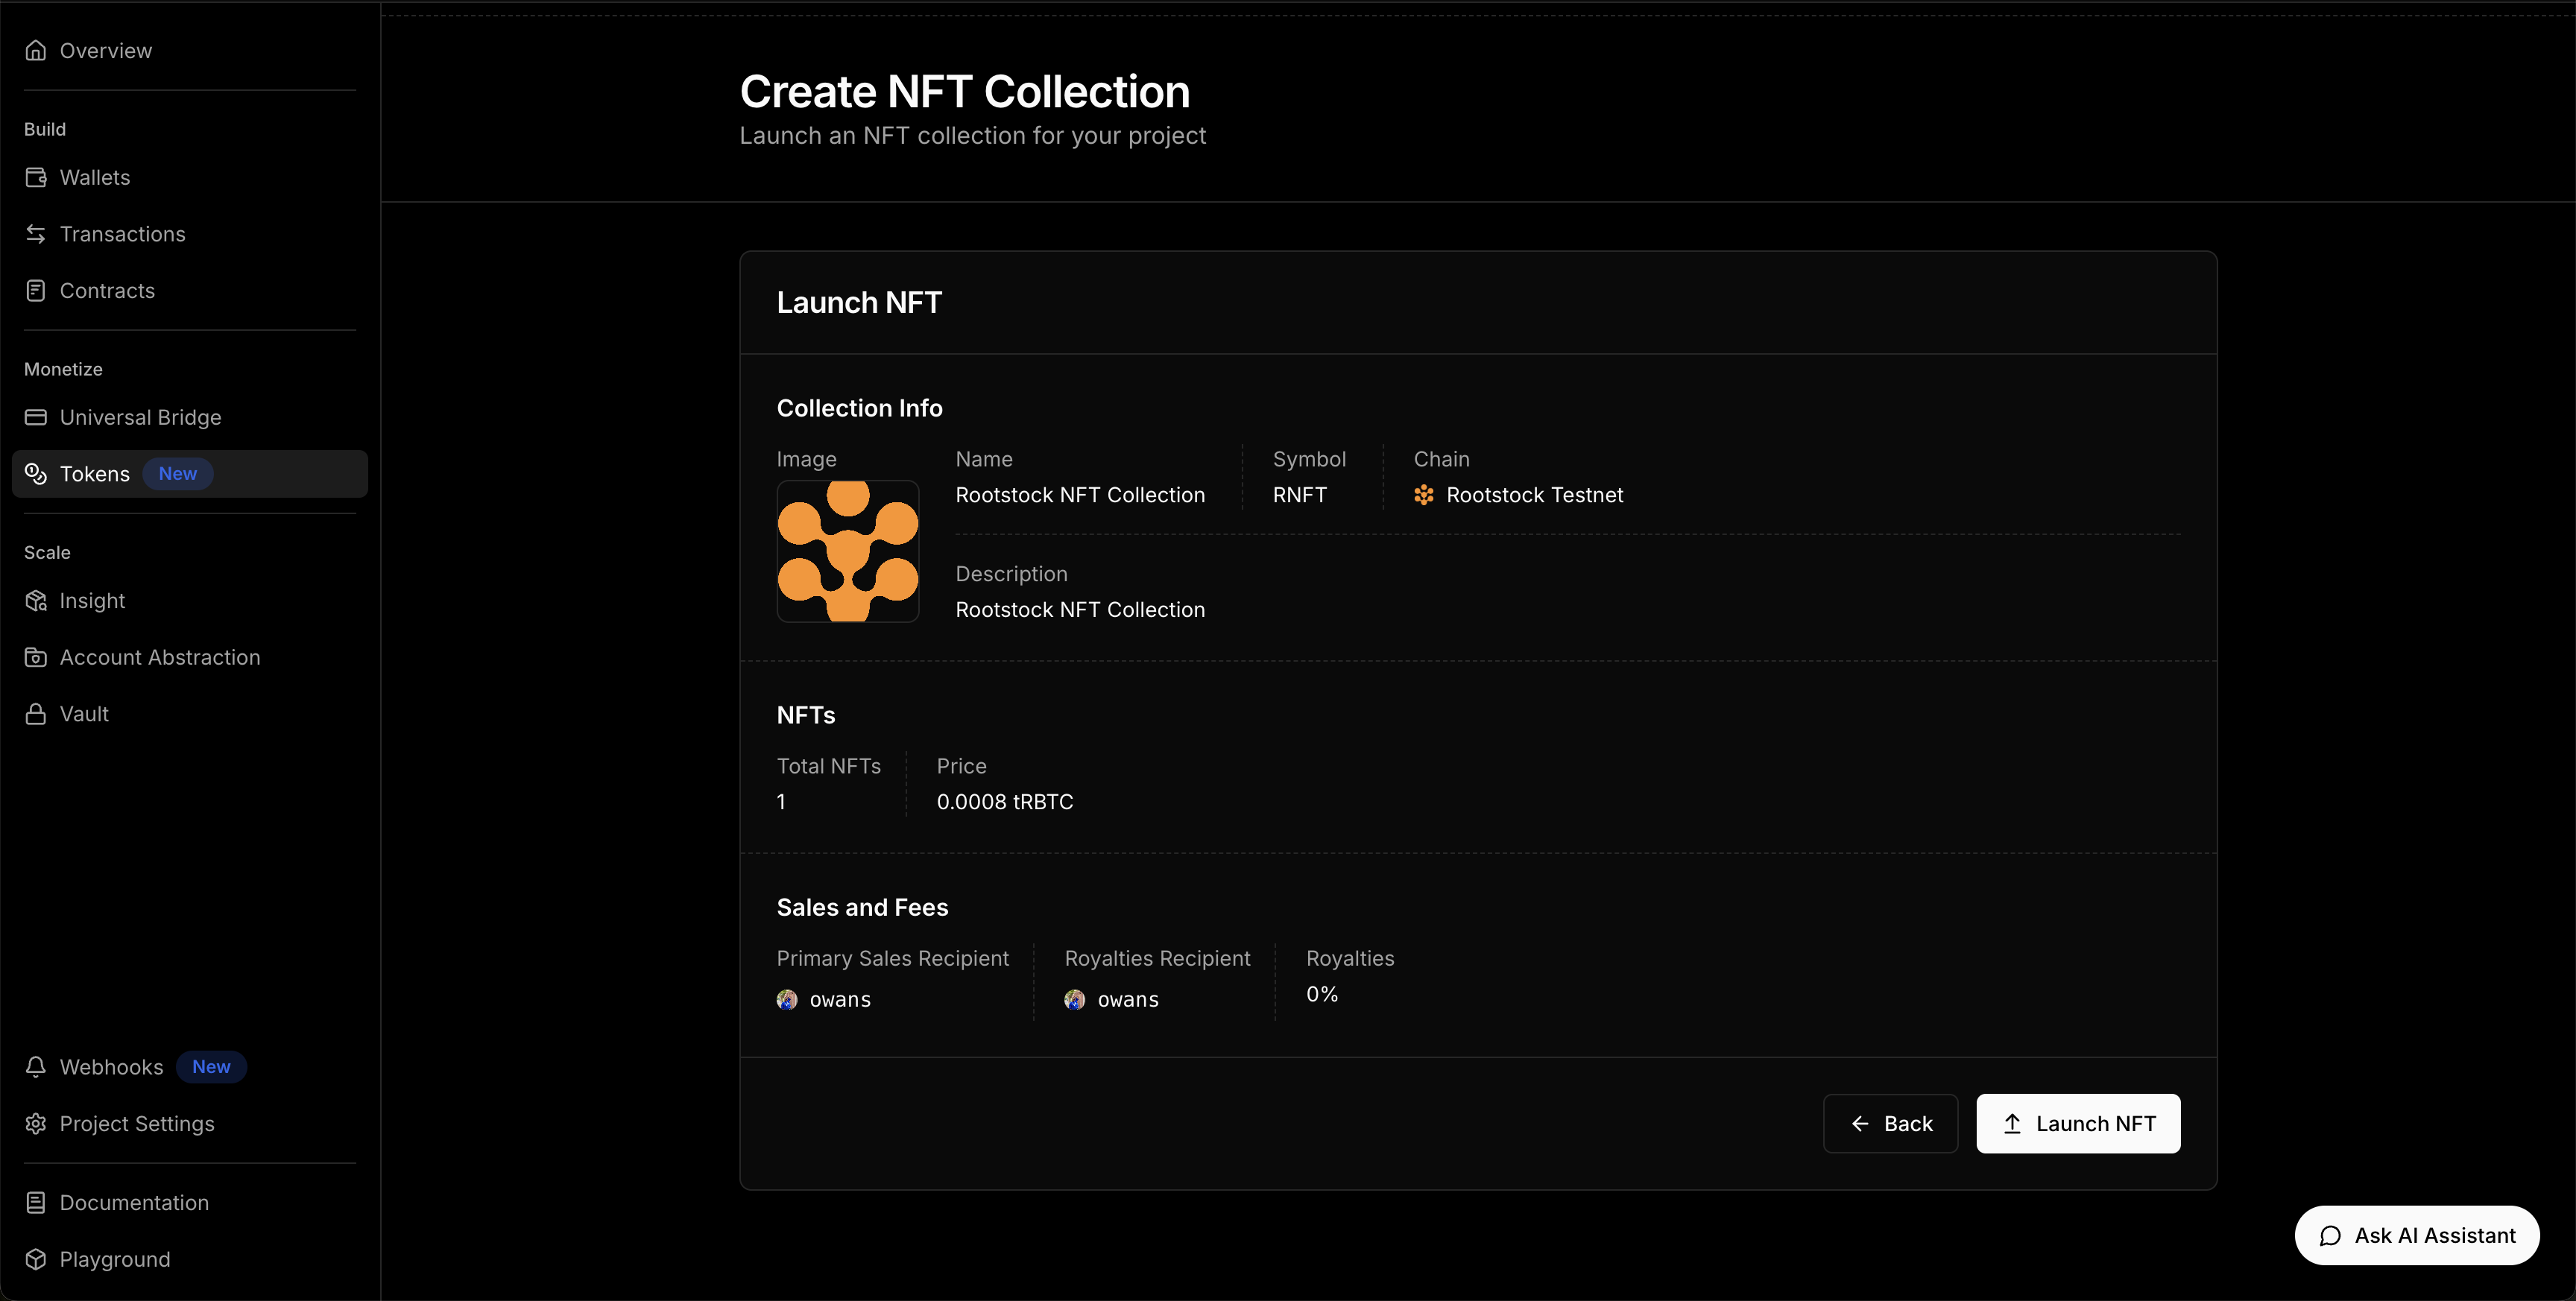
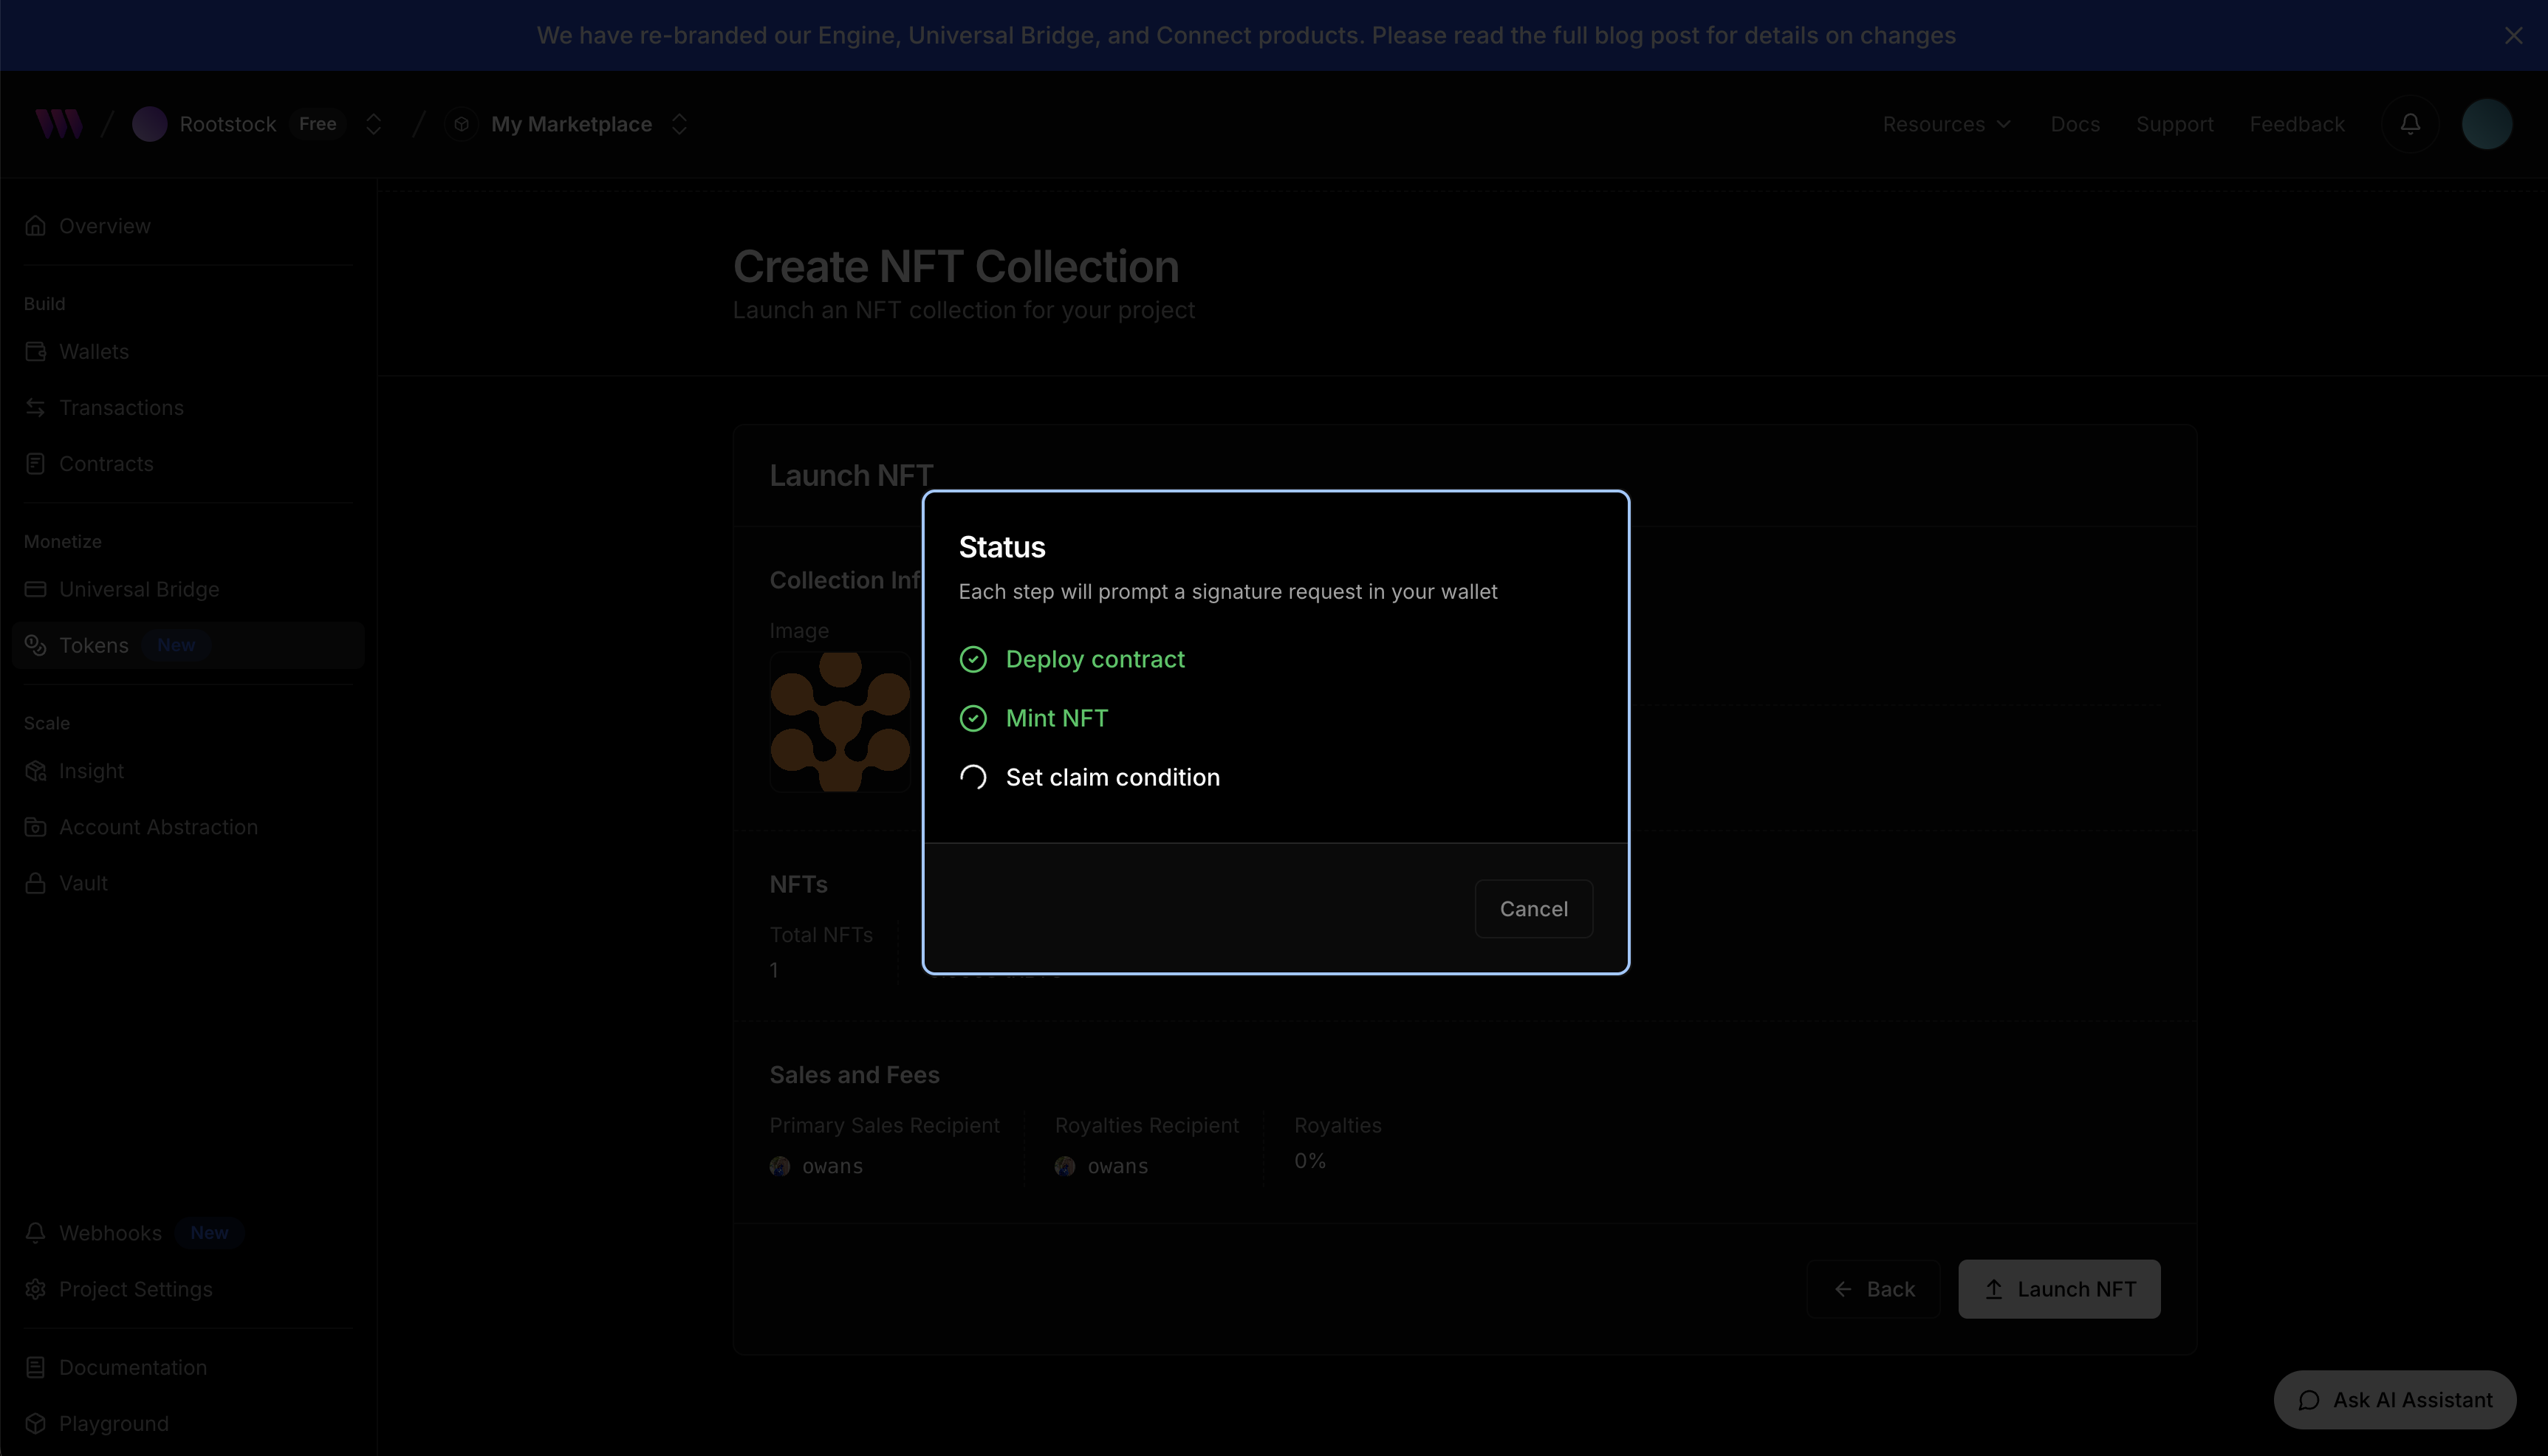
- Approve Transaction Approve the transaction in your Metamask Wallet
- View Token Collection
Click on token to view metadata (ID, Contract address, etc).
Listing NFTs via Direct Listing
To allow users to list their NFTs for sale on your marketplace, you need to provide a simple and intuitive interface integrated into your dApp.
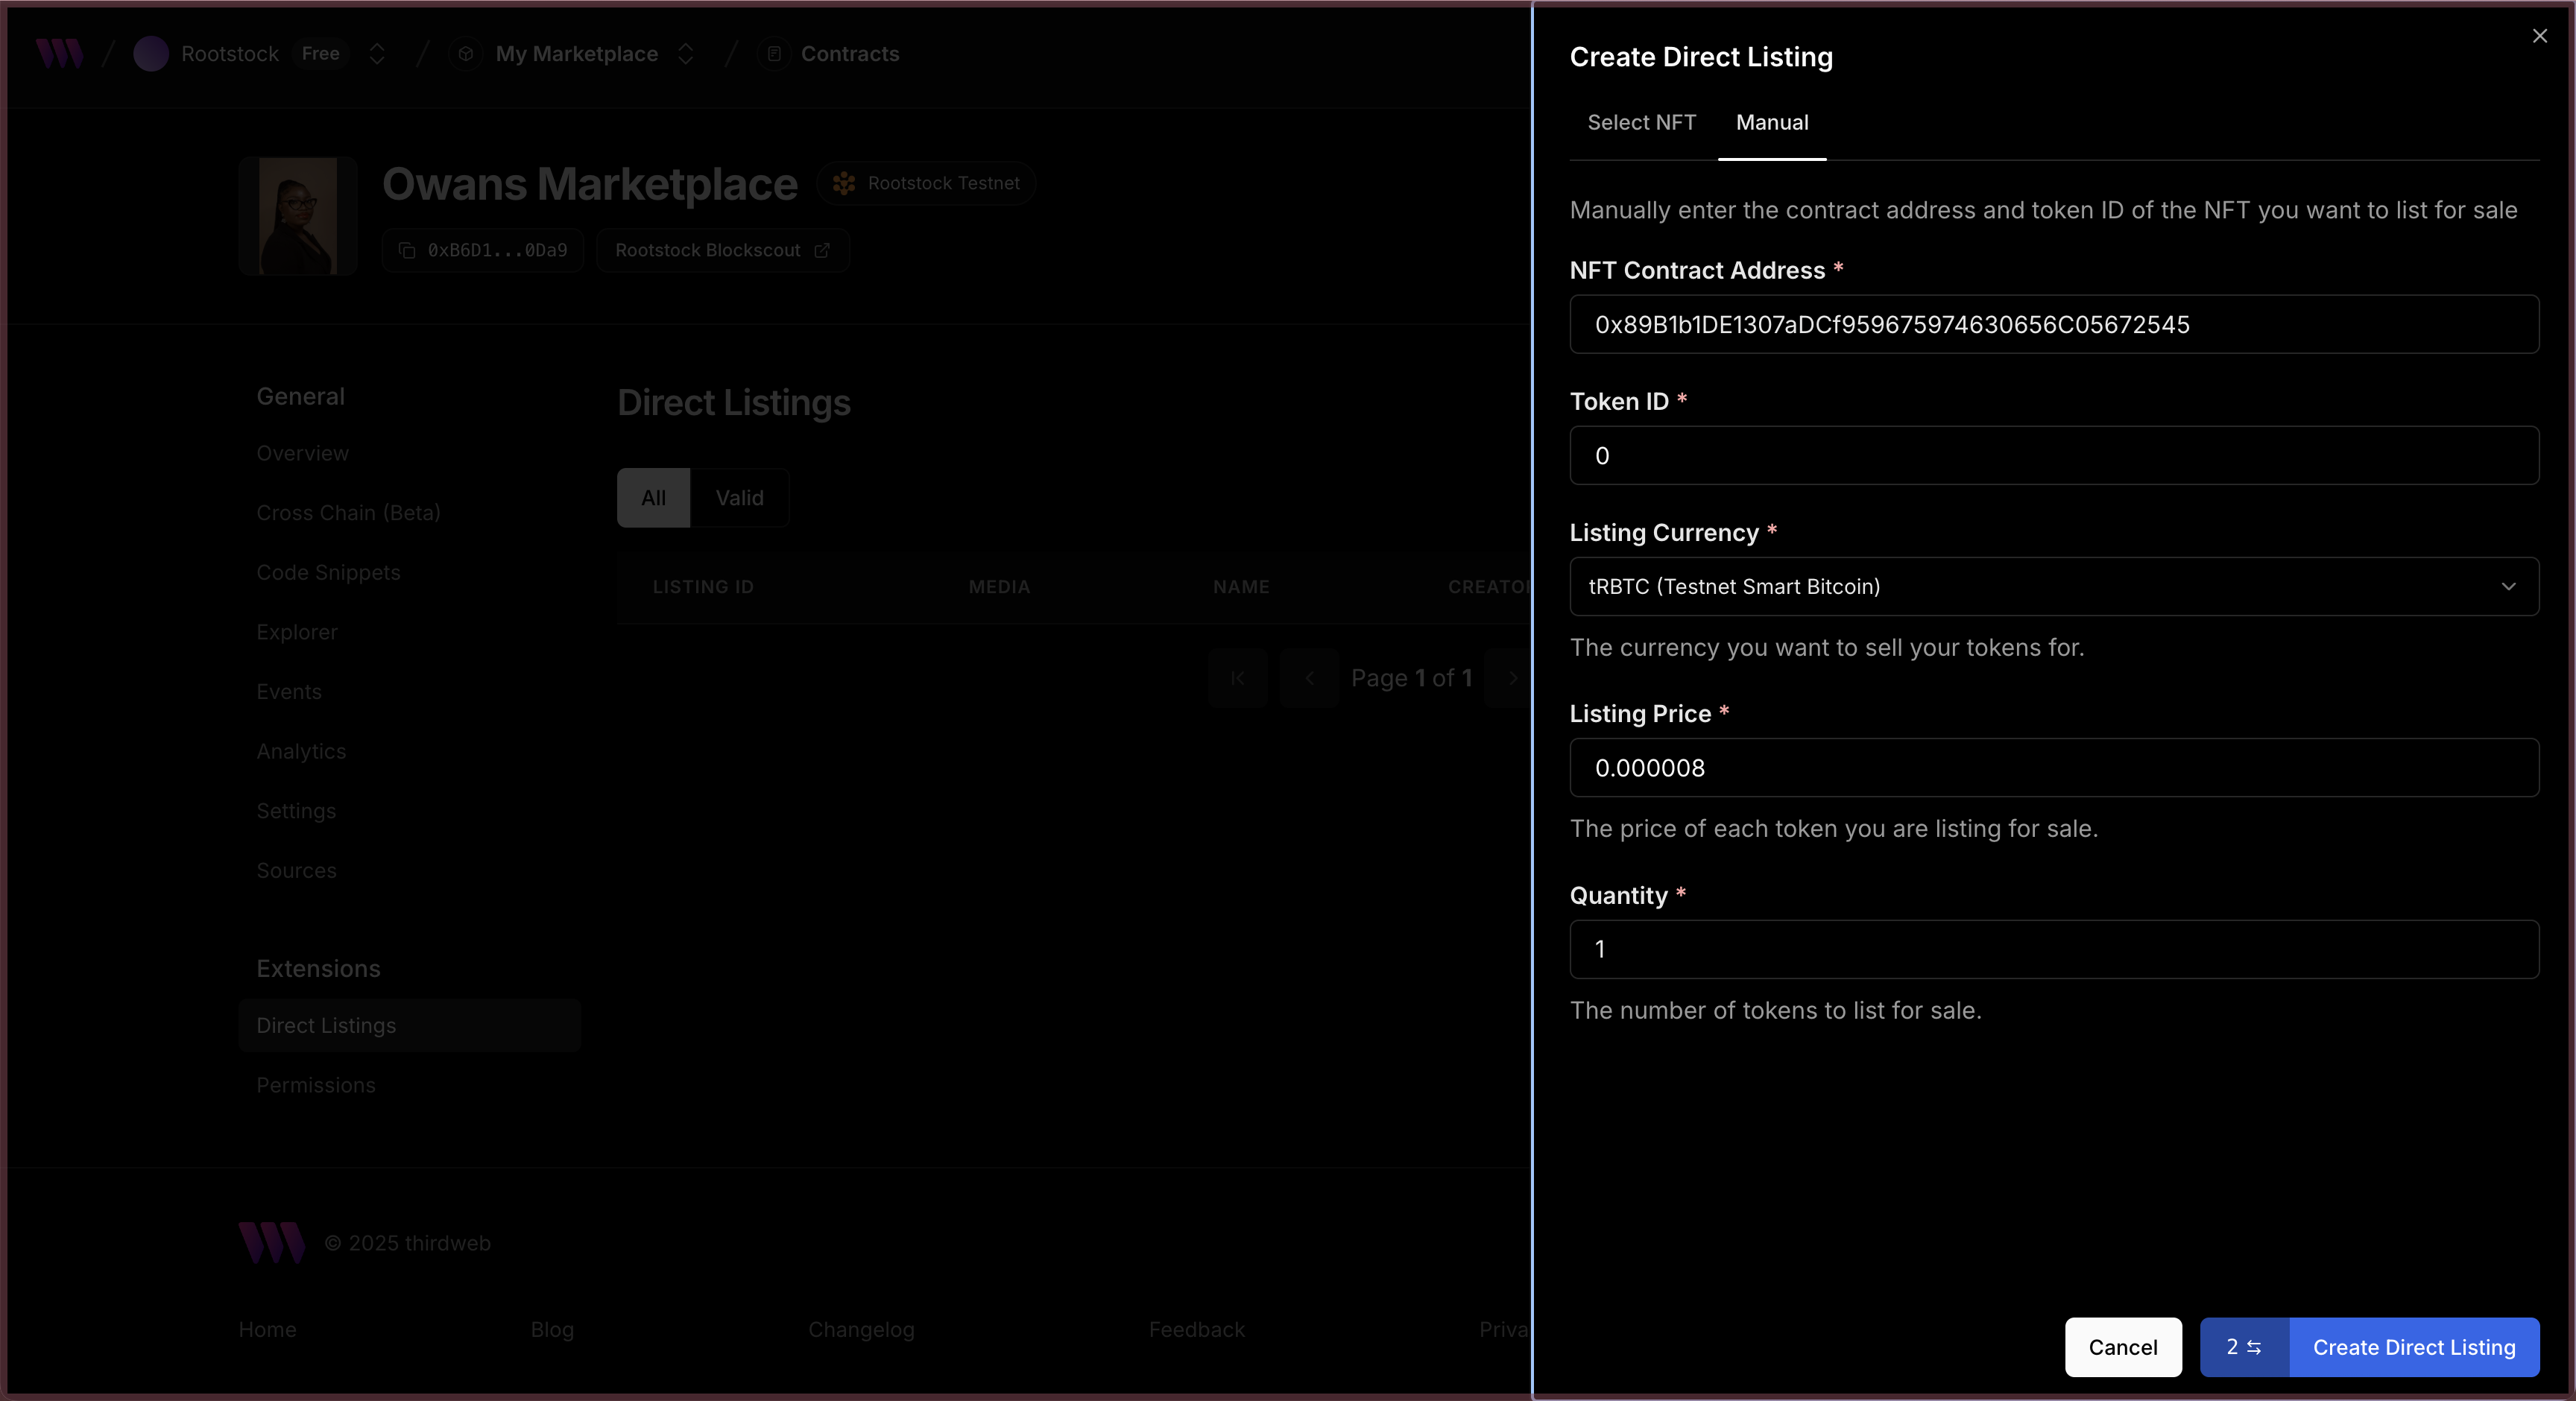
Navigate to the contracts section on your dashboard and click on the deployed contract. Locate the Extensions → Direct Listings on the left navigation. Click on Create Direct Listing.
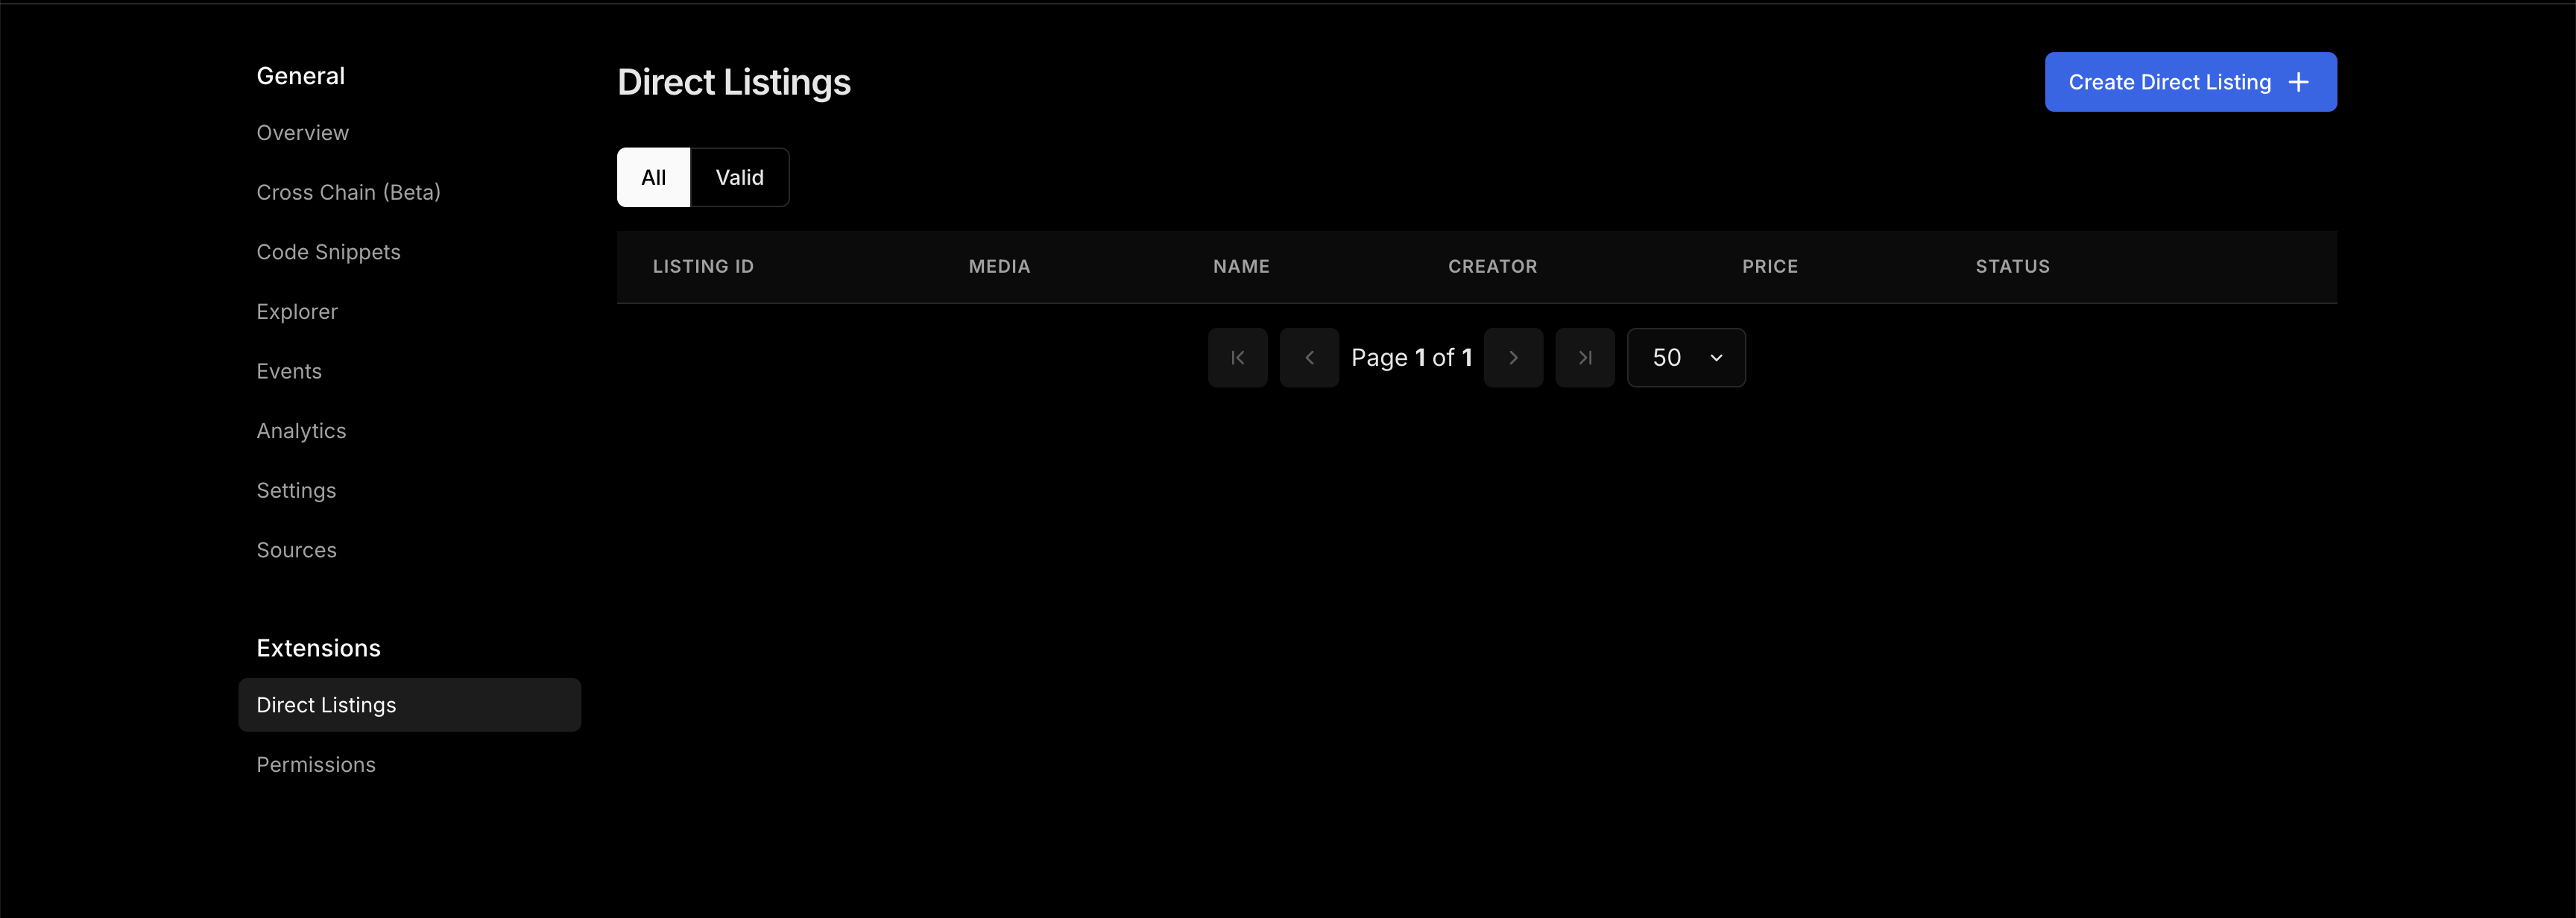
Choose the Manual option and fill in the following fields:
When a user clicks on the Sell button, a modal or dropdown menu appears with the following functionality:
-
Contract Collection Address The user enters the address of the NFT collection they want to list from. See how to launch an NFT collection
-
NFT Selection The system fetches the NFTs owned by the user from the specified collection. The user can then select the asset they wish to list.
-
Token ID or Type The user specifies the token ID (or selects it from a list, depending on UX preferences).
-
Listing Price The user sets the desired price for the NFT.
-
Quantity The number of tokens to list for sale.
-
Submit Listing Finally, the user clicks a button to trigger the listing transaction.
Viewing the Listed NFTs on Your dApp
Clicking on the Sell button on the dApp homepage opens a drawer menu with the following functionality. To view listings, connect your wallet.
CreateListing function
The createListing function requires several criteria to be defined, including:
- Quantity of NFTs being listed (usually 1 for ERC-721)
- NFT Collection Contract Address
- Token ID of the NFT
- Price per Token (in Wei)
- Listing Start and End Timestamps
import { createListing } from "thirdweb/extensions/marketplace";

const transaction = createListing({
      quantity: BigInt(1),
      contract: marketplaceContract,
      assetContractAddress: values.nftAddress as Address,
      tokenId: BigInt(values.tokenId),
      pricePerTokenWei: String(priceInWei),
      startTimestamp: new Date(),
      endTimestamp: new Date(Date.now() + 7 * 24 * 60 * 60 * 1000), // 7 days     });
These parameters give you control over the listing behaviour and availability.
Fetch Active Listings or Offers
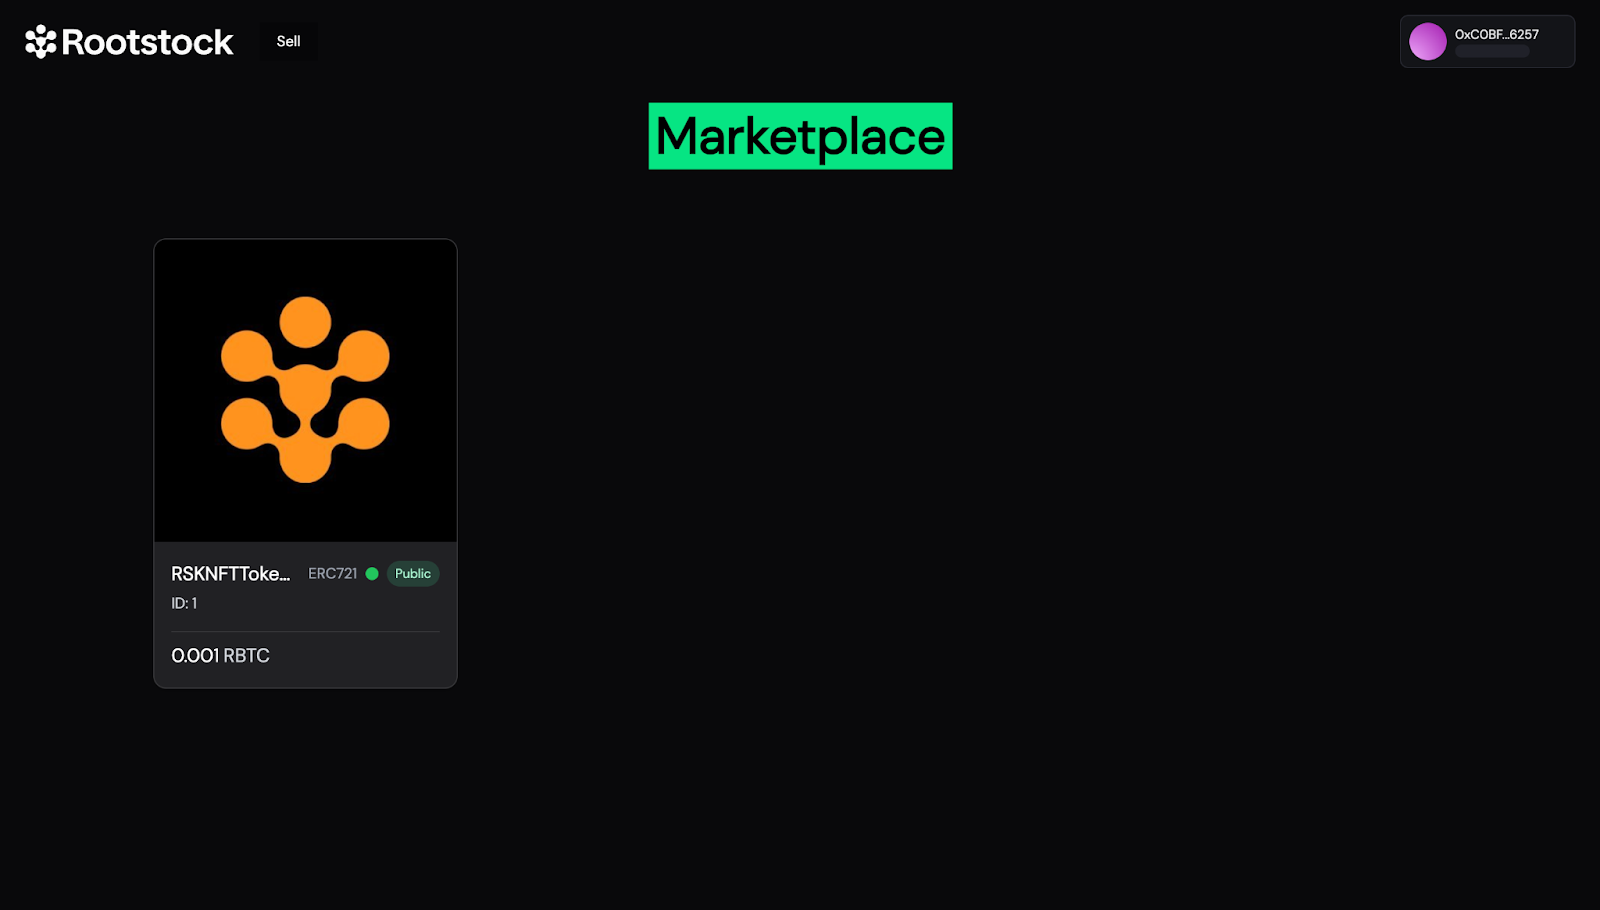
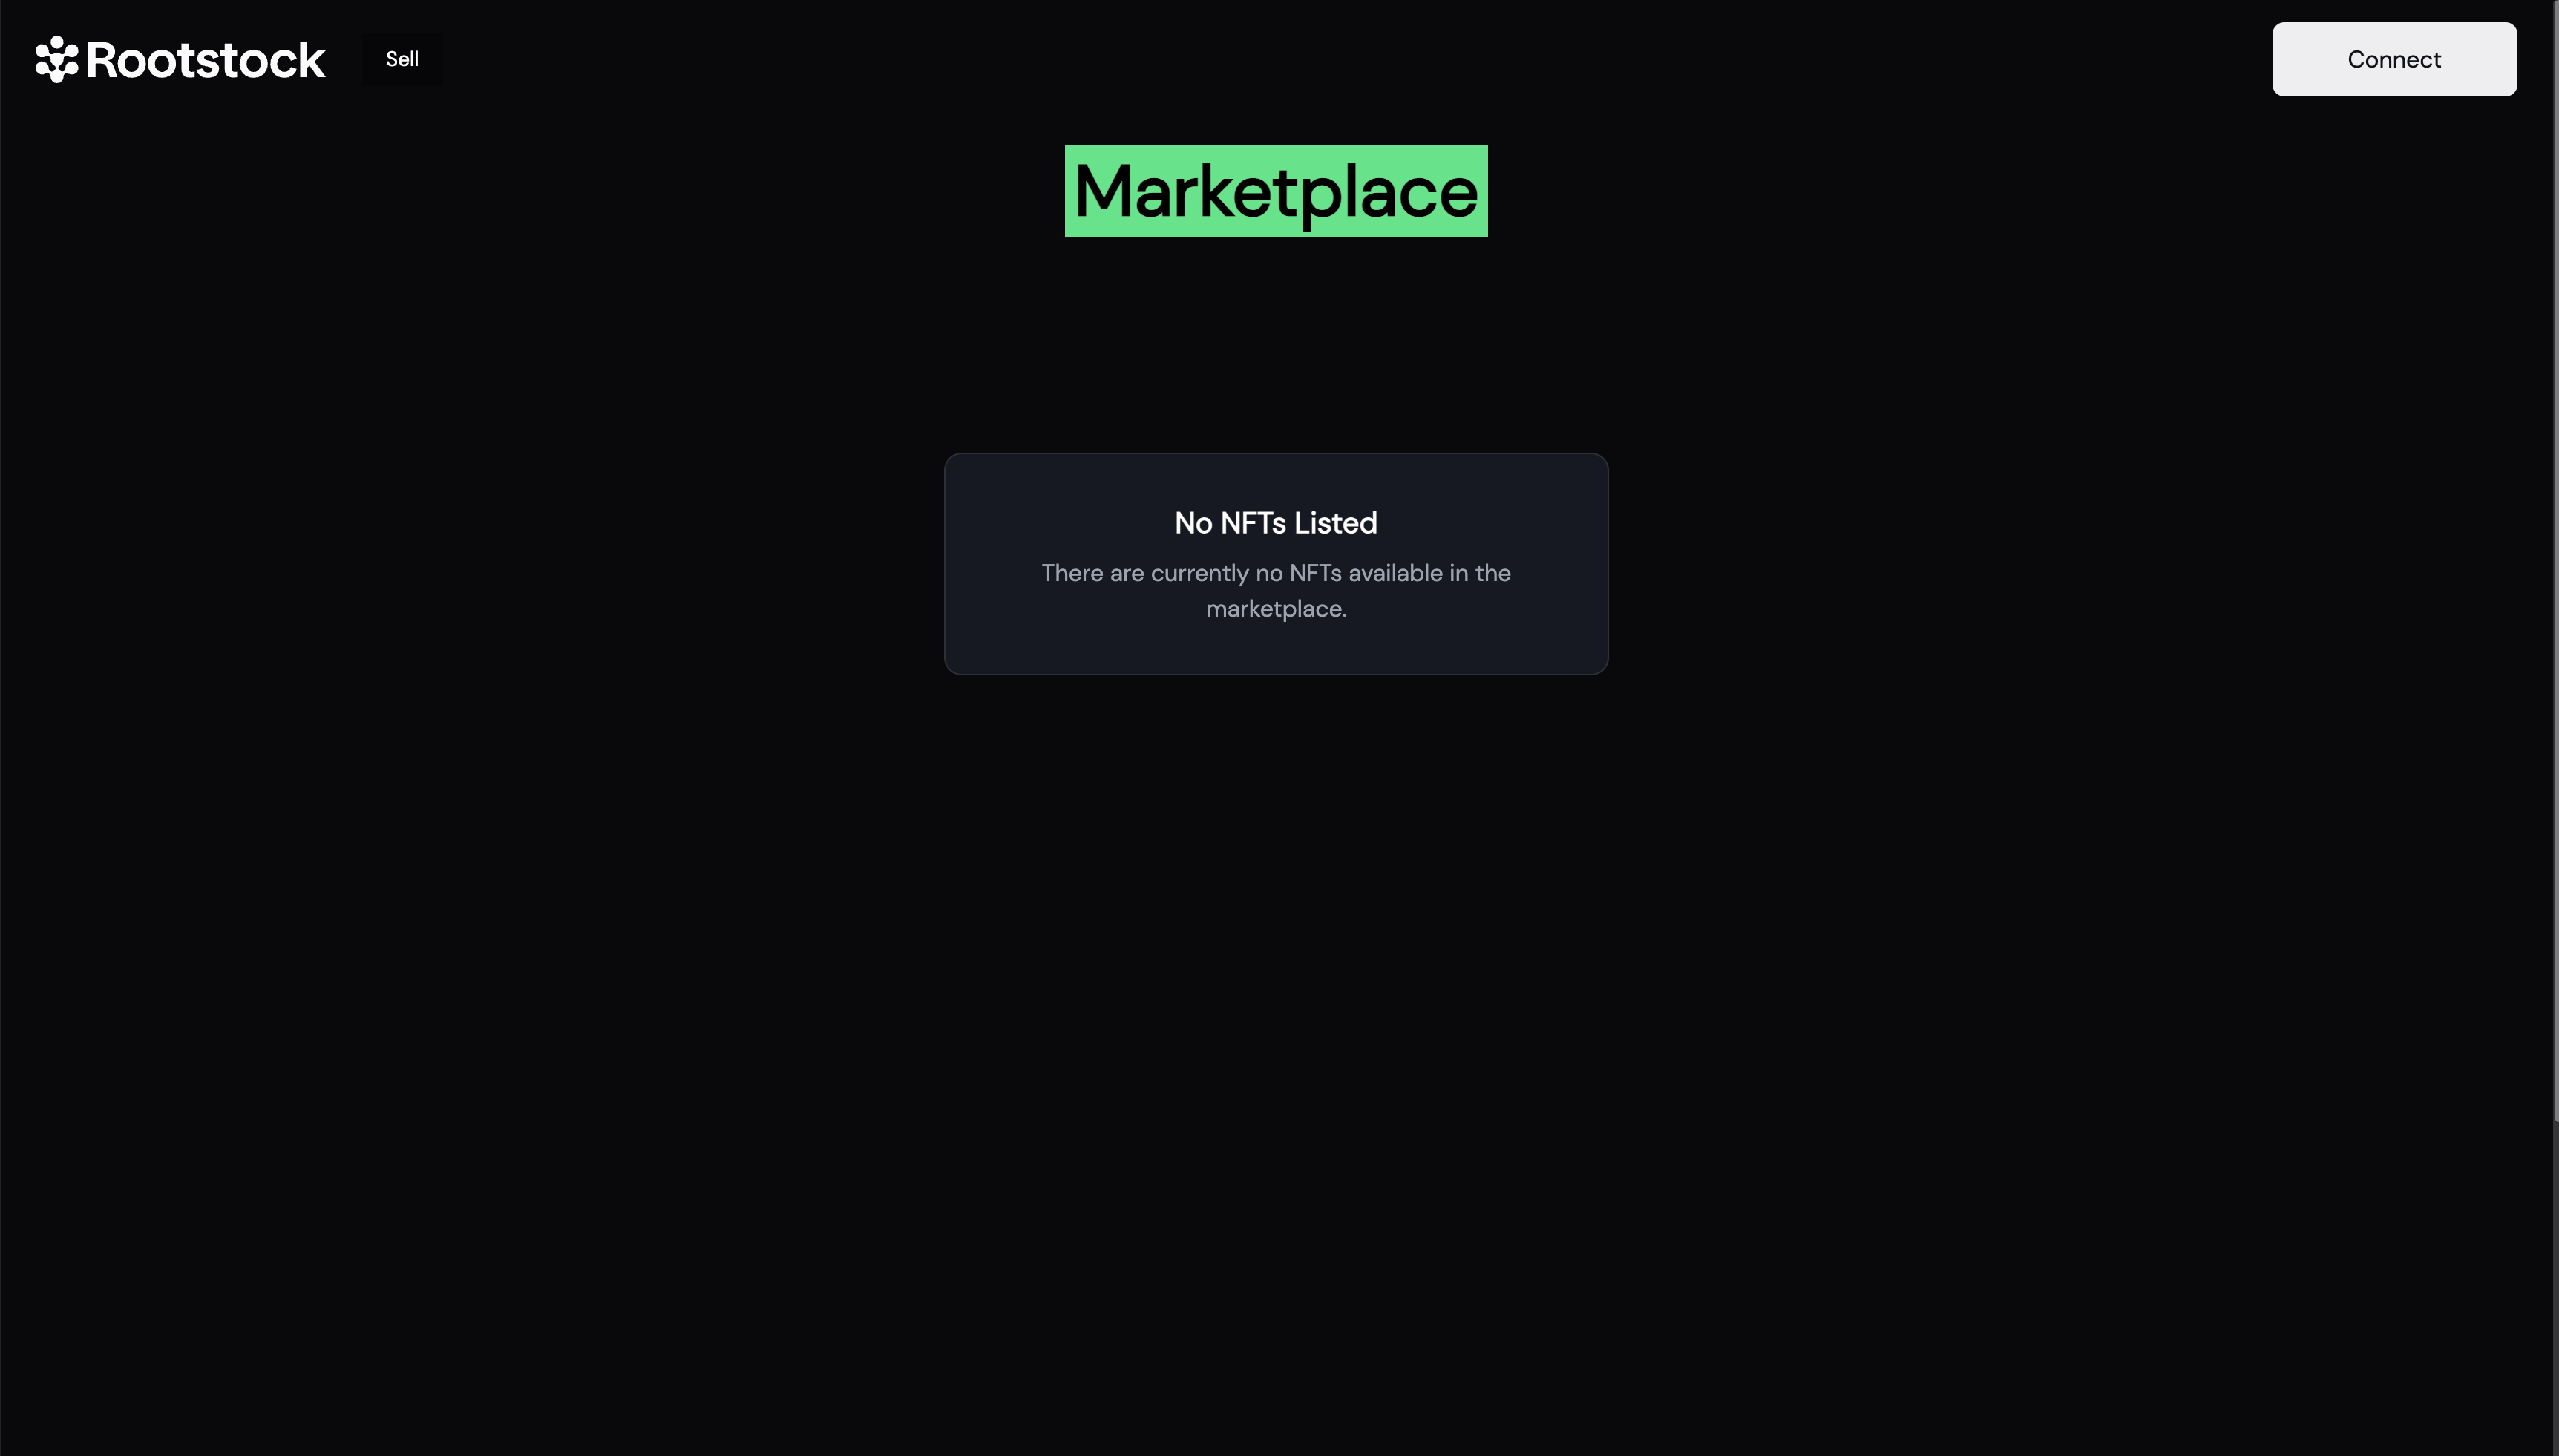
The homepage of your dApp serves as the storefront, showcasing all NFTs currently listed for sale. To achieve this, we utilize a Thirdweb hook in combination with a Marketplace extension that allows us to query the active listings directly from the contract.
Here's how you can fetch all valid listings:
import { useReadContract } from "thirdweb/react";
import { getAllValidListings } from "thirdweb/extensions/marketplace";

const { data: listings, isLoading } = useReadContract(getAllValidListings, {
    contract: marketplaceContract,
  });
Once the listings are retrieved, they are passed into a UI component responsible for rendering them cleanly on the homepage. To display NFT images and metadata, we use media rendering components provided by the thirdweb/react library, which seamlessly fetch and render media files directly from IPFS.
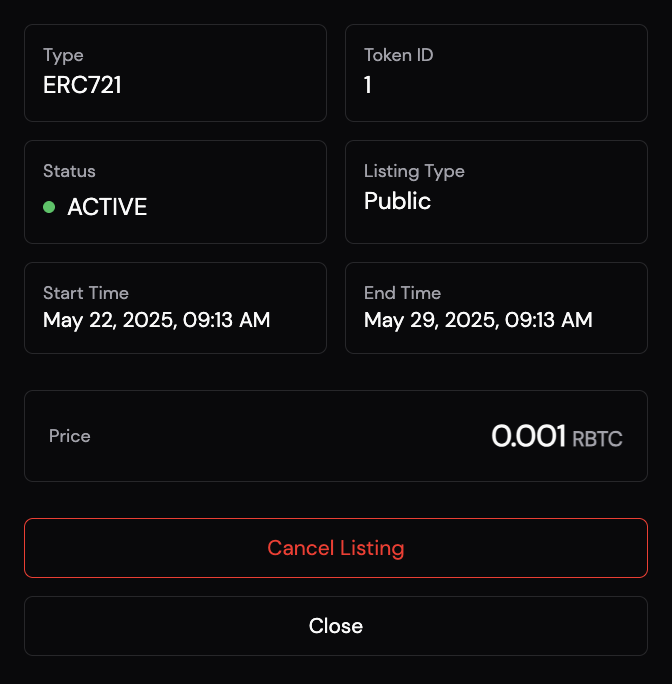
Cancel a Listing
To give users control over their listings, a "Cancel Listing" button is included next to each NFT they’ve put up for sale. When clicked, it immediately triggers the logic needed to remove that listing from the marketplace.
This connects to the marketplace contract and removes the specified listing using its ID.
Once confirmed, the listing disappears from the marketplace view. A quick toast message lets the user know it worked, and the UI refreshes to reflect the change instantly.
Buy a Listed NFT
The buying flow is as straightforward as it gets. Each listed NFT comes with a "Buy Now" button that kicks off the purchase process.
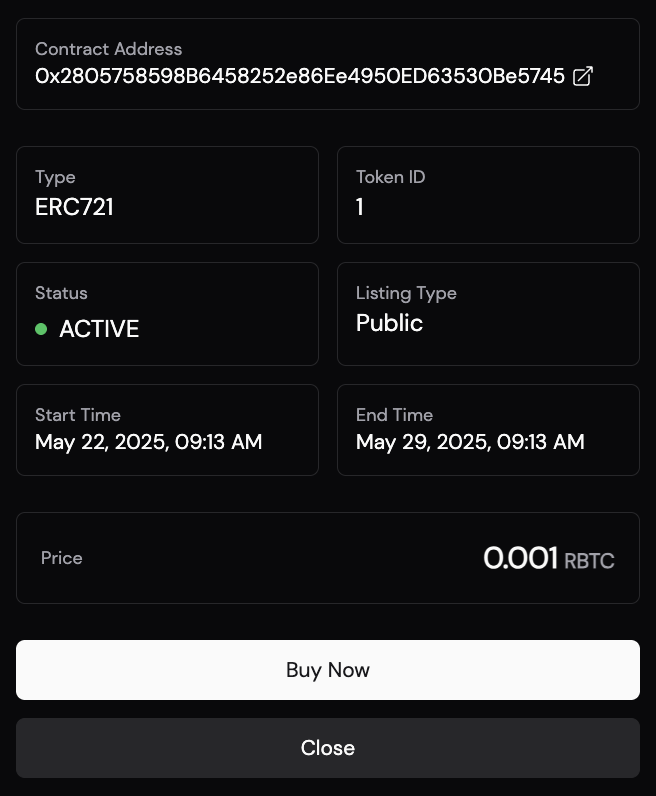
Once the button is clicked, the following code runs to handle the transaction:
const transaction = buyFromListing({
  contract: marketplaceContract,
  listingId: listing.id,
  quantity: BigInt(1),
  recipient: activeAccount.address,
});
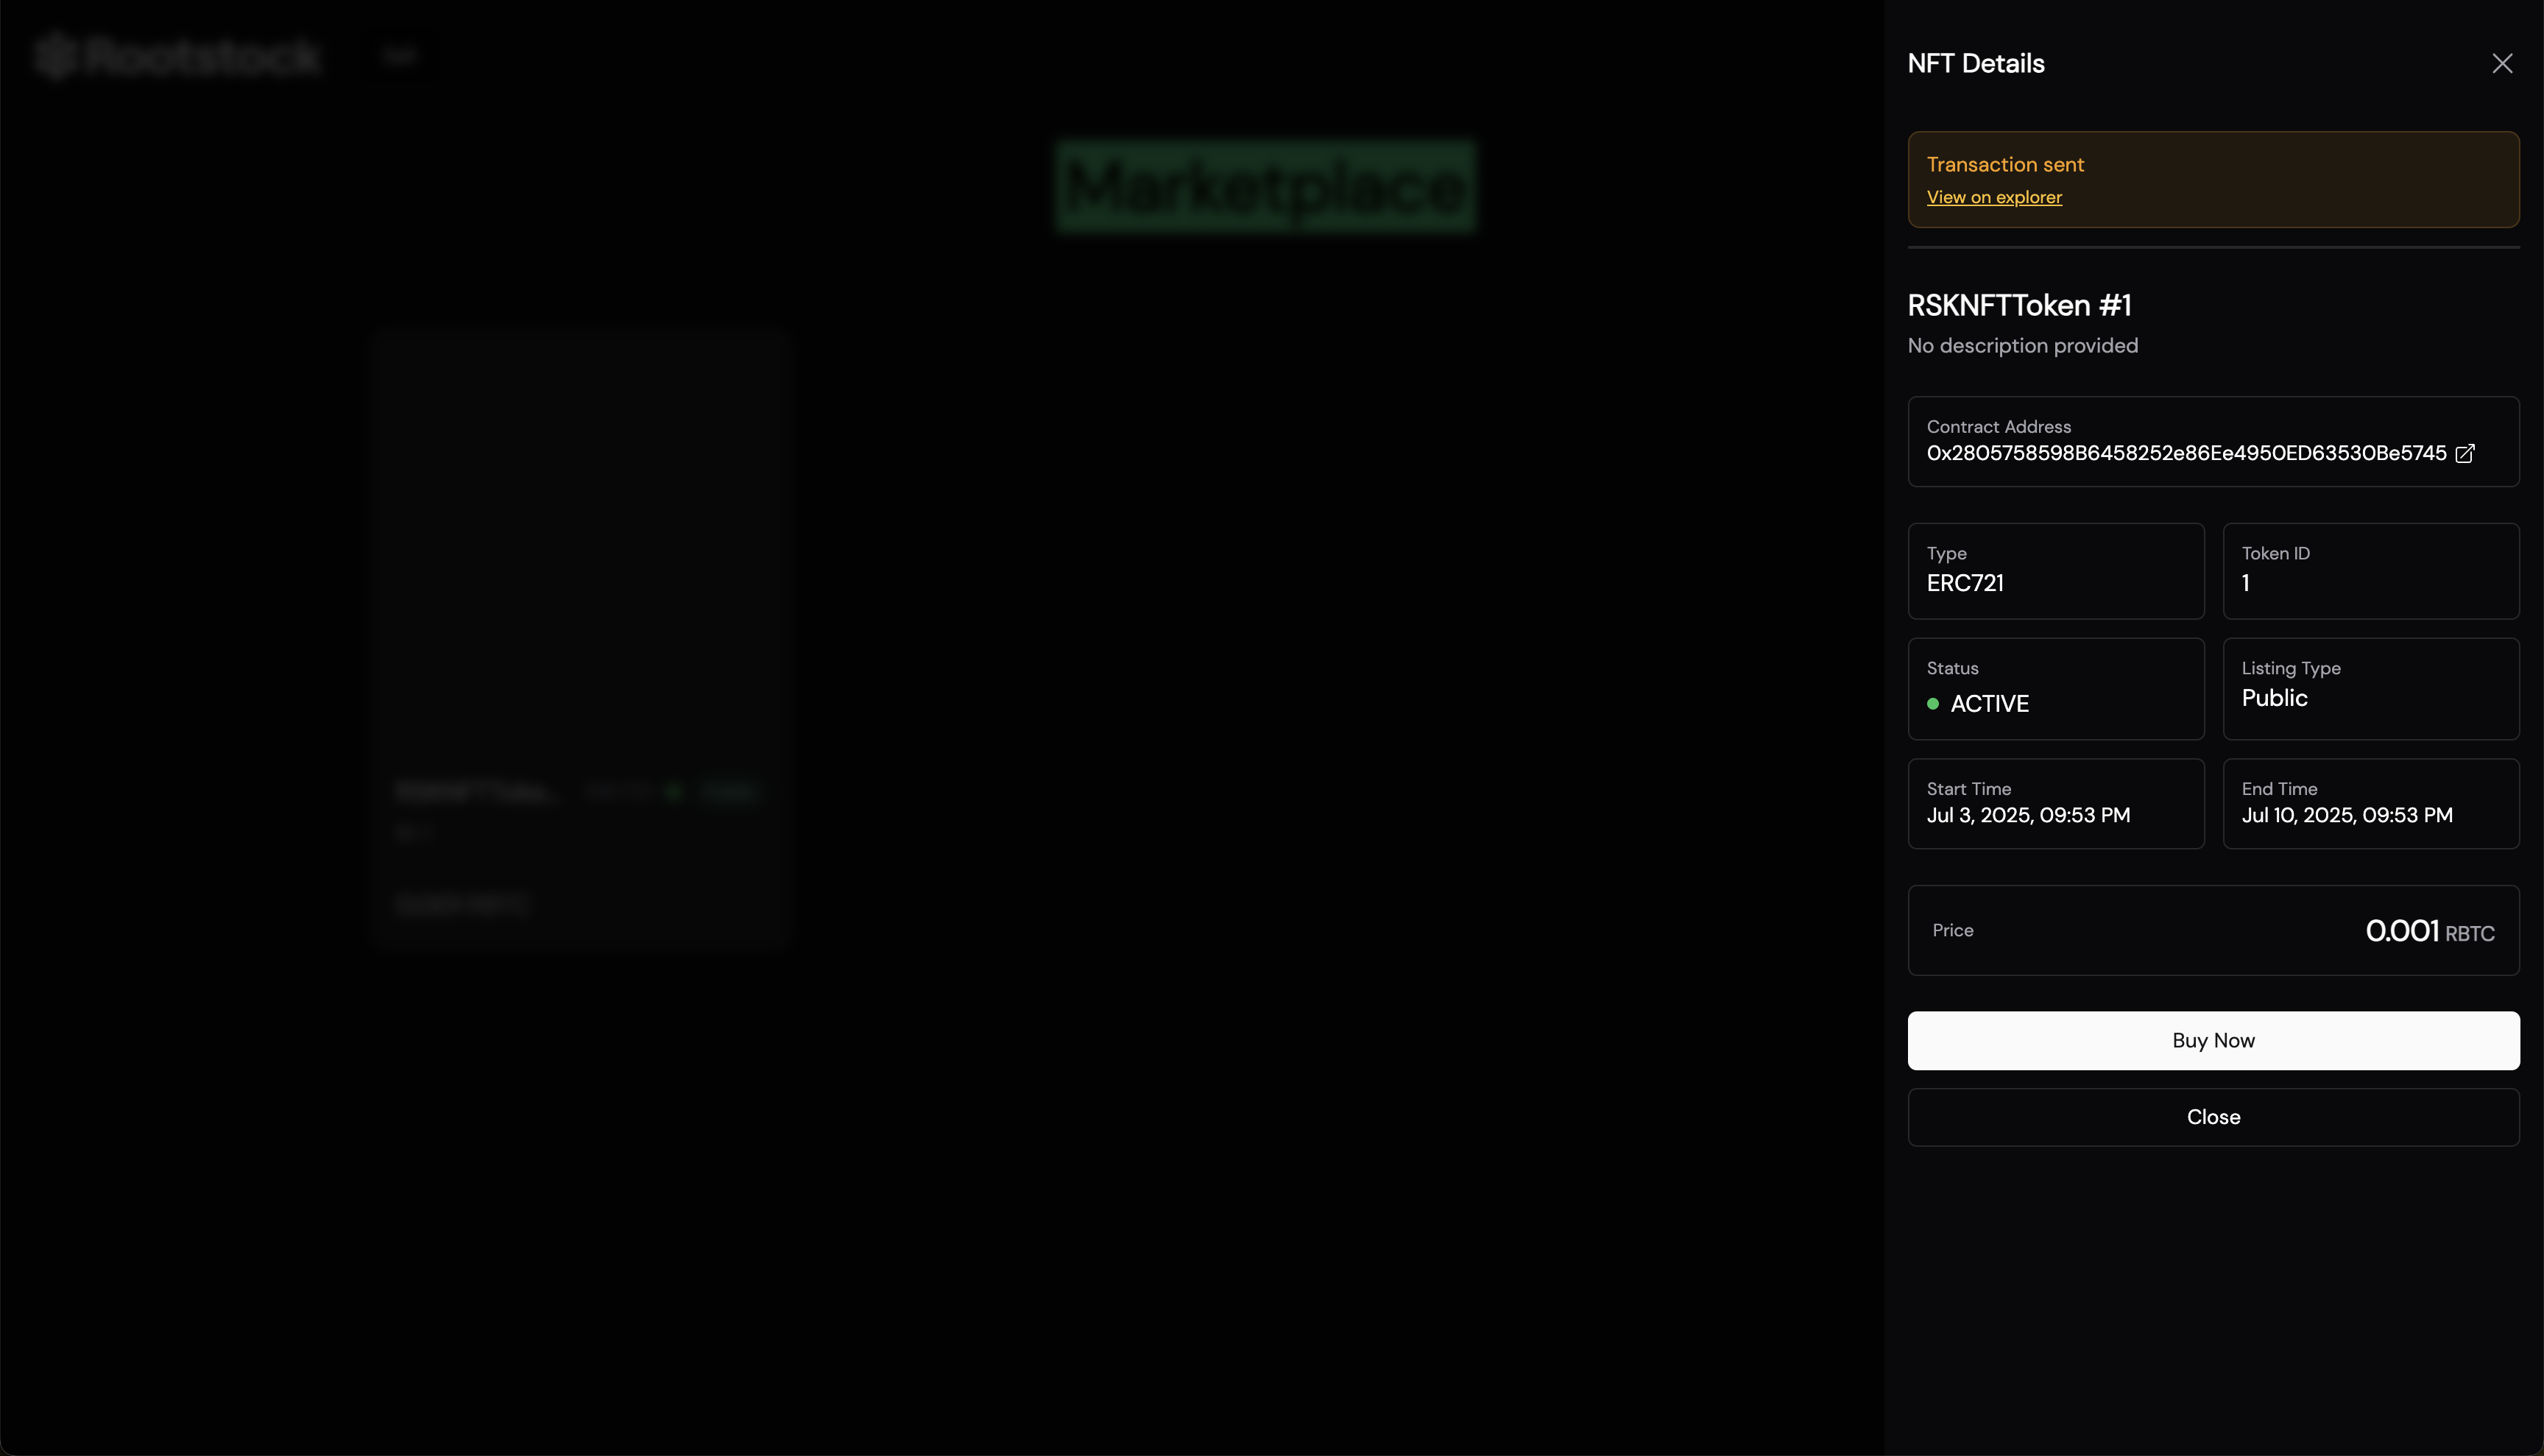
It connects to the marketplace contract, grabs the listing by its ID, and sends the NFT to the buyer’s wallet address. The quantity is set to 1, since most listings are for single NFTs, and the recipient is simply the connected wallet.
After the transaction is confirmed, the NFT is transferred, and the listing is automatically removed from the marketplace.
Conclusion
That’s it, you’ve got a fully functional NFT marketplace up and running on Rootstock. Listing, buying, canceling. It’s all wired up using Thirdweb’s tools and MarketplaceV3 under the hood.
To add features like auctions, user restrictions, or royalty logic, MarketplaceV3 supports all of that out of the box. Planning to scale or customize further? Check it out.