Components
Heading
Use this to organize your content and create a hierarchy for scannability. Use Heading one for the main title, Heading two for subheadings, and so on.
- Code
# Heading level 1
## Heading level 2
### Heading level 3
#### Heading level 4
##### Heading level 5
###### Heading level 6
Result
Heading level 1
Heading level 2
Heading level 3
Heading level 4
Heading level 5
Heading level 6
Lists
Use this to present items in a specific sequence (ordered list) or without order (unordered list).
Unordered list
- Code
- The first level of the hierarchy is for *purpose*.
  This is always `44'`, as per the BIP44 specification.
- The second level of the hierarchy is for the *registered coin type*.
  - For Rootstock Mainnet, this should be `137'`, as per the
    [SLIP-44](https://github.com/satoshilabs/slips/blob/master/slip-0044.md "Registered coin types for BIP-0044")
    specification.
  - For Rootstock Testnet, this should be `37310'`, as per the
    [RSKIP-57](https://github.com/rsksmart/RSKIPs/blob/master/IPs/RSKIP57.md "Derivation Path for Hierarchical Deterministic Wallets")
    specification.
- The final level of the hierarchy is for *index*: Addresses are numbered from index 0 in sequentially increasing manner. This number is used as child index in [BIP32 derivation](https://github.com/bitcoin/bips/blob/master/bip-0032.mediawiki#specification-key-derivation "Hierarchical Deterministic Wallets - Key Derivation"). Public derivation is used at this level.
Result:
- The first level of the hierarchy is for purpose.
This is always
44', as per the BIP44 specification. - The second level of the hierarchy is for the registered coin type.
- The final level of the hierarchy is for index: Addresses are numbered from index 0 in sequentially increasing manner. This number is used as child index in BIP32 derivation. Public derivation is used at this level.
Ordered List
- Code
1. The PowPeg App is now available on [Testnet](https://powpeg.testnet.rootstock.io/) and [Mainnet](https://powpeg.rootstock.io/).
2. For general information about the design and architecture, how to perform a peg-in transaction using Ledger and Trezor, Frequently asked questions and advanced operations you can perform on the PowPeg App, please refer to the [PowPeg App user guide](/concepts/powpeg/).
3. Get information on the signatories and attestion in the [Powpeg Protocol HSM Firmware Attestation](/concepts/powpeg/hsm-firmware-attestation) section.
Result:
- The PowPeg App is now available on Testnet and Mainnet.
- For general information about the design and architecture, how to perform a peg-in transaction using Ledger and Trezor, Frequently asked questions and advanced operations you can perform on the PowPeg App, please refer to the PowPeg App user guide.
- Get information on the signatories and attestion in the PowPeg Protocol HSM Firmware Attestation section.
Blockquote
Use this to highlight quoted text, differentiating it from your own writing.
- Code: Highlighting a user testimonial or an excerpt from another source.
> If you're new to Web3 and Smart Contract Development, begin by exploring the [Rootstock network](/developers/blockchain-essentials/overview/). Then progress step by step to the quick start Guide with Hardhat for a comprehensive understanding of the network and getting started with writing, testing, and deploying smart contracts on Rootstock.
Result:
If you're new to Web3 and Smart Contract Development, begin by exploring the Rootstock network. Then progress step by step to the quick start Guide with Hardhat for a comprehensive understanding of the network and getting started with writing, testing, and deploying smart contracts on Rootstock.
Quote
- Code
<Quote caption="Alex Min, Head of Marketing">
  ...
</Quote>
Result
When we first integrated Rootstock, we had about 1,000 WAUs using the wallet. Less than eight months later, we have 12,000 WAUs. That’s 11x growth in 8 months, an average of nearly 140% growth month over month, with most users coming from the Rootstock community.
Images
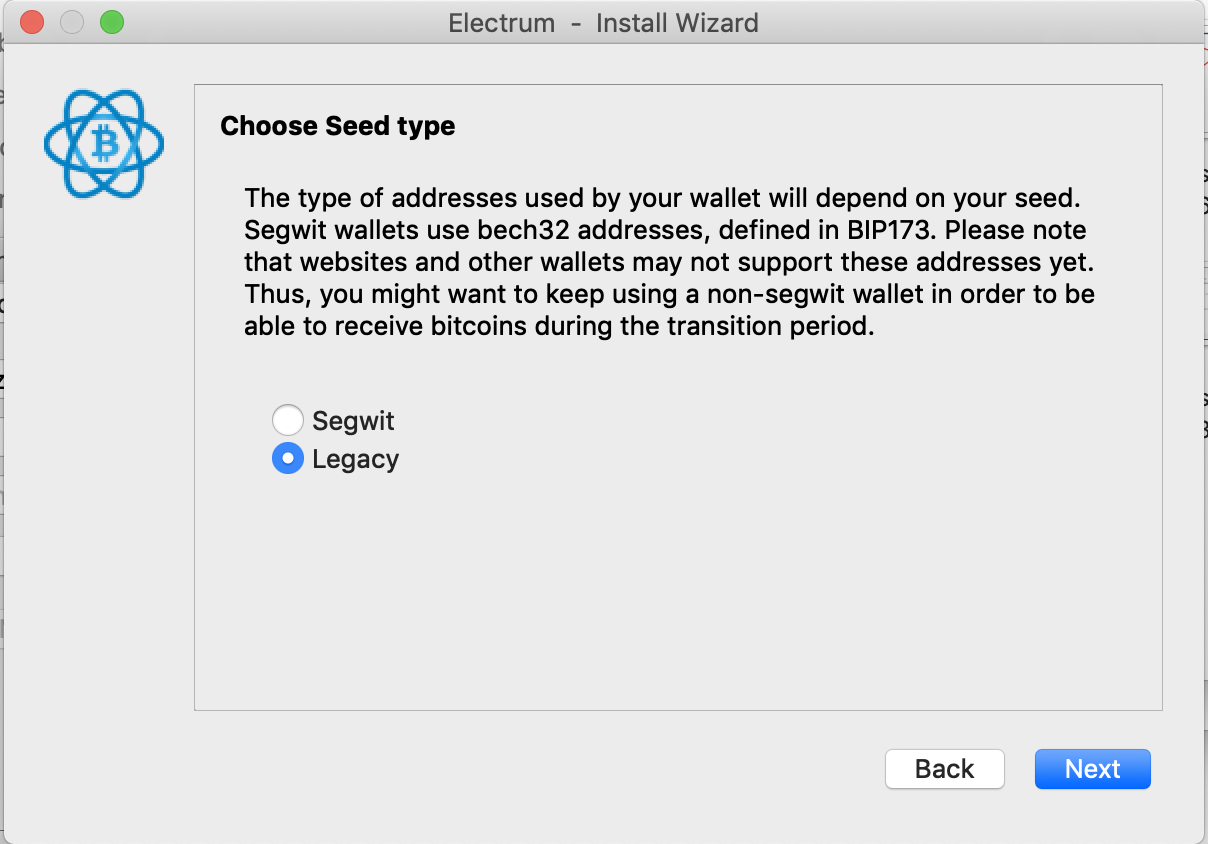
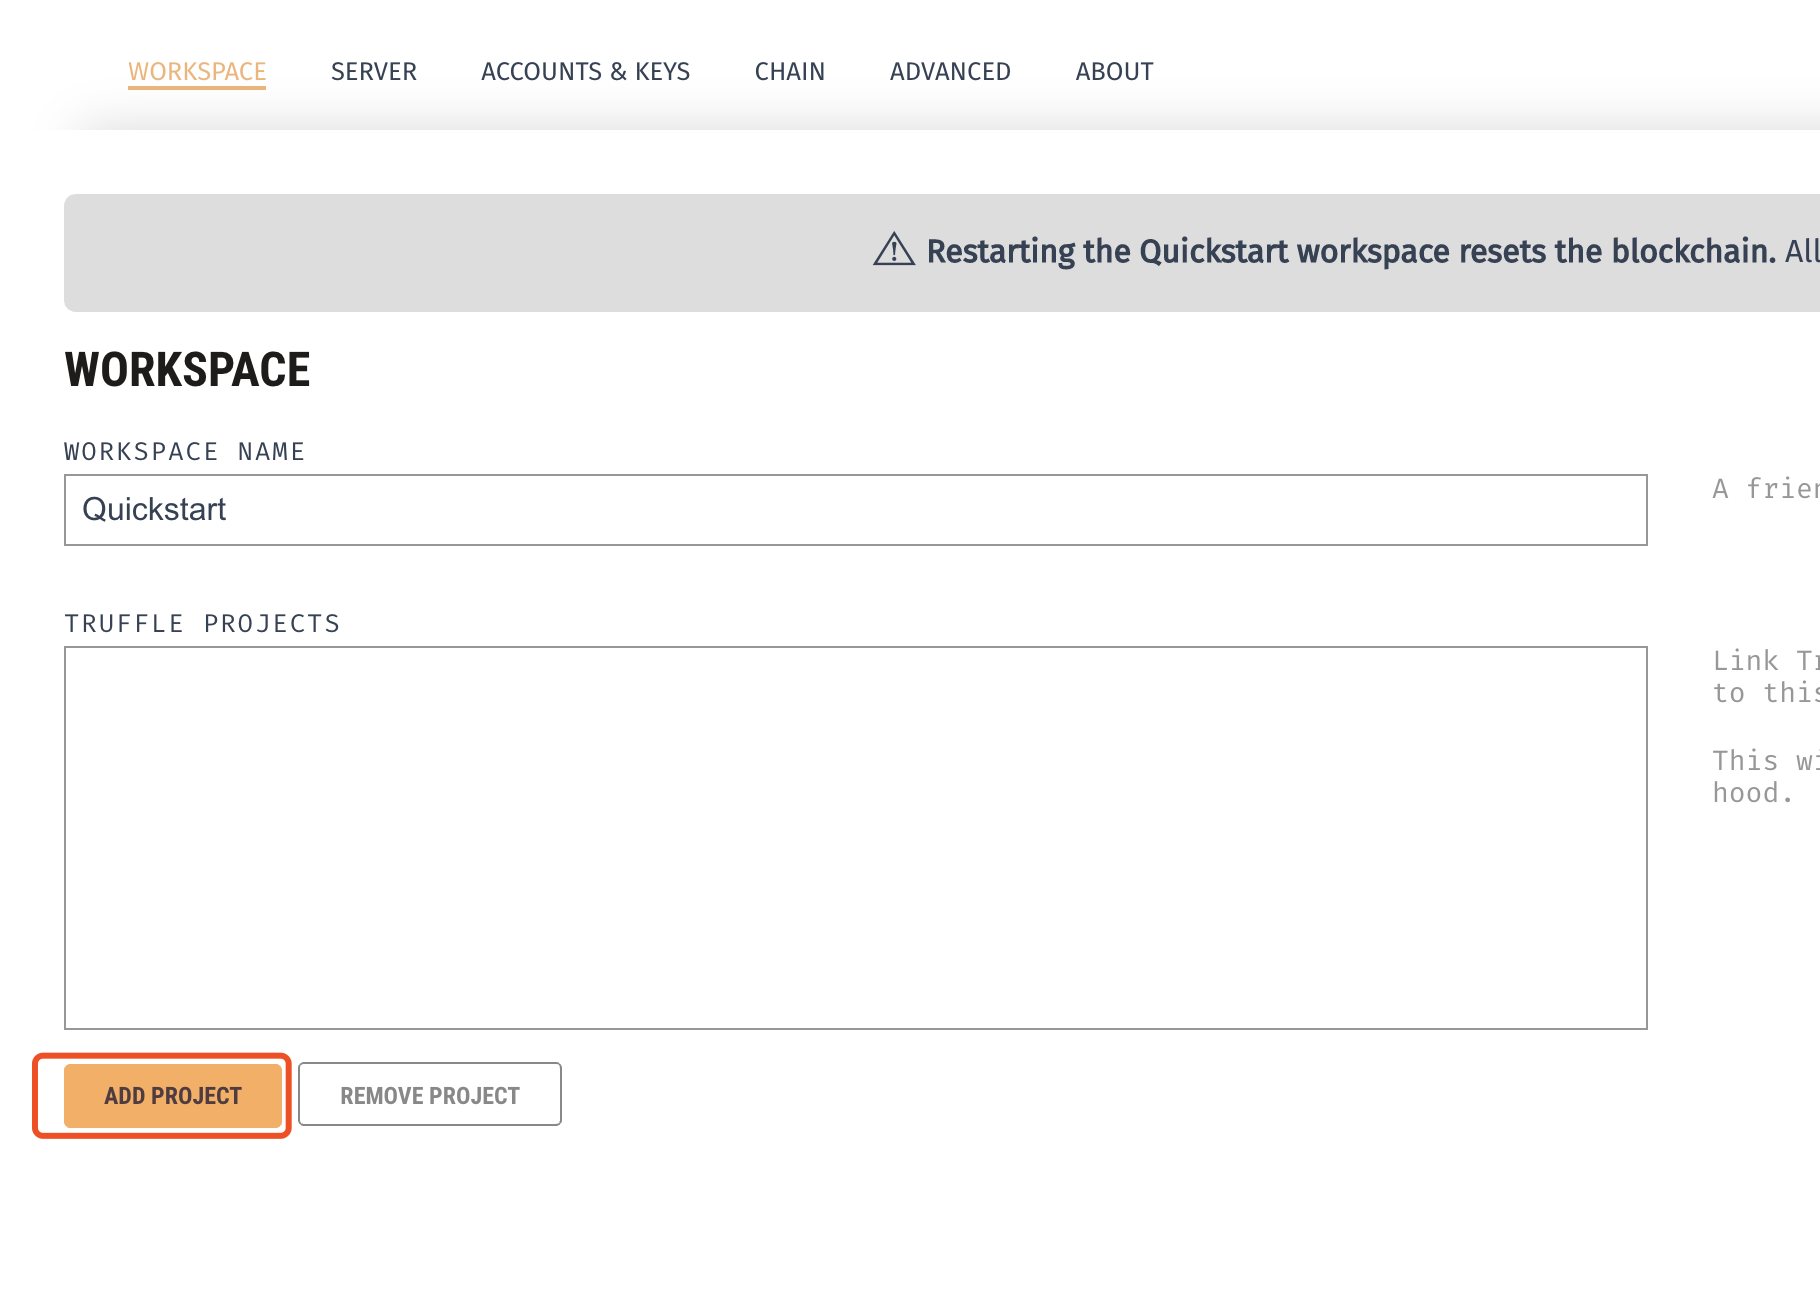
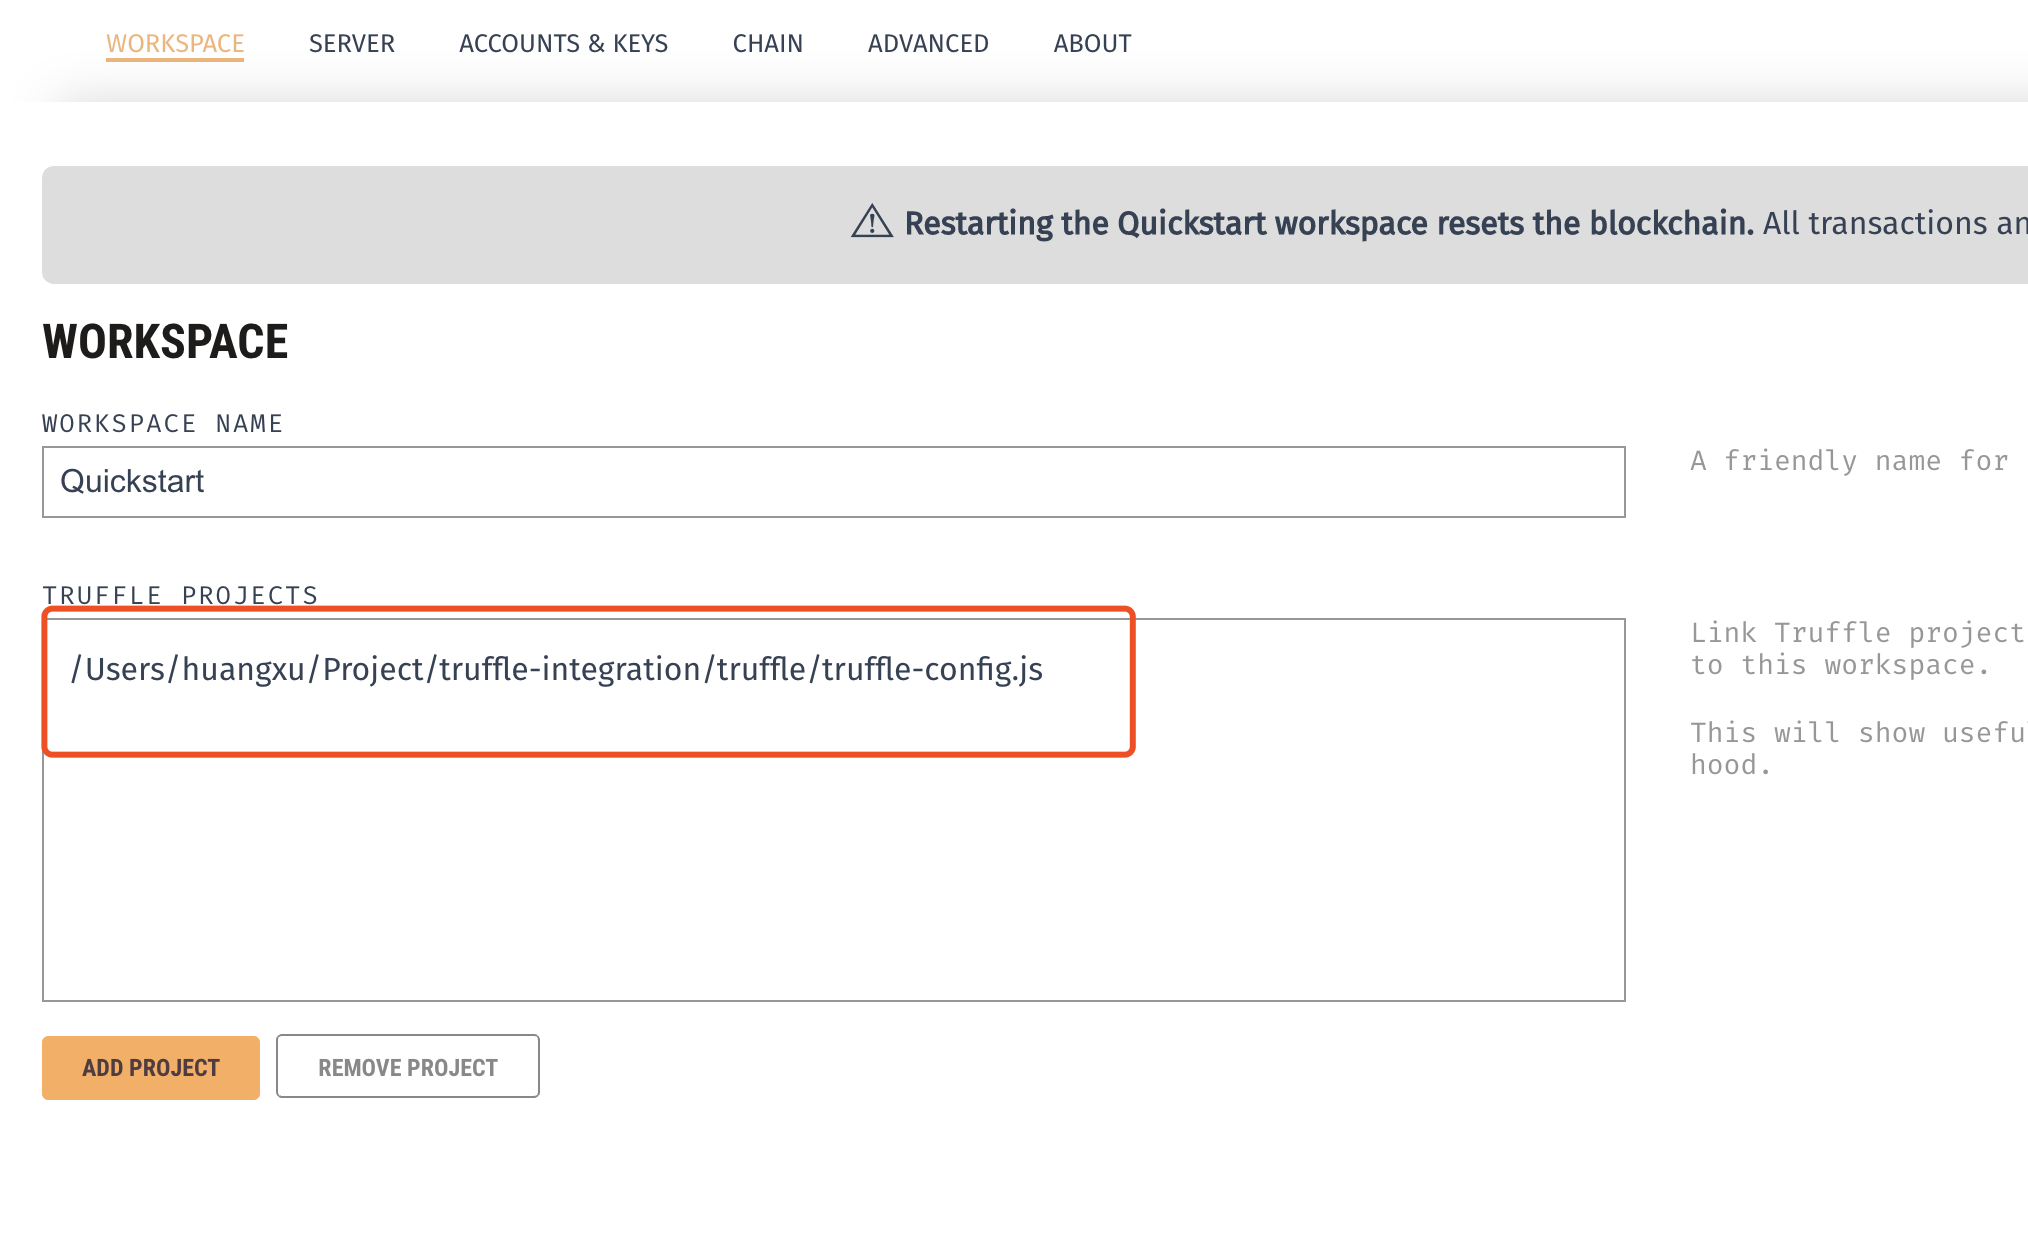
Use this to enhance understanding and visual appeal. Ensure images are relevant and of high quality, sizes should be width 800 and height 600.
You can add images in two ways on our doc.
Markdown image
- Codes

Result
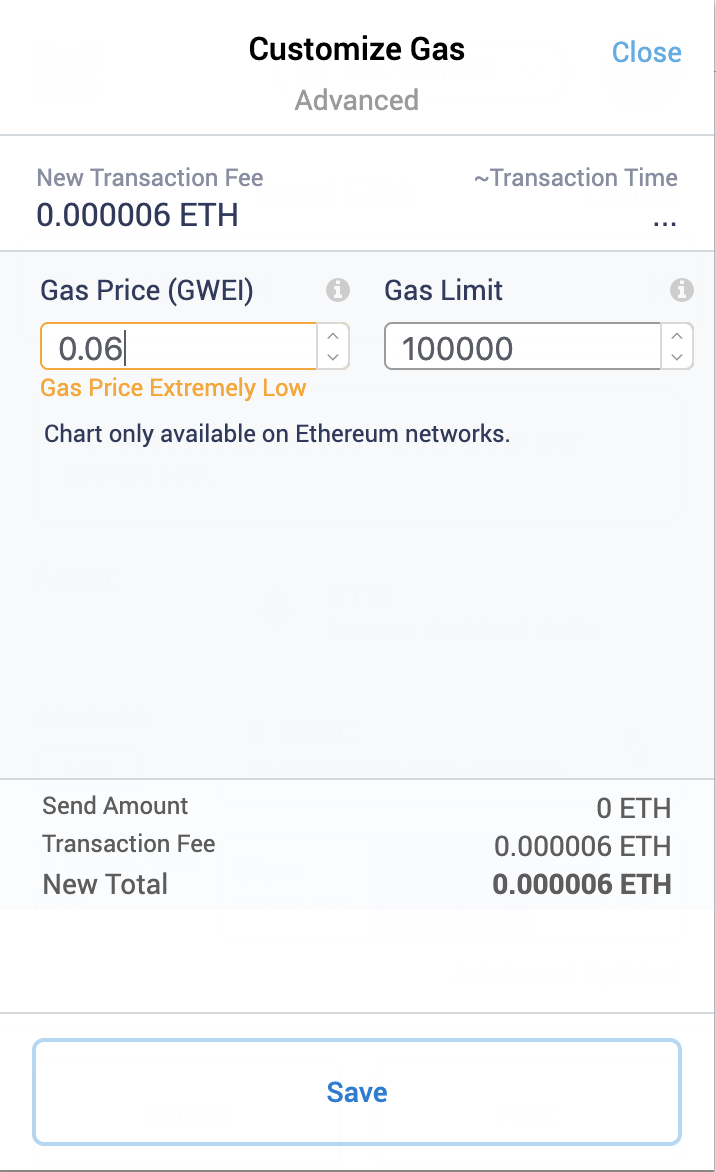
HTML image (max height limit 400px)
- Codes
<img src="/img/resources/rootstock-metamask/rootstock-hardhat-starter-kit.png" width="800" height="600"/>
Result
Gallery/Slider
Use this to showcase a series of images or content that benefit from a swiping or sliding interface.
- Codes
<Carousel width="370" height="260" images={['/img/concepts/rootstock-tech-stack.svg', ... , '/img/metamask-gas-limit.png']} />
Result
Video
Use this to demonstrate functionalities, complex explanations, or walkthroughs.
-
YouTube video no thumbnail
- Code
<Video url="https://www.youtube-nocookie.com/embed/eW9UF2aJQgs?cc_load_policy=1" />- Result
-
MP4 video no thumbnail
- Code
<Video url="/video/video.mp4" />- Result
-
MP4 video with custom thumbnail
- Code
<Video url="/video/video.mp4" thumbnail="/img/video-thumbnail.jpg" />- Result

Code
<Video url="https://www.youtube-nocookie.com/embed/eW9UF2aJQgs" thumbnail="/img/thumbnails/video-thumbnail.jpg" />
Admonitions
Admonitions are a great way to emphasize important information in your documentation. Here are some common types of admonitions and their use cases on our doc:
-
Tips:
- Use case: To share helpful tips, tricks, or best practices.
- Example: "Tip: Optimize your code by using memoization for frequently computed values."
-
Notes:
- Use case: To inform users about something important or provide additional context.
- Example: "Note: This feature requires an active internet connection."
-
Warnings:
- Use case: To warn against potential issues, risks, or pitfalls.
- Example: "Warning: Modifying system files without proper backup can lead to data loss."
-
Success:
- Use case: To indicate successful completion of an action or process.
- Example: "Success: Your payment has been processed."
-
Error:
- Use case: To highlight errors, issues, or failures.
- Example: "Error: Invalid username or password. Please try again."
-
Info:
- Use case: To provide general information or context.
- Example: "Info: This feature is available in the latest version of the app."
There is no option to change color.
- Code
:::note

Some **content** with _Markdown_ `syntax`. Check [this `api`](#).

:::

:::tip[Tip]

Some **content** with _Markdown_ `syntax`. Check [this `api`](#).

:::

:::info[Info]

Some **content** with _Markdown_ `syntax`. Check [this `api`](#).

:::

:::warning[Warning]

Some **content** with _Markdown_ `syntax`. Check [this `api`](#).

:::

:::danger[Error]

Some **content** with _Markdown_ `syntax`. Check [this `api`](#).

:::

:::success[Success]

Some **content** with _Markdown_ `syntax`. Check [this `api`](#).

:::
- Result
syntax!Some content with Markdown syntax. Check this api.
The Smart Bitcoin (RBTC) is the native currency in Rootstock and it is used to pay for the gas required for the execution of transactions. It is pegged 1:1 with Bitcoin, which means in Rootstock there are exactly 21M RBTC. A PowPeg App allows the transfer of bitcoins from the Bitcoin blockchain to the Rootstock blockchain and vice-versa make test
Some content with Markdown syntax. Check this api.
Some content with Markdown syntax. Check this api.
Some content with Markdown syntax. Check this api.
Some content with Markdown syntax. Check this api.
Some content with Markdown syntax. Check this api.
Tables
Use this to present structured data with clear rows and columns for easy comparison or reference.
- Code
| Product                                                      | Description                                                                                    |
| ----------------------------------------------------------- | ---------------------------------------------------------------------------------------------- |
| Flyover | Flyover is a fast and secure way for users to transfer BTC in and out of the Rootstock Ecosystem where it can be used to interact with a range of applications to send, save and spend money. |
| RNS | RNS (RIF Name Service) replaces complicated cryptocurrency addresses with easy-to-remember nicknames, simplifying digital asset transactions. It also facilitates the integration of a Self Sovereign Identity protocol into your products, which enhances user security and flexibility. .|
| Wallet | Bring Bitcoin DeFi to your users with RIF Wallet, an open source Bitcoin wallet with smart contract capabilities. Open-source, fully programmable and customizable.|
| [Relay](/developers/integrate/rif-relay/) | RIF Relay simplifies gas fee payments by allowing users to pay transaction fees with any ERC20 token. This enables end users to transact entirely using one asset, removing complexity and improving onboarding.|
- Result
| Product | Description |
|---|---|
| Flyover | Flyover is a fast and secure way for users to transfer BTC in and out of the Rootstock Ecosystem where it can be used to interact with a range of applications to send, save and spend money. |
| RNS | RNS (RIF Name Service) replaces complicated cryptocurrency addresses with easy-to-remember nicknames, simplifying digital asset transactions. It also facilitates the integration of a Self Sovereign Identity protocol into your products, which enhances user security and flexibility. |
| Wallet | Bring Bitcoin DeFi to your users with RIF Wallet, an open source Bitcoin wallet with smart contract capabilities. Open-source, fully programmable and customizable. |
| Relay | RIF Relay simplifies gas fee payments by allowing users to pay transaction fees with any ERC20 token. This enables end users to transact entirely using one asset, removing complexity and improving onboarding. |
Accordion
Use this to present collapsible sections of content, useful for long lists or frequently asked questions.
- Code
<Accordion>
  <Accordion.Item eventKey="0">
    <Accordion.Header as="h3">What is Rootstock?</Accordion.Header>
    <Accordion.Body>
      ...
    </Accordion.Body>
  </Accordion.Item>
  <Accordion.Item eventKey="1">
    <Accordion.Header as="h3">What is a smart contract?</Accordion.Header>
    <Accordion.Body>
      ...
    </Accordion.Body>
  </Accordion.Item>
  <Accordion.Item eventKey="2">
    <Accordion.Header as="h3">Is the Rootstock network compatible with the Ethereum network?</Accordion.Header>
    <Accordion.Body>
      ...
    </Accordion.Body>
  </Accordion.Item>
</Accordion>
- Result
LRootstock is the first and longest-lasting Bitcoin sidechain. It is the only layer 2 solution that combines the security of Bitcoin's proof of work with Ethereum's smart contract capabilities. The platform is open-source, EVM-compatible, and secured by over 60% of Bitcoin’s hashing power, making it the gateway to a vibrant ecosystem of dApps that continues to evolve to become fully trustless.
Smart contracts are digital agreements stored on a blockchain network such as Rootstock and executed automatically without intermediaries. A smart contract allows digital assets to be controlled, exchanged, and transferred. Smart contracts have numerous use cases, such as lending, voting, decentralized payments and exchanges, asset tokenization, etc.
- Rootstock is compatible with the Ethereum blockchain at the following layers:
- EVM compatibility
- Interprocess connectivity in JSON-RPC
- Smart contract programming in Solidity
- JavaScript interface with web3.js
- The Rootstock virtual machine (RVM) is highly compatible with the Ethereum Virtual Machine (EVM). Approximately annually, the Ethereum community performs a hard fork to add new functionalities to the blockchain. When these new functionalities align with Rootstock's vision, the community performs a corresponding hard fork to maintain compatibility with the EVM.
- Additionally, the RVM offers improved features over EVM, such as bridging with Bitcoin and querying the Bitcoin blockchain.
Tabs
Use this to present structured data with clear rows and columns for easy comparison or reference.
- Code
<Tabs>
  <TabItem value="contribute" label="Contribute to Rootstock" default>
    ...
  </TabItem>
  <TabItem value="contest" label="Contest Themes">
   ...
  </TabItem>
  <TabItem value="requirements" label="Requirements">
    ...
  </TabItem>
</Tabs>
- Result
- Contribute to Rootstock
- Contest Themes
- Requirements
Are you passionate about web3, bitcoin and the Blockchain? Do you have a passion for Open Source and Web3? Do you enjoy writing, coding, bounty hunting, solving real-world problems, and eager to contribute to the future of Bitcoin and Decentralized Finance? Join the Rootstock Discord Community and start making contributions!
The contest welcomes submissions under the following themes:
- Thought Leadership: Explore various topics about Bitcoin, both new and old, such as Runes, what Satoshi’s writings mean to you, ordinals, layer 2 solutions, sidechains, how Bitcoin changed finance forever, and/or quality analysis about its price prediction or impact on inflation.
- Dev Stack and Tooling: Delve into the development stack and tooling related to building on Bitcoin, including SDKs, APIs, smart contract development frameworks, etc. Developers and makers should showcase the technical capabilities for building with Bitcoin.
- Tutorials and Guides: Provide step-by-step tutorials and guides on how to build applications, smart contracts, or implement specific features. Bonus points for building with Rootstock. These tutorials and guides will serve as practical guides for developers and enthusiasts looking to start building on Bitcoin.
RSKj allows you to run a Rootstock node, crucial for local development and testing. It supports connections to Regtest (local), Testnet (testing), and Mainnet (production). Visit the official RSKj GitHub repository to download the latest stable release.
Cards
Use this to display concise pieces of information in an organized and visually appealing way.
-
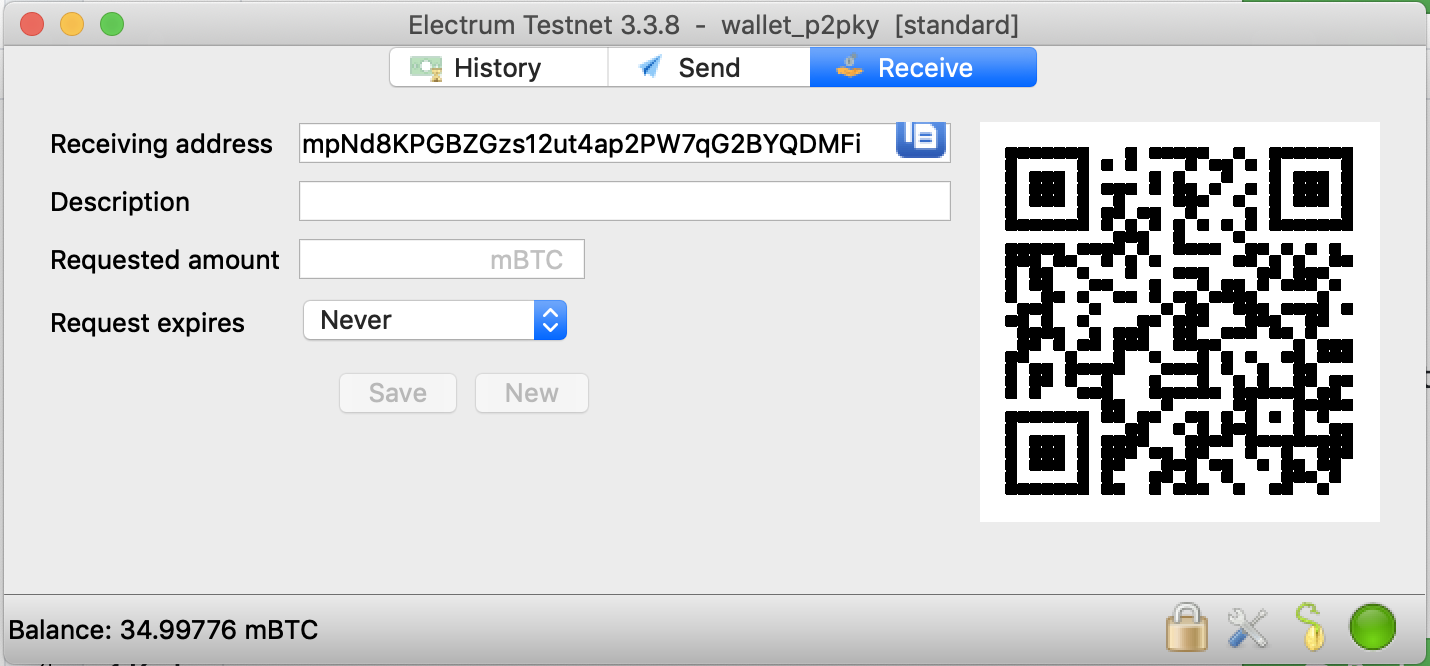
Card with image Cards with an image and accompanying descriptive text.
- Code
<Card
  image="/img/electrum-wallet.png"
  title="Card title first line"
  description="..."
  link="/developers/"
/>
Result
-
Card no image Cards displaying textual information only.
- Code
<Card
title="Card title first line"
description="..."
link="/developers/"
/>
Result
- Card no link
Informational cards without requiring user clicks.
- Code
<Card
  image="/img/electrum-wallet.png"
  title="Card title first line"
  description="..."
/>

Card title first line
Cards with filter
- Code
<Filter
  disableSearch={false} //optional. set true to hide search bar
  disableUpdateHash={false} //optional. set true to disable updating url hash on filter change
  values={[
    {label: 'Apps', value: 'apps'},
    {label: 'Exchanges', value: 'exchanges'},
    {label: 'Wallets', value: 'wallets'}
  ]}>
  <FilterItem
    image="/img/deffiant-icon.svg"
    value="apps"
    title="Defiant"
    subtitle="app"
    color="green"
    description="Get ... in minutes"
  />
  ...
  <FilterItem
    image="/img/deffiant-icon.svg"
    value="wallets, apps"
    title="Defiant"
    subtitle="wallet"
    color="cyan"
    linkHref="/developers/"
    linkTitle="Learn more"
    description="Get ... in minutes"
  />
</Filter>
Result
Defiant
Defiant
Defiant
Defiant
Grid of Cards no filter
- Code
<CardsGrid>
  <CardsGridItem
    image="/img/deffiant-icon.svg"
    title="Defiant"
    subtitle="app"
    color="green"
    description="Get ... in minutes"
  />
  ...
  <CardsGridItem
    image="/img/deffiant-icon.svg"
    title="Defiant"
    subtitle="wallet"
    color="cyan"
    linkHref="/developers/"
    linkTitle="Learn more"
    description="Get ... in minutes"
  />
</CardsGrid>
Result
Defiant
Defiant
Defiant
Defiant
Buttons
By deffault, button acts as inline element.
- Code
<Button href="/dev-tools/">Default Button</Button>
<Button size="sm" href="/developers/">Small Button</Button>
<Button size="lg" href="/resources/">Large Button</Button>
Default Default Button, small Small Button, and large Large Button buttons for different use cases.
Align Button
You can align the button to the left, center, or right. With align option button acts as a block element.
- Code
<Button href="/resources/" align="left">Left aligned Button</Button>
<Button href="/resources/" align="center">Centered Button</Button>
<Button href="/resources/" align="right">Right align Button</Button>
- Render
Badges
Badges 

Available options:
<Shield label="any text" //badge left part
        labelColor="blue" //text, hex or rgb values
        title="you like" //badge right part or main text
        color="blue" //brand colors (pink, purple, green, orange) or any hex or rgb values
        tooltip="Hello from Rootstock" //tooltip text
        href="https://rootstock.io/" //link
        version="1.0.1" //version number (use blue color by default)
        logo="bitcoin" //logo name
        logoColor="black" //logo color
/>
Detailed option description you can find here
- Code
<Shield label="any text" title="you like" tooltip="Hello from Rootstock" color="blue" />
<Shield title="Badge with tooltip" tooltip="Hello from Rootstock"/>
<Shield title="Rootstock Dev Portal" color="pink" />
<Shield label="build" title="passing" color="green" />
- Render


Version badge
- Code
<Shield version="2.0" /> //default color is blue
<Shield version="1.0.1" color="purple" /> //you can change color
- Render


Colors
Brand colors (pink, purple, green, orange) or any text colors, hex or rgb values
- Code
<Shield title="Rootstock Dev Portal" color="purple" />
<Shield title="Node Operators" color="pink" />
<Shield title="Concepts" color="green" />
<Shield title="Developers" color="orange" />
<Shield title="Dogecoin" color="C2A633" />
- Render


Tooltip, logo and link
Available logo options you can find here.
- Code
<Shield title="Badge with link and tooltip" tooltip="Badge with link and tooltip" href="https://rootstock.io/" color="purple" />
<Shield title="Badge with logo" href="https://bitcoin.org/" color="gray" label="Bitcoin" labelColor="f7931a" logo="bitcoin" />
<Shield color="F3B724" title="Zcash" logo="zcash" logoColor="black" />
- Render


Steps component
The Steps component is a structured guide that breaks down complex tasks into clear, sequential steps. Each step includes a title, and detailed instructions.
- Code
<Steps>
  <Step title="Intro">
    // any md content
  </Step>
  <Step title="Preparing the Environment">
    // any md content
  </Step>
  <Step title="Setting Up the Project">
    // any md content
  </Step>
</Steps>
- Render
Intro
Preparing the Environment
Before starting, ensure you have all necessary tools and resources. Begin by setting up a clean workspace, gathering any required materials, and organizing the tools you’ll need. This step will help you work efficiently without interruptions.
- Install Required Software: Make sure all necessary software is installed on your computer. This might include a code editor, development environment, or any project-specific applications.
- Check Dependencies: Review the documentation for any dependencies required. Having these pre-installed can save you troubleshooting time later.
- Create a Backup: If you’re working with existing data, create a backup to prevent data loss in case of errors.
Setting Up the Project
With your environment prepared, start by initializing your project. Follow these instructions carefully to avoid setup issues later on.
- Clone the Repository: If you’re working from an existing repository, clone it to your local machine using the following command:
git clone [repository-url]. - Install Project Dependencies: Run
npm installoryarn installto install all project dependencies. This ensures you have all the necessary libraries and tools. - Configure Environment Variables: Create a
.envfile in the root directory and add all necessary environment variables. Refer to the project documentation for required variables. - Run Initial Setup Script: Many projects have setup scripts to streamline the configuration process. Check the project’s README file for any specific setup commands.
By following these steps, you should now have a basic project setup and be ready to start development.
FileTree component
The FileTree component helps visualize directory structures and file hierarchies in a clear, indented format.
Add placeholder files and directories by using either ... as the name.
Make a file or directory stand out by making its name highlighted, wrap file nawe with ==...== e.g. ==README.md==.
- Code
<FileTree>
  -- ==package.json==
  -- docusaurus.config.js
  -- sidebars.js
  -- ==src/==
  ---- components/
  ------ Accordion/
  -------- data.json
  -------- index.js
  -------- styles.css
  -- static/
  ---- img/
  ------ concepts/
  ------ resources/
  ------ image.png
  ------ photo.jpg
  ------ ...
  ---- video/
  ------ intro.mp4
  ------ ...
  -- docs/
  ---- components/
  ------ markdown.md
  ------ ui-components.md
</FileTree>
- Render
- package.json
- docusaurus.config.js
- sidebars.js
- ▾📂src
- ▾📂components
- ▾📂Accordion
- data.json
- index.js
- styles.css
- ▾📂Accordion
- ▾📂components
- ▾📂static
- ▾📂img
- 📂concepts
- 📂resources
- image.png
- photo.jpg
- ...
- ▾📂video
- intro.mp4
- ...
- ▾📂img
- ▾📂docs
- ▾📂components
- markdown.md
- ui-components.md
- ▾📂components


