Performing a peg-out transaction using Trezor

Get started with Trezor
To perform a peg-out transaction using the Trezor device directly, follow the steps below:
-
Step 1: Plug the Trezor device into the computer
-
Step 2: Verify if you have enabled Perform Safety Checks to PROMPT
- If is not enabled you will receive this error

- This video explains how to enable Perform Safety Checks to PROMPT on Trezor Suite Enabling Prompt for Key Path
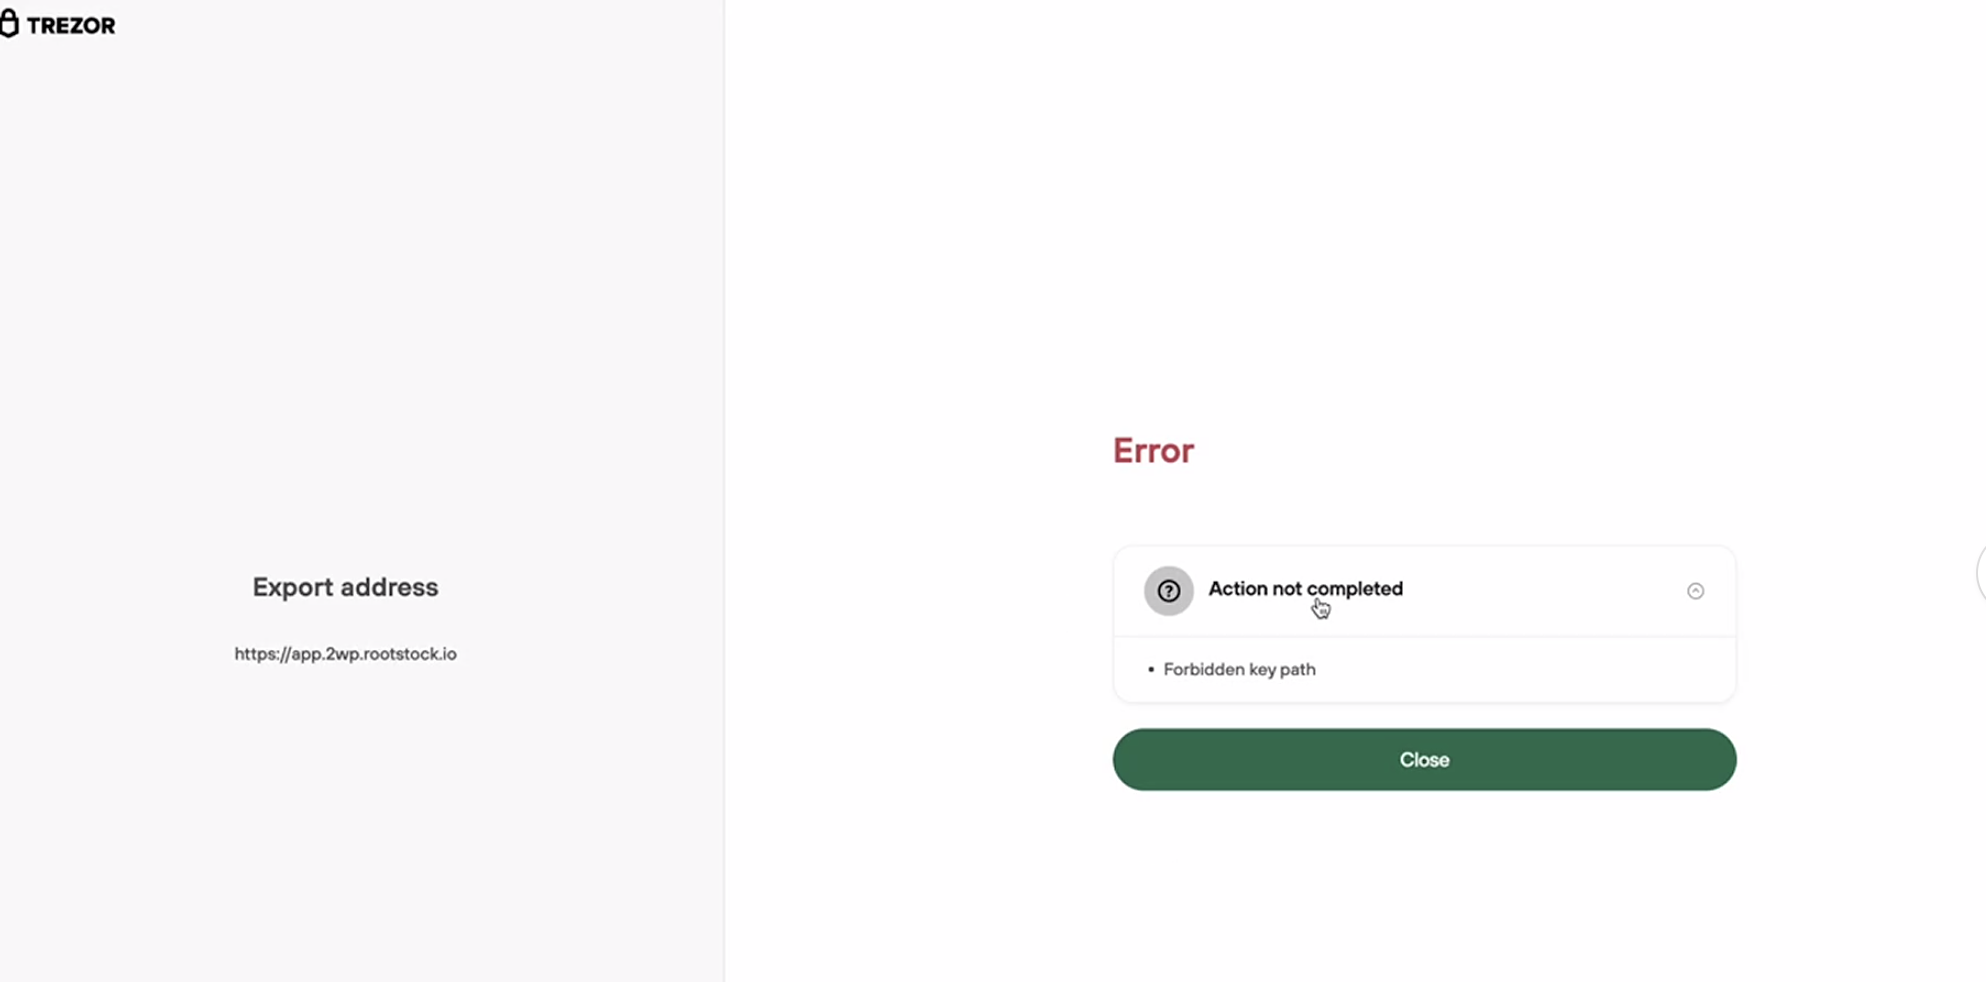
- If is not enabled you will receive this error
The PowPeg App opens Trezor Connect in a browser pop-up. If Chrome or Brave blocks it, Trezor will not connect. Allow pop-ups for the PowPeg App before you continue.
-
Step 3: Access peg-out screen:
-
Step 4: Click on Connect wallet button:
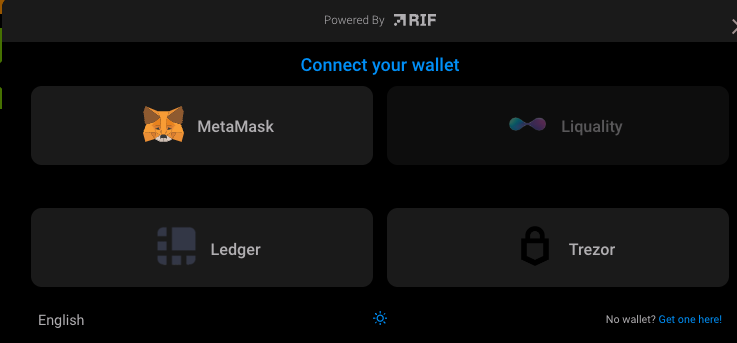
-
Step 5: Click on Trezor button

-
Step 6: The application will show what network you are connecting on. For this tutorial we are using Testnet
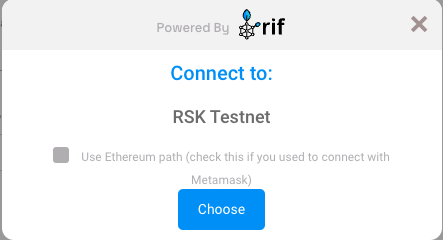
-
Step 7: Plug in your Trezor device:
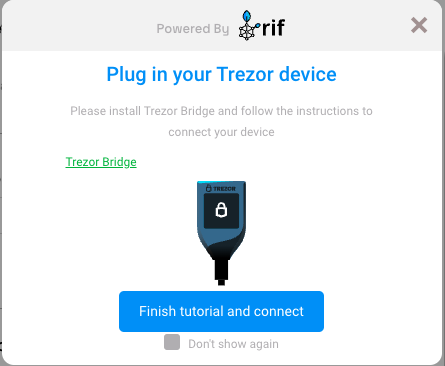
-
Step 8: The Trezor window will open to insert the PIN and export the addresses
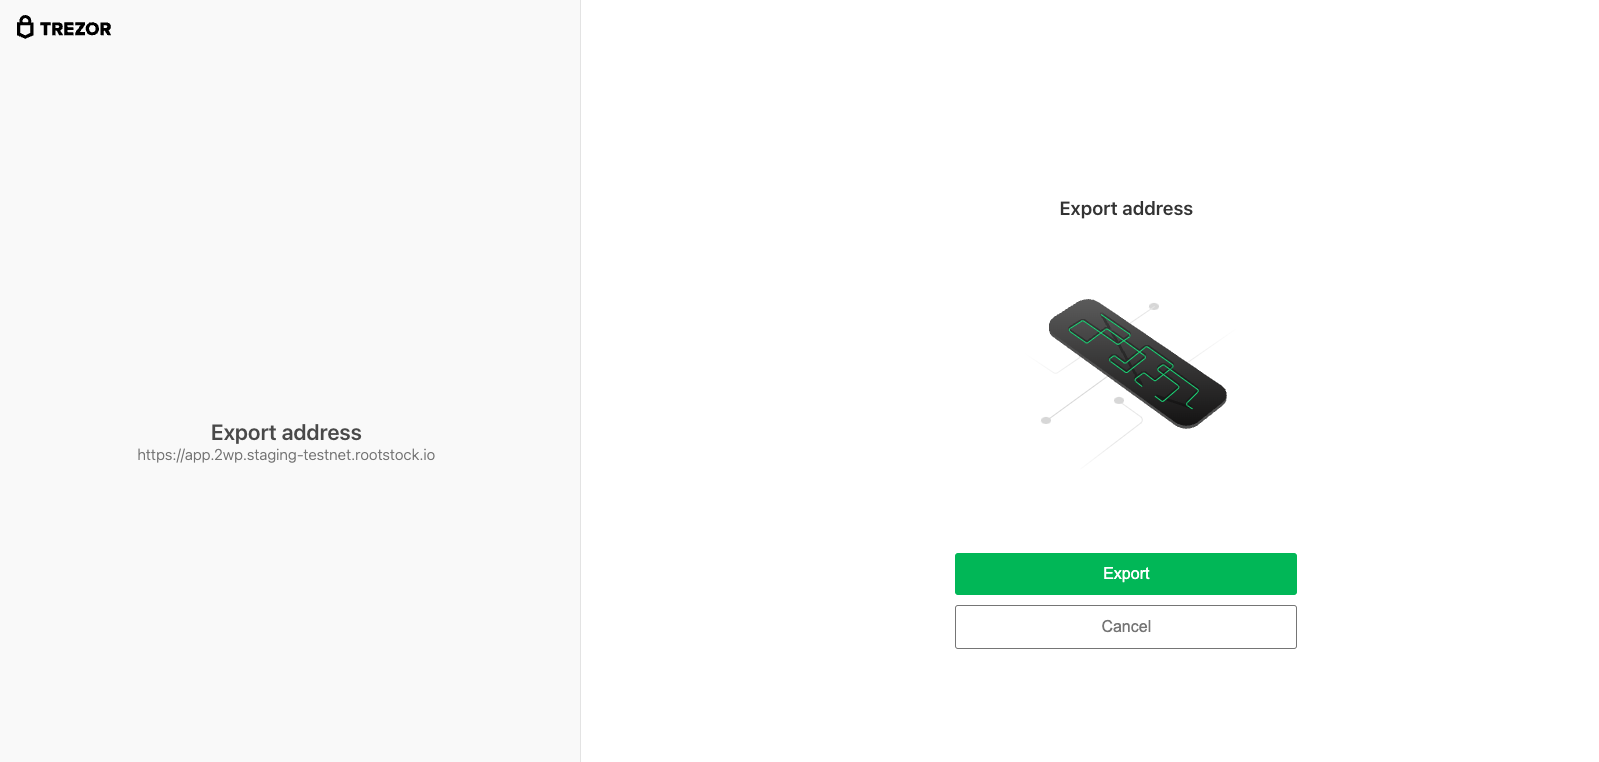
-
Step 9: Insert the PIN and click on the confirm button
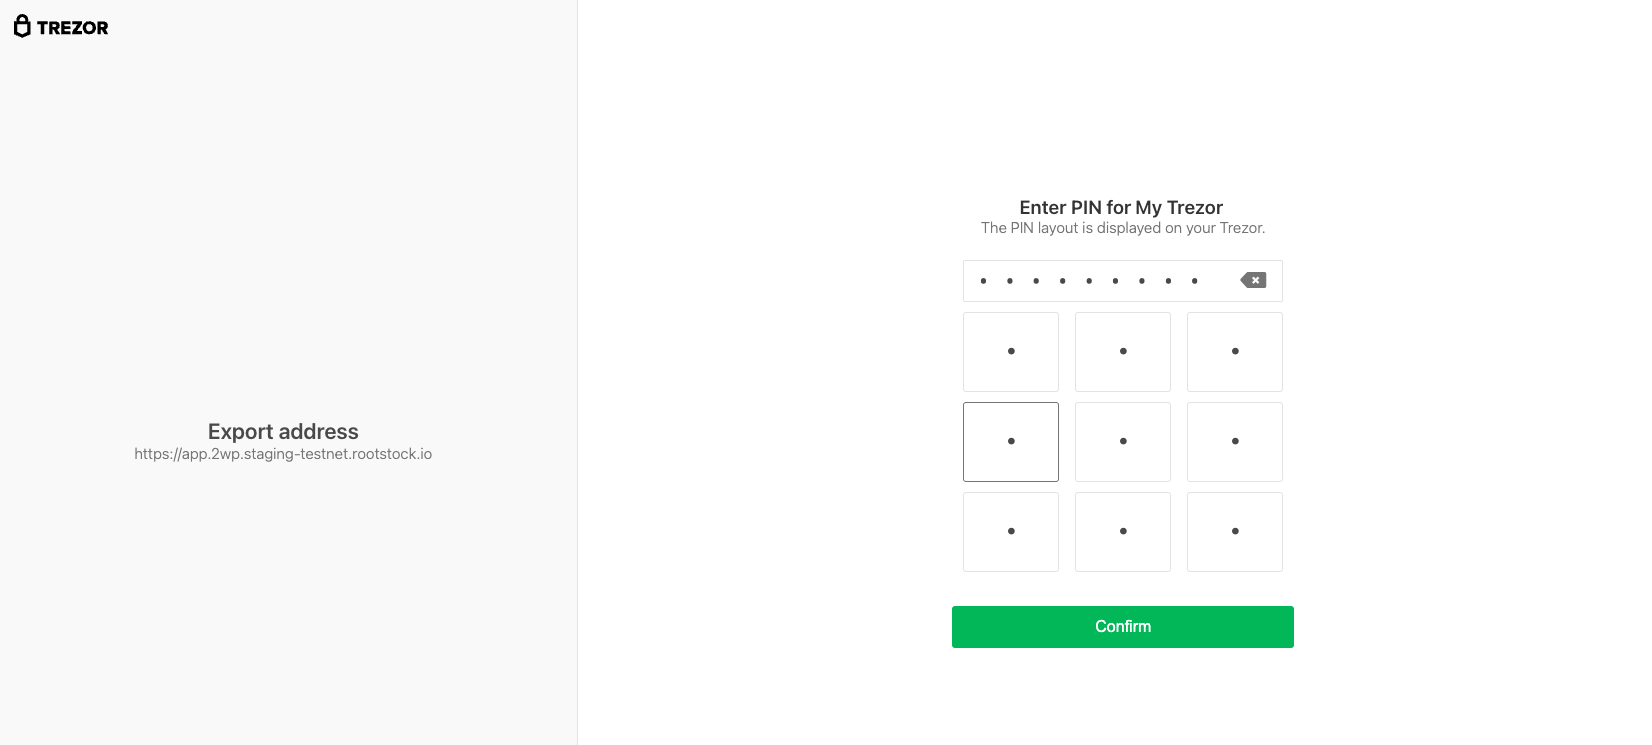
-
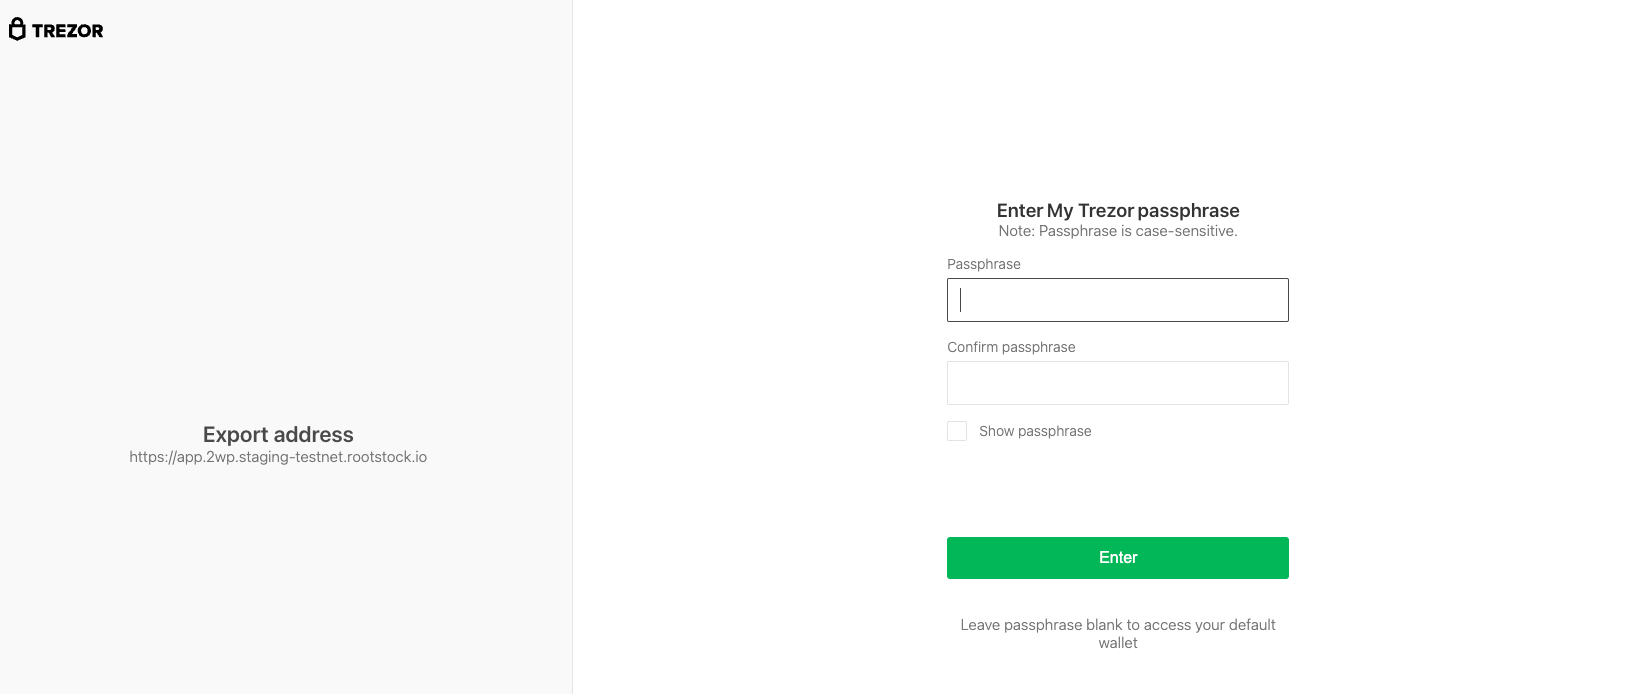
Step 10: Passphrase (Trezor Connect)
If you use a BIP39 passphrase on Trezor, enter it when prompted. If you do not use a passphrase, leave the fields empty and confirm.
For the same rule when you verify peg-out funds in Electrum, see Trezor passphrase in Electrum.
- Step 11: Follow instructions on your device

> - Note the trezor app screen will be opened some times, because the system will ask for addresses, each ask will open again the trezor screen, and the user will need to inform the trezor-pin.
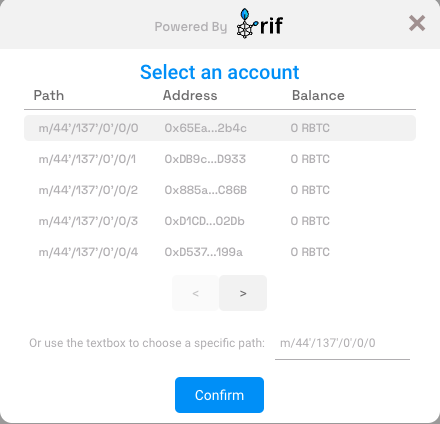
- Step 12: Select account
- Step 13: Success
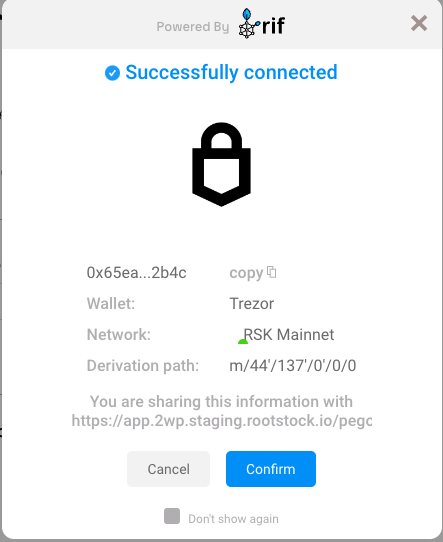
-
Step 14: Continue filling in the other fields as amount and click on the Send button
-
Step 15: After you finish creating the peg-out transaction, see how to access the Bitcoin derived address in your hardware wallet using Electrum