Deploy an NFT Marketplace Contract on Rootstock with Thirdweb
There's been massive growth in tokenization, from digital art and collectibles to real-world assets and utility tokens. This shift lets creators, brands, and developers build new value and ownership models on the blockchain.
Thirdweb’s NFT marketplace provides a flexible and customizable platform, enabling users to create, trade, and interact with NFTs and other tokenized assets on Rootstock.
Whether you're just setting up a simple digital shop or trying to build dApps, using Thirdweb gives you a solid starting point to build and deploy dApps on Rootstock.
In this two-part guide, you will learn how to:
- Build and deploy an NFT marketplace contract with Thirdweb on the Rootstock Testnet
- Set up the smart contract which is the foundation for the marketplace
- Install the direct listing extension using the Thirdweb SDK
- Develop the frontend for Your NFT Marketplace
Prerequisites
Ensure to have the following:
- Node.js installed (v18 or later)
- A wallet like MetaMask set up for the Rootstock testnet (Thirdweb’s social login could be also used).
- Testnet rBTC (Get it from the Rootstock faucet)
- Thirdweb credentials
Setup
- Clone the project template - It comes with a Next.js 14 app and Thirdweb SDK v5, already set up with everything you need to get started.
git clone https://github.com/rsksmart/rsk-thirdweb-marketplace.git
cd rsk-thirdweb-marketplace
bun install
- Navigate to the project folder and install the dependencies. It is recommended to use
bun i. Note: You can also useyarnorpnpmpackage managers. Rename the file.env.exampleto.env.localusingmv .env.example .env.localand follow the guide below to replace the needed variables.
NEXT_PUBLIC_CLIENT_ID=<CLIENT_ID_FROM_THIRD_WEB>
NEXT_PUBLIC_MARKETPLACE_CONTRACT=<CONTRACT_ADDRESS>
PRIVATE_KEY=<YOUR_PRIVATE_KEY>
To get the client ID, navigate to Thirdweb's dashboard, log in using your preferred method and create a new project.
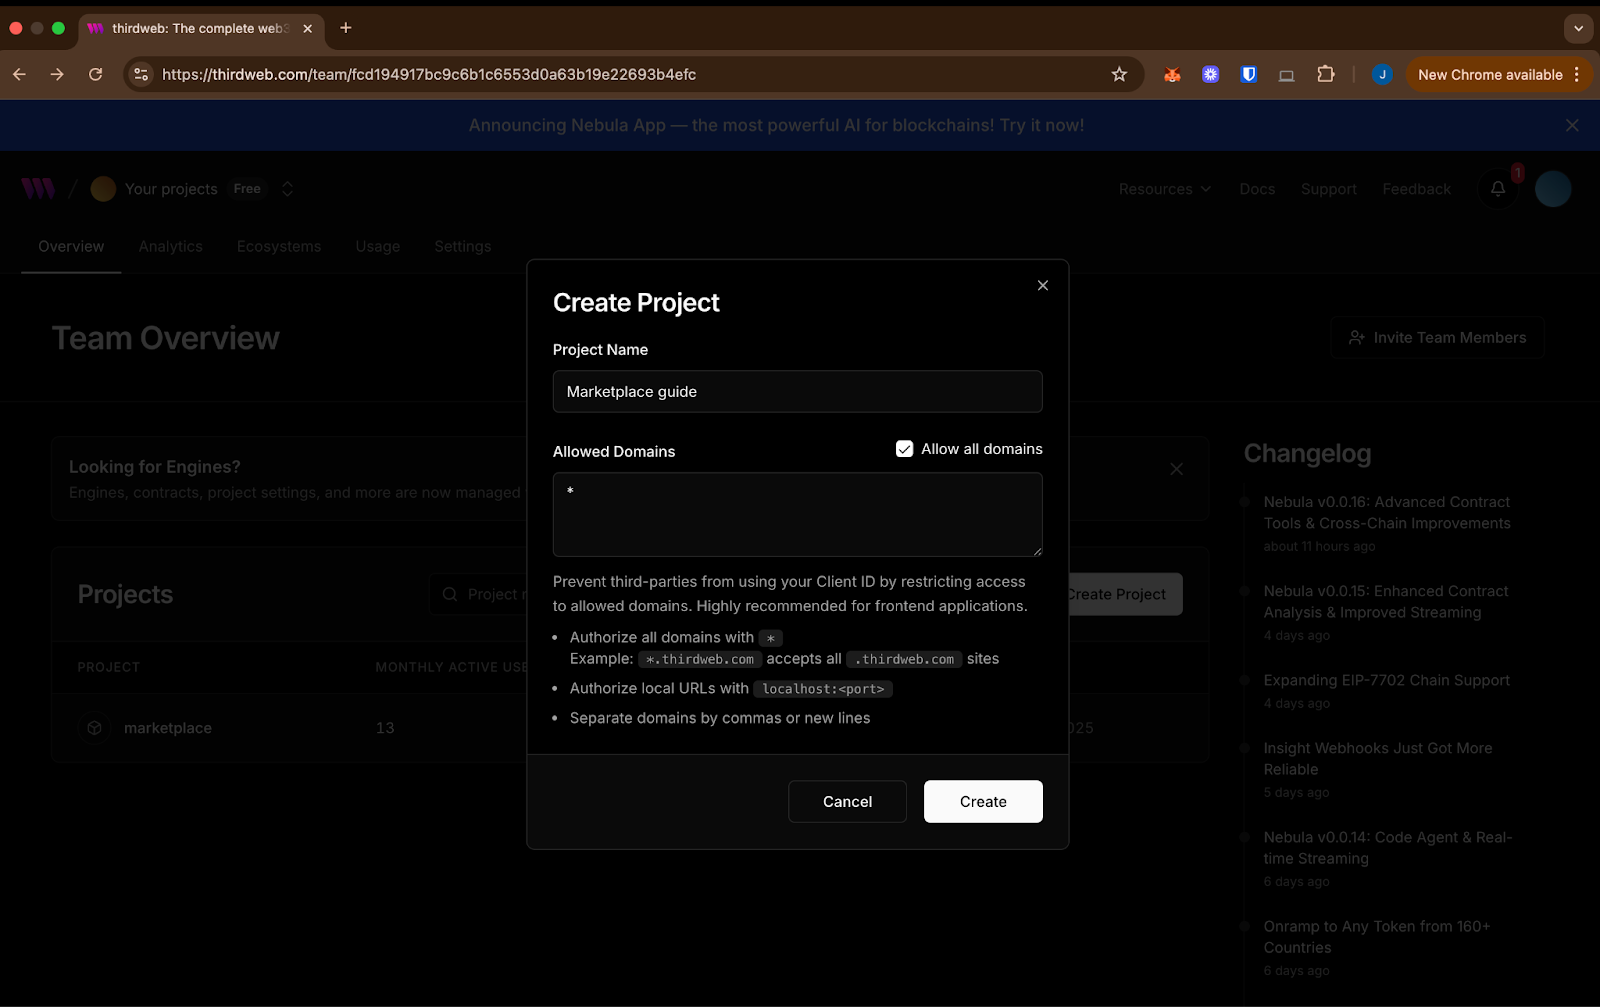
For this guide, click checkbox to choose all domains (*). Note: If pushing to production, set your project as the official domain in settings.
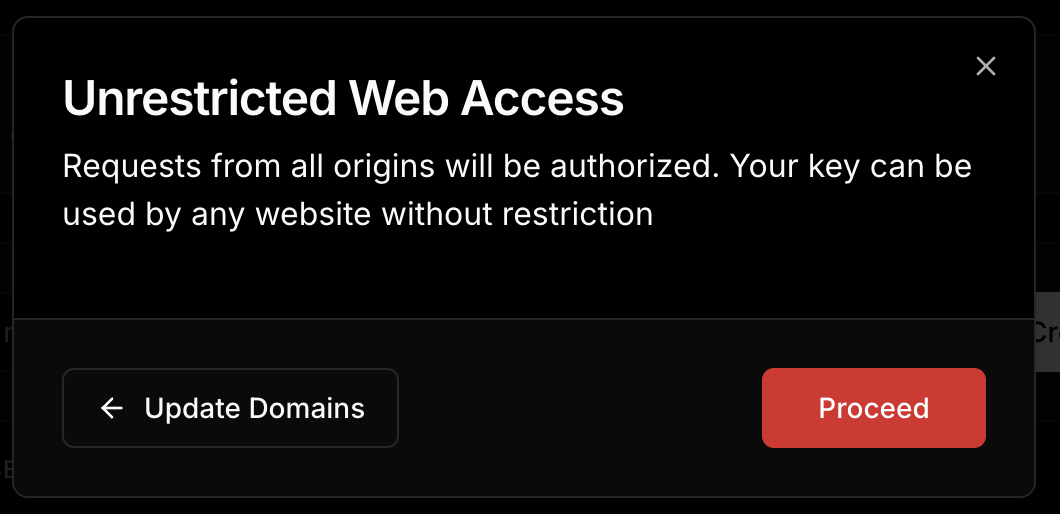
A warning pop up would appear because all domains are allowed, that’s expected for now, click proceed.
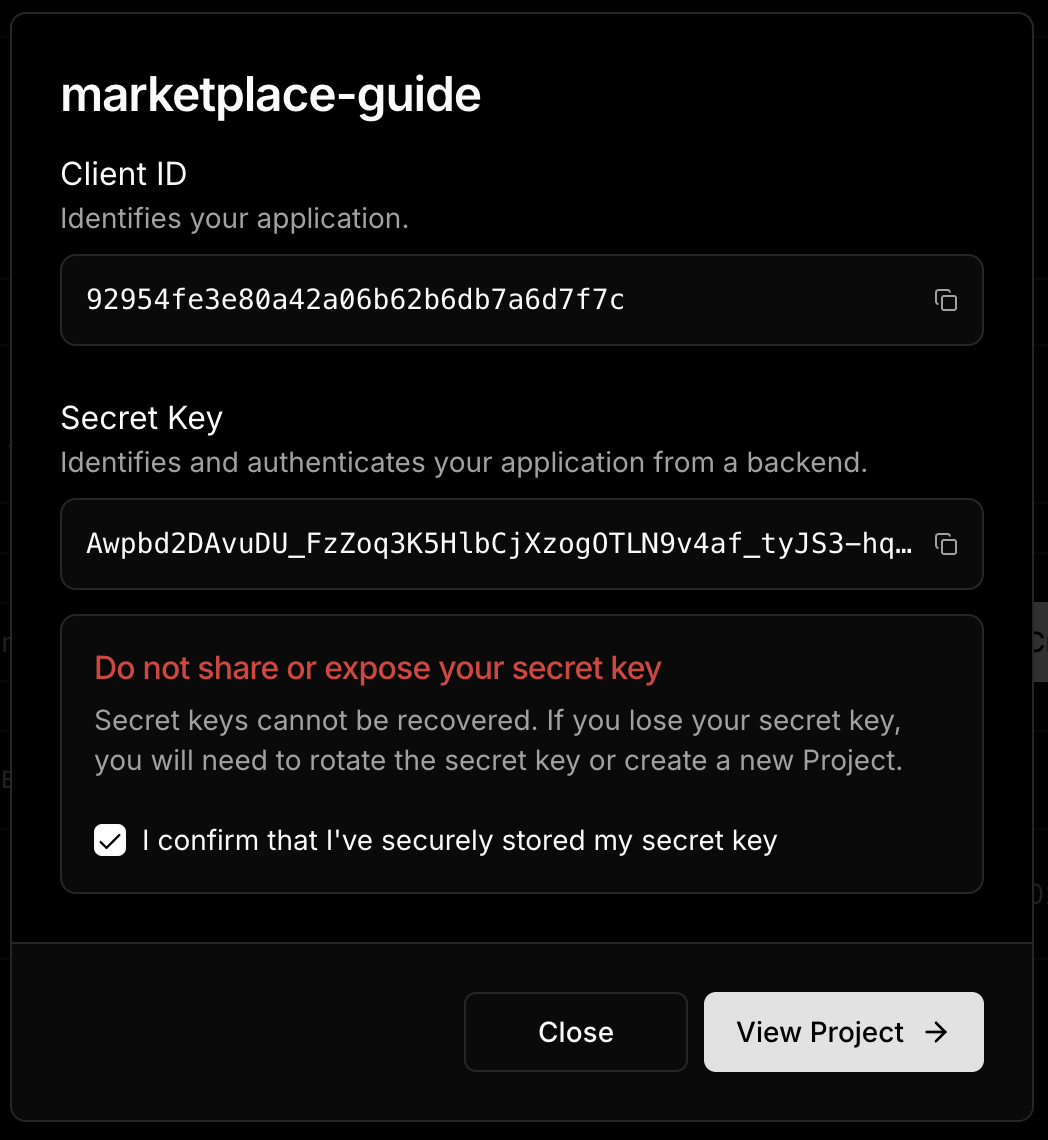
Copy the client ID, replace in the .env file. You’ll also receive a secret key - this won’t be needed for this guide.
- Start development server:
bun run dev
- Access the application: Open http://localhost:3000 in your browser.
Getting Started
The NFT Marketplace consists of two main processes:
- Buy an NFT: Users can buy NFTs connecting their wallets. Once the users sign the buy transaction and pay for the NFT and gas costs, they own the NFT.
- Sell an NFT: Users can list their NFTs and establish the price they want for them individually. To list an NFT, they must specified the address of the ERC1155 NFT representation on the Rootstock (RSK) network, the token ID and the price.
Deploying the Marketplace contract
This marketplace smart contract serves as the backbone of your NFT marketplace, allowing users to list, buy, and manage NFTs directly on-chain. In this section, we will deploy the marketplace contract. Once deployed, we can use the deployed contract address to complete the configurations for the environment variables in .env.local.
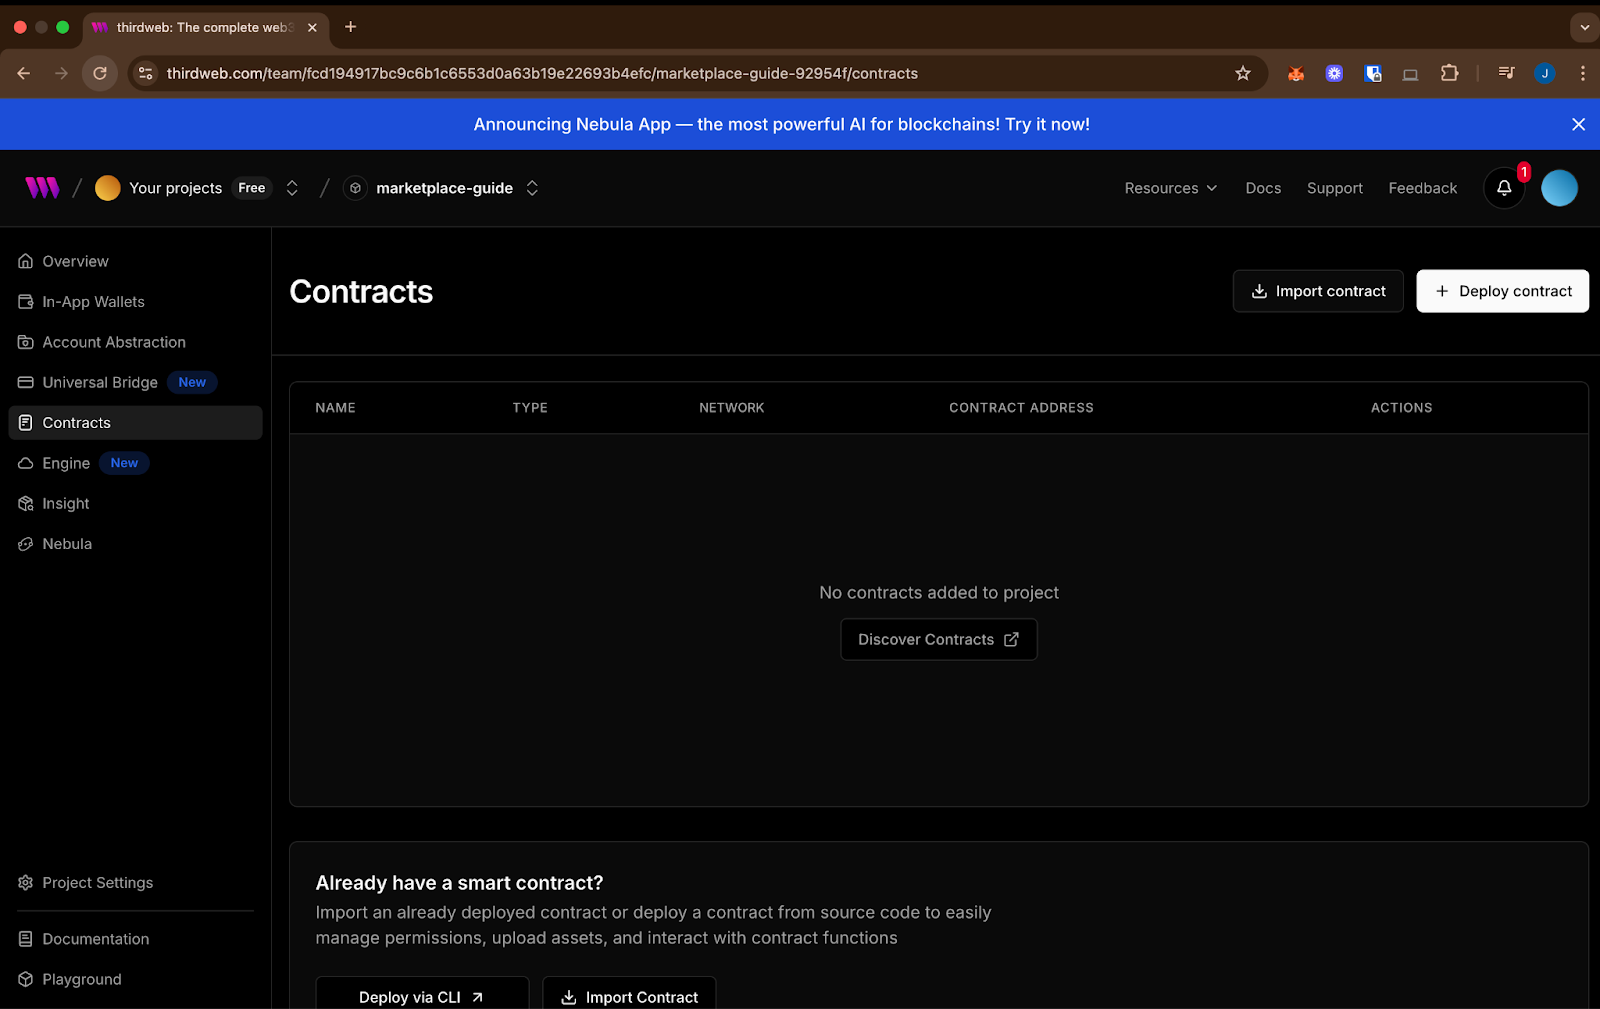
On Thirdweb’s dashboard, within the new project created, navigate to the Contracts section on the left panel and click on "Discover Contracts" or the "Deploy Contracts" to get started to view the contracts.
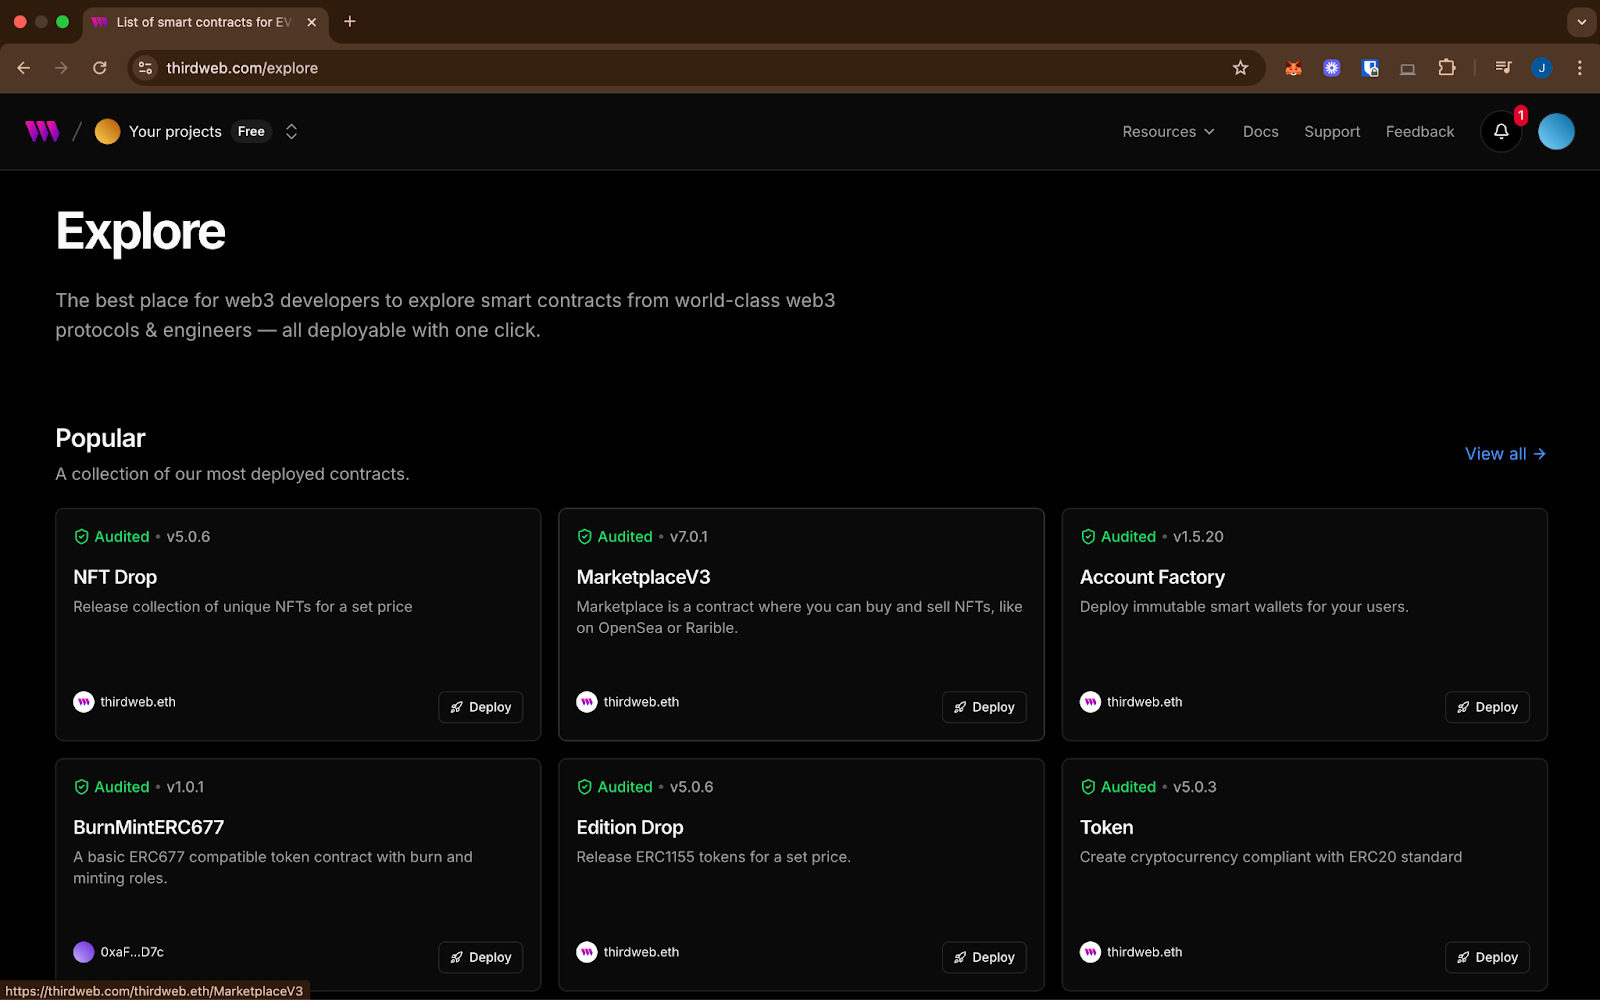
In the prebuilt contracts explorer, select Marketplace V3 and navigate to the contract page to continue the setup. Click Deploy Now.

Choose version 6.0.0 of the contract in the dropdown, a plain version of Marketplace V3 without built in extensions. Keeping us within Rootstock's 6.8 million gas limit. It works just like the latest version, and we will add extensions like Direct Listings later using the SDK.
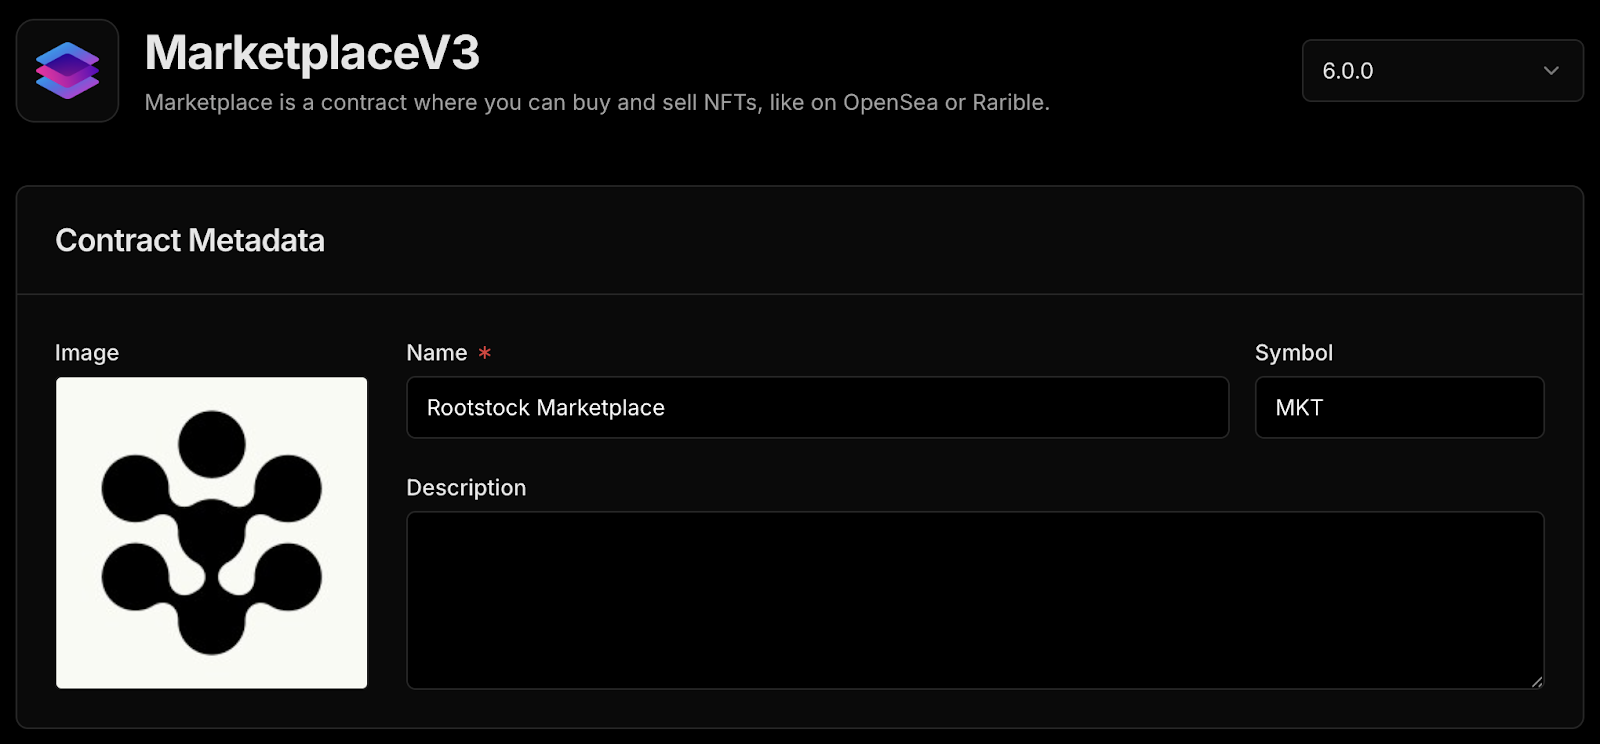
We’ll set up a basic contract with a name, symbol, image, and description.
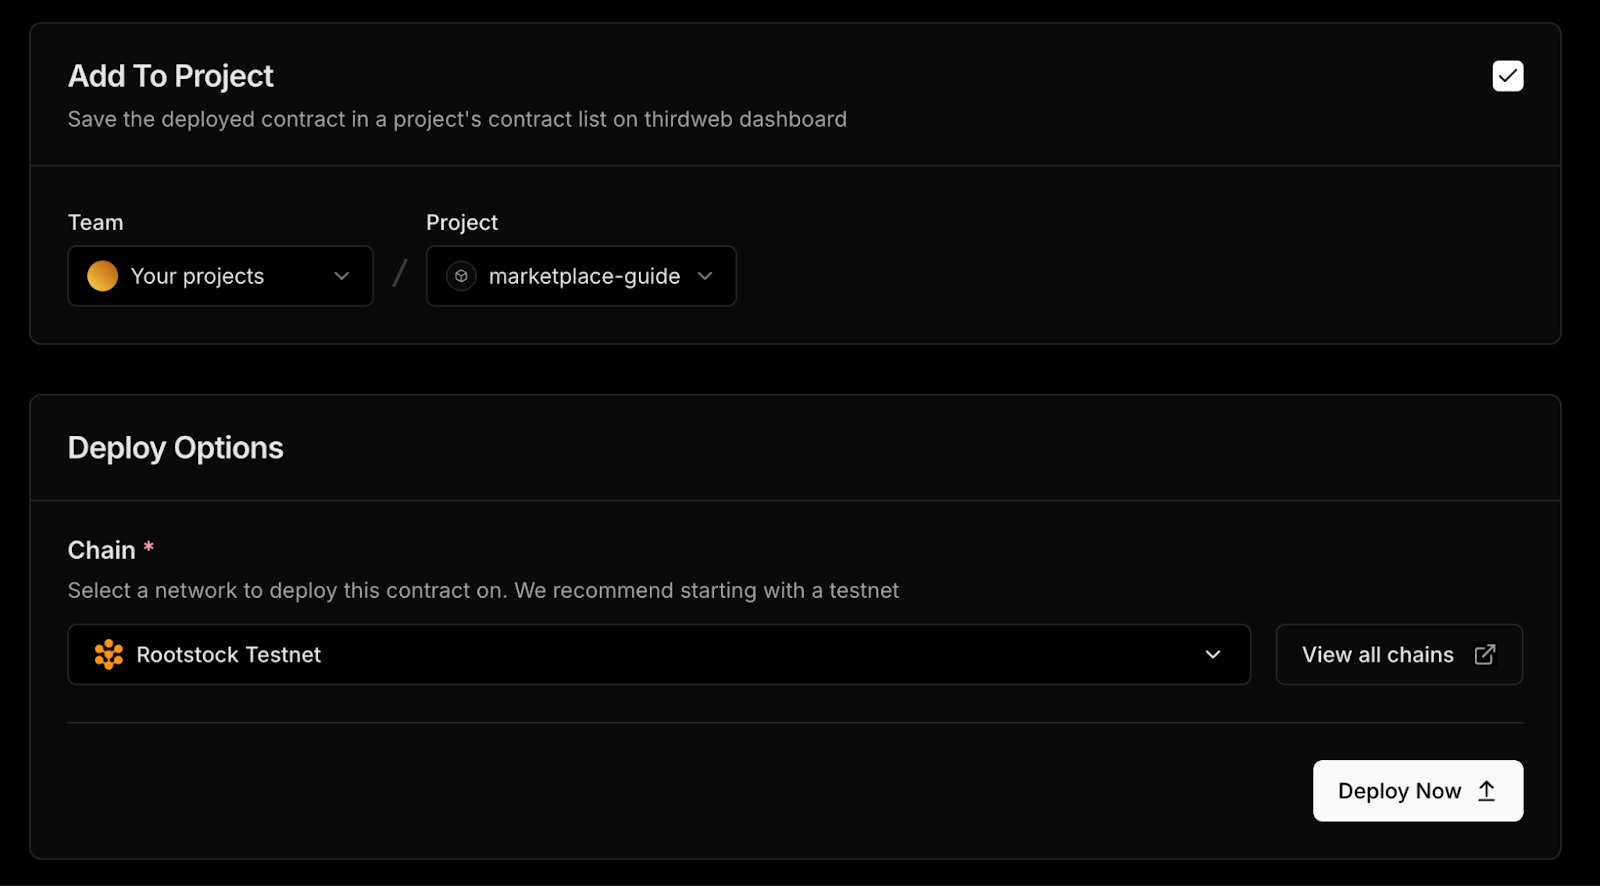
Ensure to select your project and choose Rootstock Testnet as the chain, click deploy, and confirm all the transactions in your wallet.
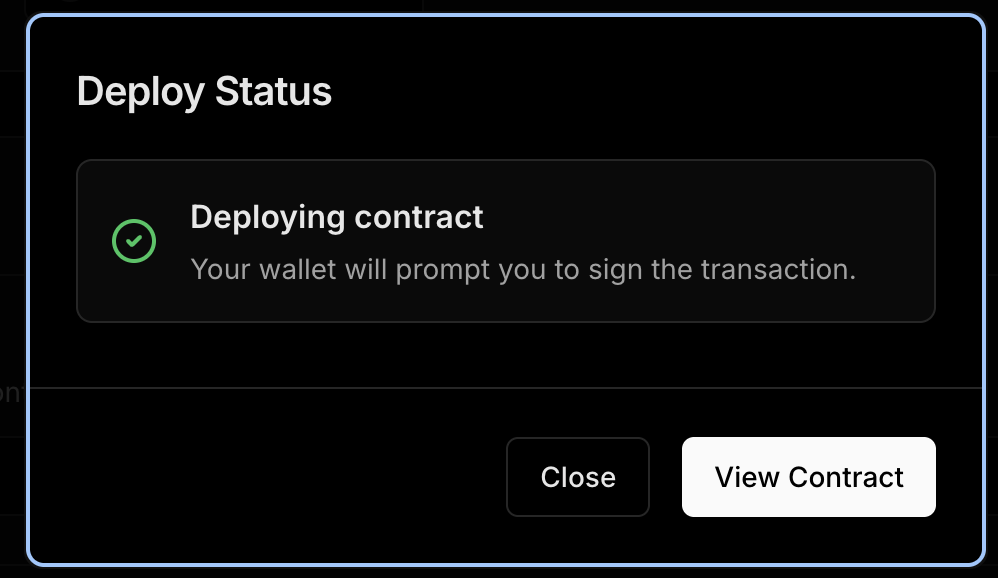
Once the contract is deployed, click to view the contract and copy the address from the Thirdweb’s dashboard. Copy the contract address at the top of the page and add it to the .env.local file. Also replace the private key you have used to login into Thirdweb’s app or the one provided in the social login at (wallet > manage wallet > Export private key).
Install the Direct Listing Extension using Thirdweb SDK
The direct listing feature allows users to list their NFTs for a set period of time, and it comes with a few extra options you can tweak later. For now, we’ll install the extension on the marketplace contract.
You can find the script for this in the cloned repository: ./addDirectListing.ts.
import {
  defineChain,
  getContract,
  sendTransaction
} from "thirdweb";
import { installPublishedExtension } from "thirdweb/extensions/dynamic-contracts";
import { privateKeyToAccount } from "thirdweb/wallets";
import client from "./lib/client";


const privateKey = process.env.PRIVATE_KEY;
const marketplaceAddress = process.env.NEXT_PUBLIC_MARKETPLACE_CONTRACT;

if (!privateKey || !marketplaceAddress) {
  throw new Error("Check your .env");
}

const account = privateKeyToAccount({
  client,
  privateKey,
});


const rootstockTestnet = defineChain(31); // Rootstock Testnet (Chain ID 31)

const marketContract = getContract({
  client,
  chain: rootstockTestnet,
  address: marketplaceAddress.toLowerCase(),
});

// Create the transaction
const transaction = installPublishedExtension({
  account,
  contract: marketContract,
  extensionName: "DirectListingsLogic",
});

// Send the transaction
sendTransaction({ transaction, account }).then((tx) => {
  console.log(tx);
});
We’ll use Bun to run the Typescript file:
Copy and paste the code below in the terminal on the Rootstock marketplace project:
bun run ./addDirectListing.ts
Once installed, you won’t need to deploy it again, this means you can safely remove your private key from the environment variables if it was only used for this one time setup.
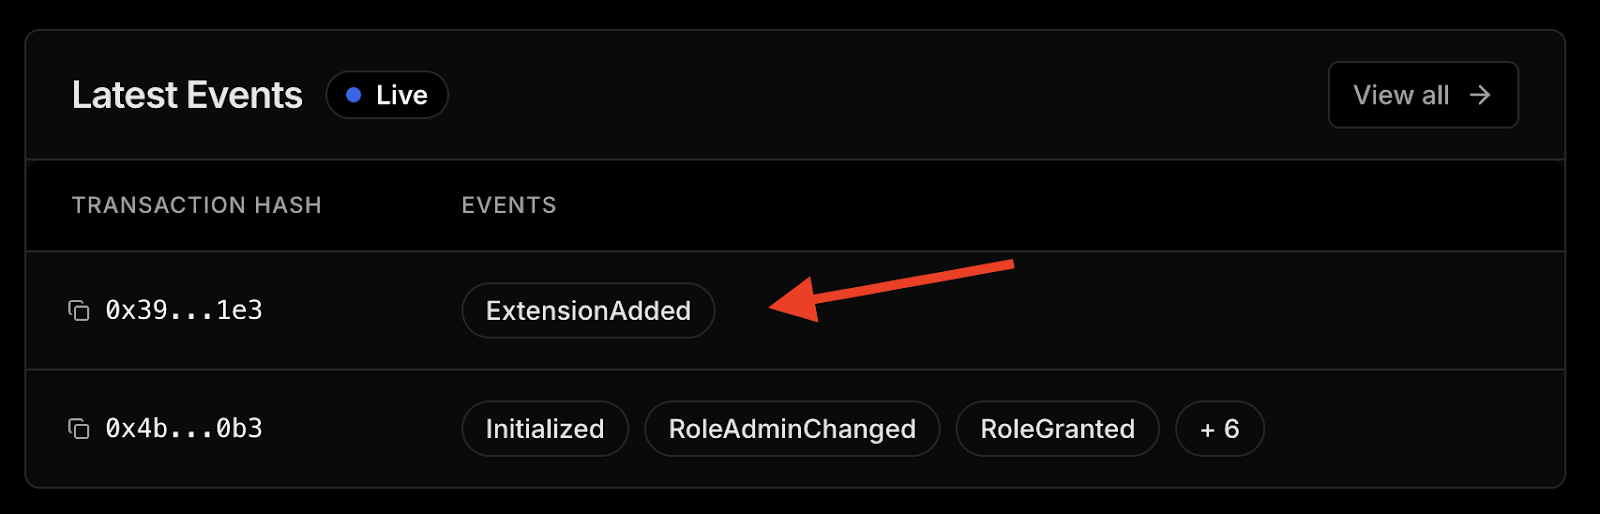
If everything’s set up correctly, you’ll get a transaction hash in the console once the extension is successfully installed on your marketplace contract or on Thirdweb dashboard Latest Events
Troubleshooting
MetaMask - RPC Error: JsonRpcEngine: Response has no error or result for request:
  {
  "id": 8871128006200483,
  "jsonrpc": "2.0",
  "method": "eth_sendRawTransaction",
  "params": [
      "0xf9842b378401b580a08367c280944e59b44847b379578588920ca78fbf26c0b4956c80b983c5bb1731d56b3a25eff906f1aad67c00c4ba9c43dd33731f263b7d50ce37f20b6960e06040523480156200001157600080fd5b506040516200694538038062006945833981016040819052620000349162000914565b60208101518151805160009015620000815762000051826200019a565b6200007e8260405160200162000068919062000b88565b60408051601f1981840
Possible Fix:
- Ensure to choose the correct version (
6.0.0) specified for this guide before deploying the contract.
What’s Next?
That’s it for setting up the foundation! In Part 2, we’ll explore in depth how to create listings and customize settings like price, currency, and duration. We’ll also learn how to connect the frontend using Thirdweb’s SDK and React hooks. With your contracts in place and direct listings installed, you’re now one step closer to launching your own NFT marketplace on Rootstock.