How to use the RIF Relay Sample dApp SDK
Getting Started
This guide helps to quickly get started with setting up your environment to use RIF Relay and also use the sample dApp to test relay services.
Step 1: Run the Rootstock node
You need to set up and run a Rootstock node, preferably the latest version from RSKj releases. The node can operate locally or via Docker. In either case, a node.conf file is used.
Refer to the Rootstock Node Installation Guide for a detailed guide on this step.
Step 2: Add network to Metamask
To interact with the Rootstock network, you need to add it to Metamask. Since we're using the node on --regtest mode, follow the Metatmask guide on How to add a custom network RPC and add the Rootstock RegTest Network to Metamask with the following data:
- Network name: RSK regtest
- New RPC URL: http://127.0.0.1:4444
- Chain ID: 33
- Currency symbol: tRBTC
To learn more about Metatmask and how to add it to Rootstock programmatically, see Metamask and How to add Metamask to Rootstock Programmatically.
Step 3: Set up RIF Relay contracts
To set up RIF relay contract, clone the RIF Relay Contracts Repository: https://github.com/rsksmart/rif-relay-contracts, then follow the RIF Relay Deployment guide to deploy an RIF Relay contract, enable revenue sharing, and whitelist the token by allowing it.
npx hardhat allowed-tokens --network regtest
Response:
    rif-relay-contracts % npx hardhat allowed-tokens --network regtest
    deployVerifier [ '0x6f217dEd6c86A57f1211F464302e6fA544045B4f' ]
    relayVerifier [ '0x6f217dEd6c86A57f1211F464302e6fA544045B4f' ]
    customDeployVerifier [ '0x6f217dEd6c86A57f1211F464302e6fA544045B4f' ]
    customRelayVerifier [ '0x6f217dEd6c86A57f1211F464302e6fA544045B4f' ]
    nativeHolderDeployVerifier [ '0x6f217dEd6c86A57f1211F464302e6fA544045B4f' ]
    nativeHolderRelayVerifier [ '0x6f217dEd6c86A57f1211F464302e6fA544045B4f' ]
- To mint new units of the
UtilTokeninto the Metamask wallet address: - Go to the Metamask wallet, and copy the wallet address:
- Execute the command to mint the token, where:
--token-address→ this is the address forUtilToken--amount→ quantity to be minted--receiver→ wallet address
npx hardhat mint \
--token-address 0x6f217dEd6c86A57f1211F464302e6fA544045B4f \
--amount 10000000000000000000 \
--receiver <wallet-address> \
--network regtest - Import the minted token into the wallet.
- To see the token in the wallet, click on “import tokens”, and then paste the token address.
Step 4: Set up RIF Relay Server
Clone the RIF Relay Server Repository, then refer to Run the RIF Relay Server for a complete guide on setting up the RIF Relay server.
RIF Relay Sample dApp
This sample dApp shows you how to send transactions to the Rootstock blockchain using the RIF Relay Sample dApp SDK. You'll need to connect the dApp with MetaMask for signing transactions with the account managing your Smart Wallets.
Clone SDK repository and install dependencies
    # clone repository
    git clone https://github.com/rsksmart/relaying-services-sdk-dapp
    cd relaying-services-sdk-dapp
    # install dependencies
    npm install --force
- Configure environment variables
Create a new file named .env in the top directory, and add the following lines in it (with the contract addresses generated when we deployed the contracts) in the Set up RIF Relay Contracts section above:
    REACT_APP_CONTRACTS_RELAY_HUB=0x463F29B11503e198f6EbeC9903b4e5AaEddf6D29
    REACT_APP_CONTRACTS_DEPLOY_VERIFIER=0x14f6504A7ca4e574868cf8b49e85187d3Da9FA70
    REACT_APP_CONTRACTS_RELAY_VERIFIER=0xA66939ac57893C2E65425a5D66099Bc20C76D4CD
    REACT_APP_CONTRACTS_SMART_WALLET_FACTORY=0x79bbC6403708C6578B0896bF1d1a91D2BB2AAa1c
    REACT_APP_CONTRACTS_SMART_WALLET=0x987c1f13d417F7E04d852B44badc883E4E9782e1

    REACT_APP_RIF_RELAY_CHAIN_ID=33
    REACT_APP_RIF_RELAY_GAS_PRICE_FACTOR_PERCENT=0
    REACT_APP_RIF_RELAY_LOOKUP_WINDOW_BLOCKS=1e5
    REACT_APP_RIF_RELAY_PREFERRED_RELAYS=http://localhost:8090
<<<<<<< HEAD
    REACT_APP_BLOCK_EXPLORER=https://explorer.testnet.rootstock.io
=======
    REACT_APP_BLOCK_EXPLORER=https://explorer.testnet.rootstock.io/
>>>>>>> main
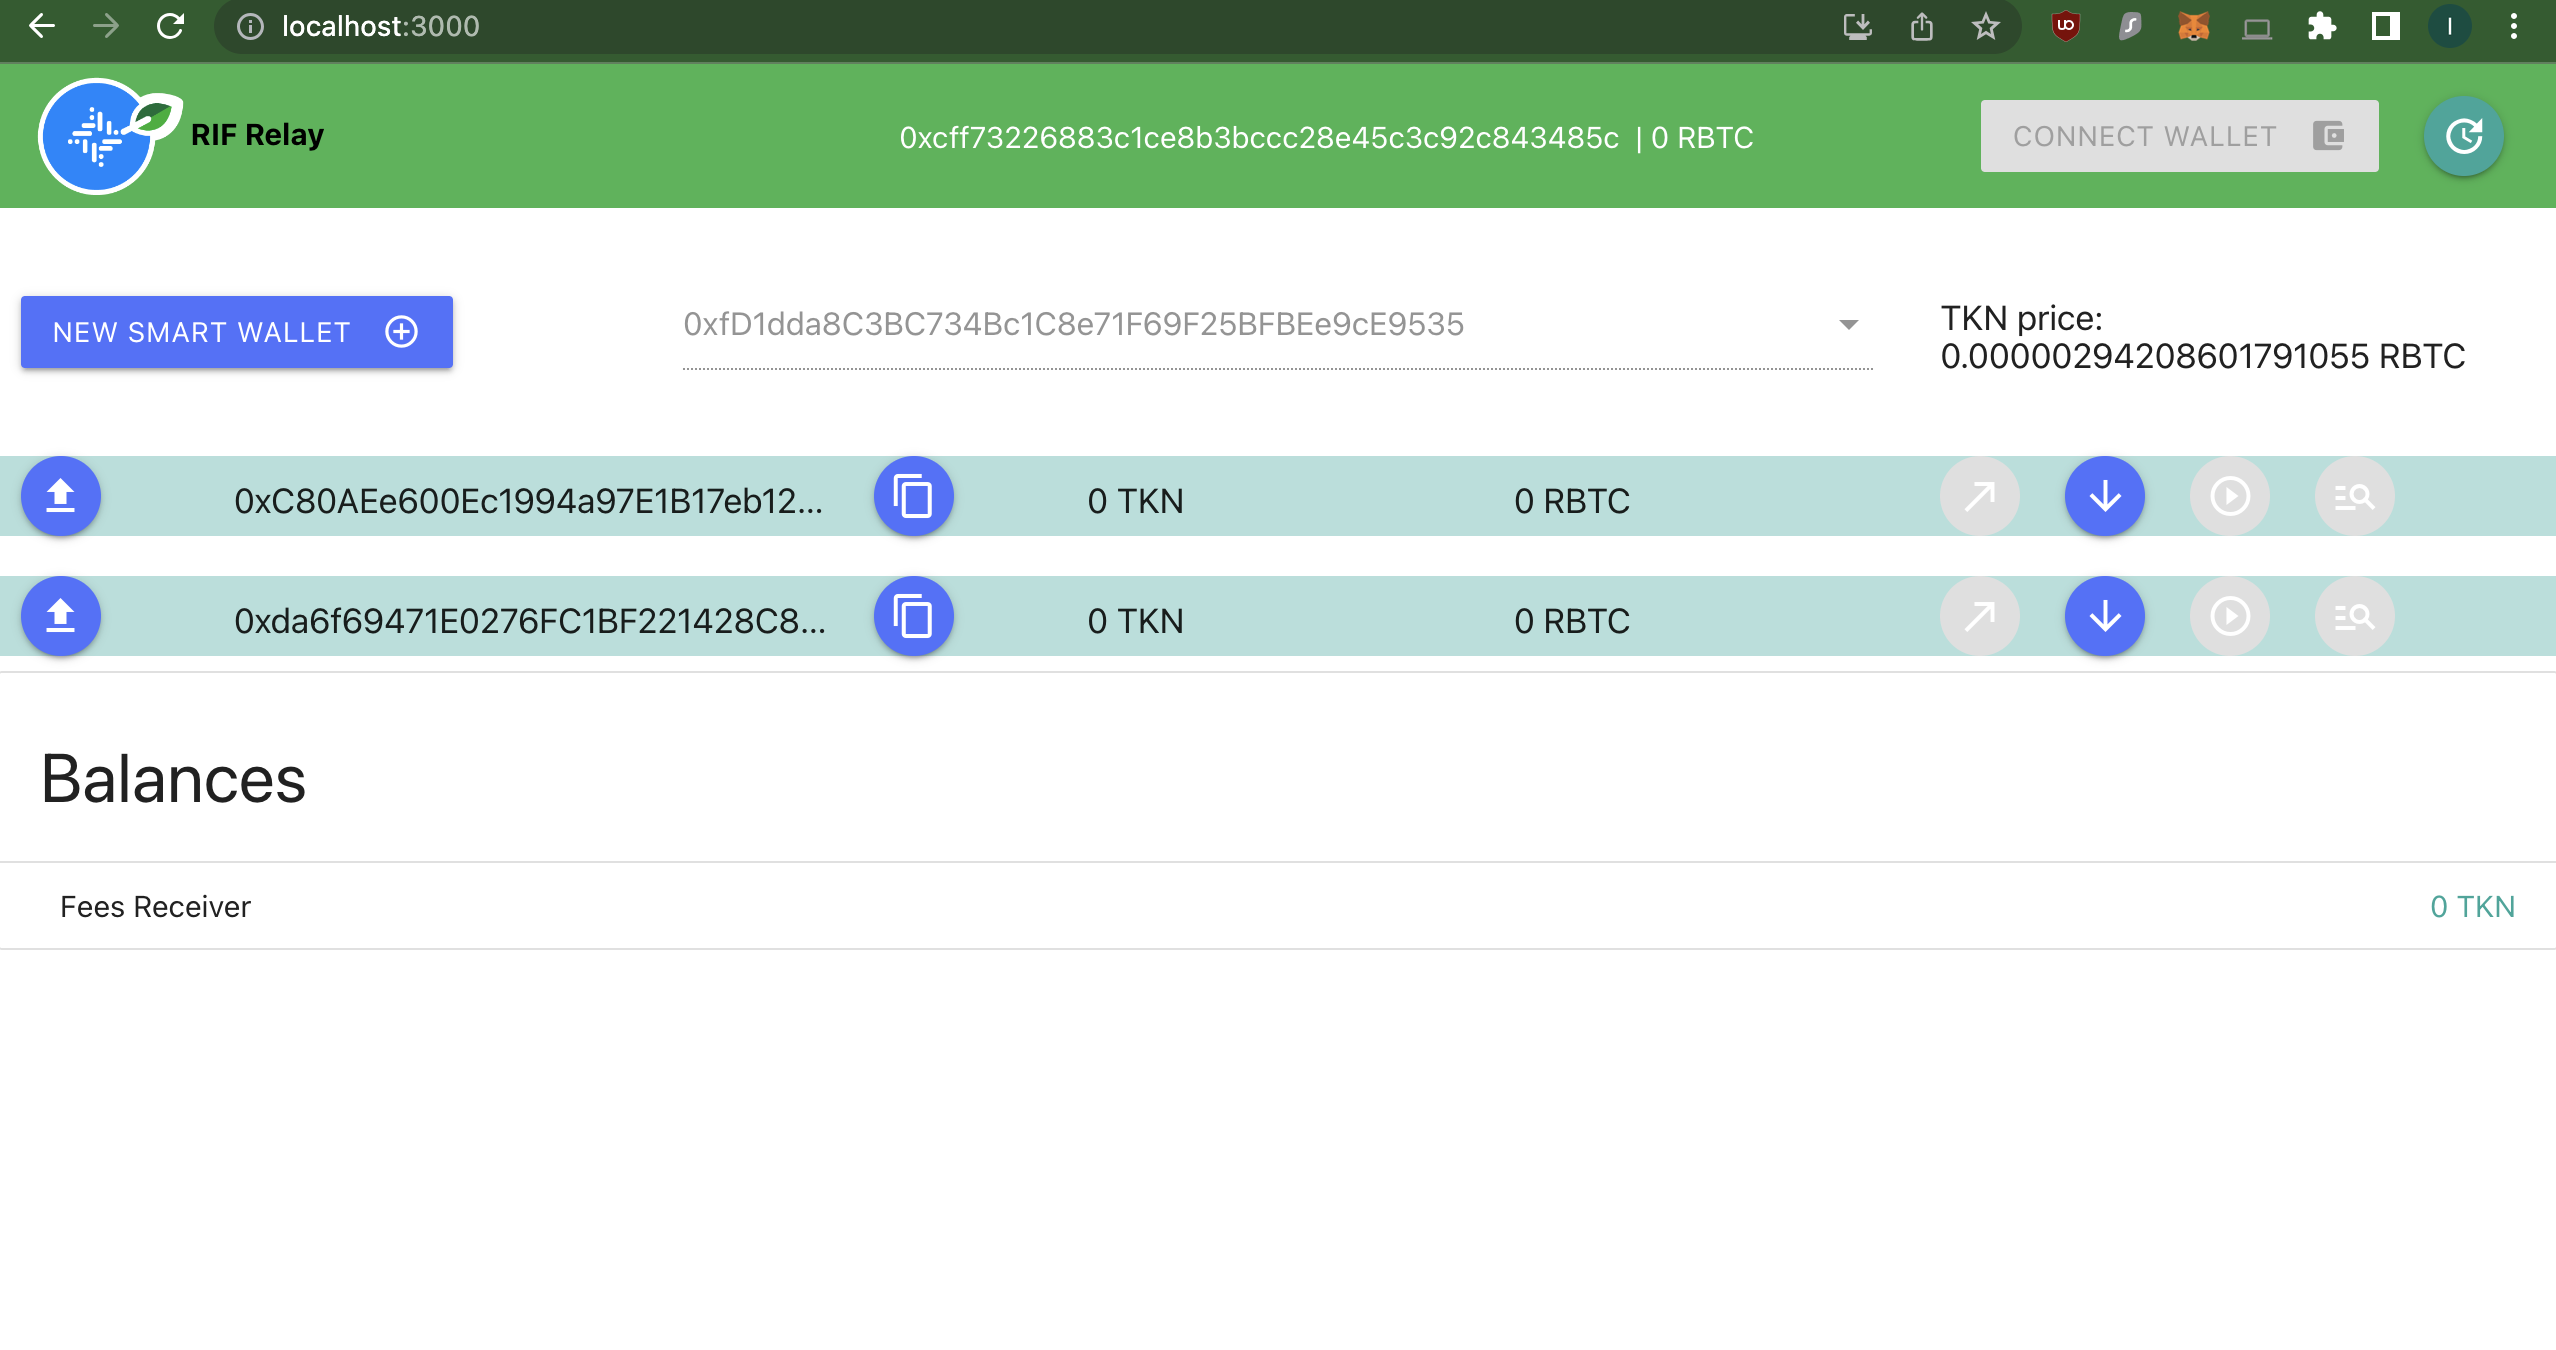
Run the dApp
    # run app in regtest environment
    ENV_VALUE="regtest" npm run start
- Connect metamask wallet for signing

- Create a new smart wallet
- Mint tokens to the wallet
- For commands to mint token, See step 6 in the Set up RIF Relay contracts section above.
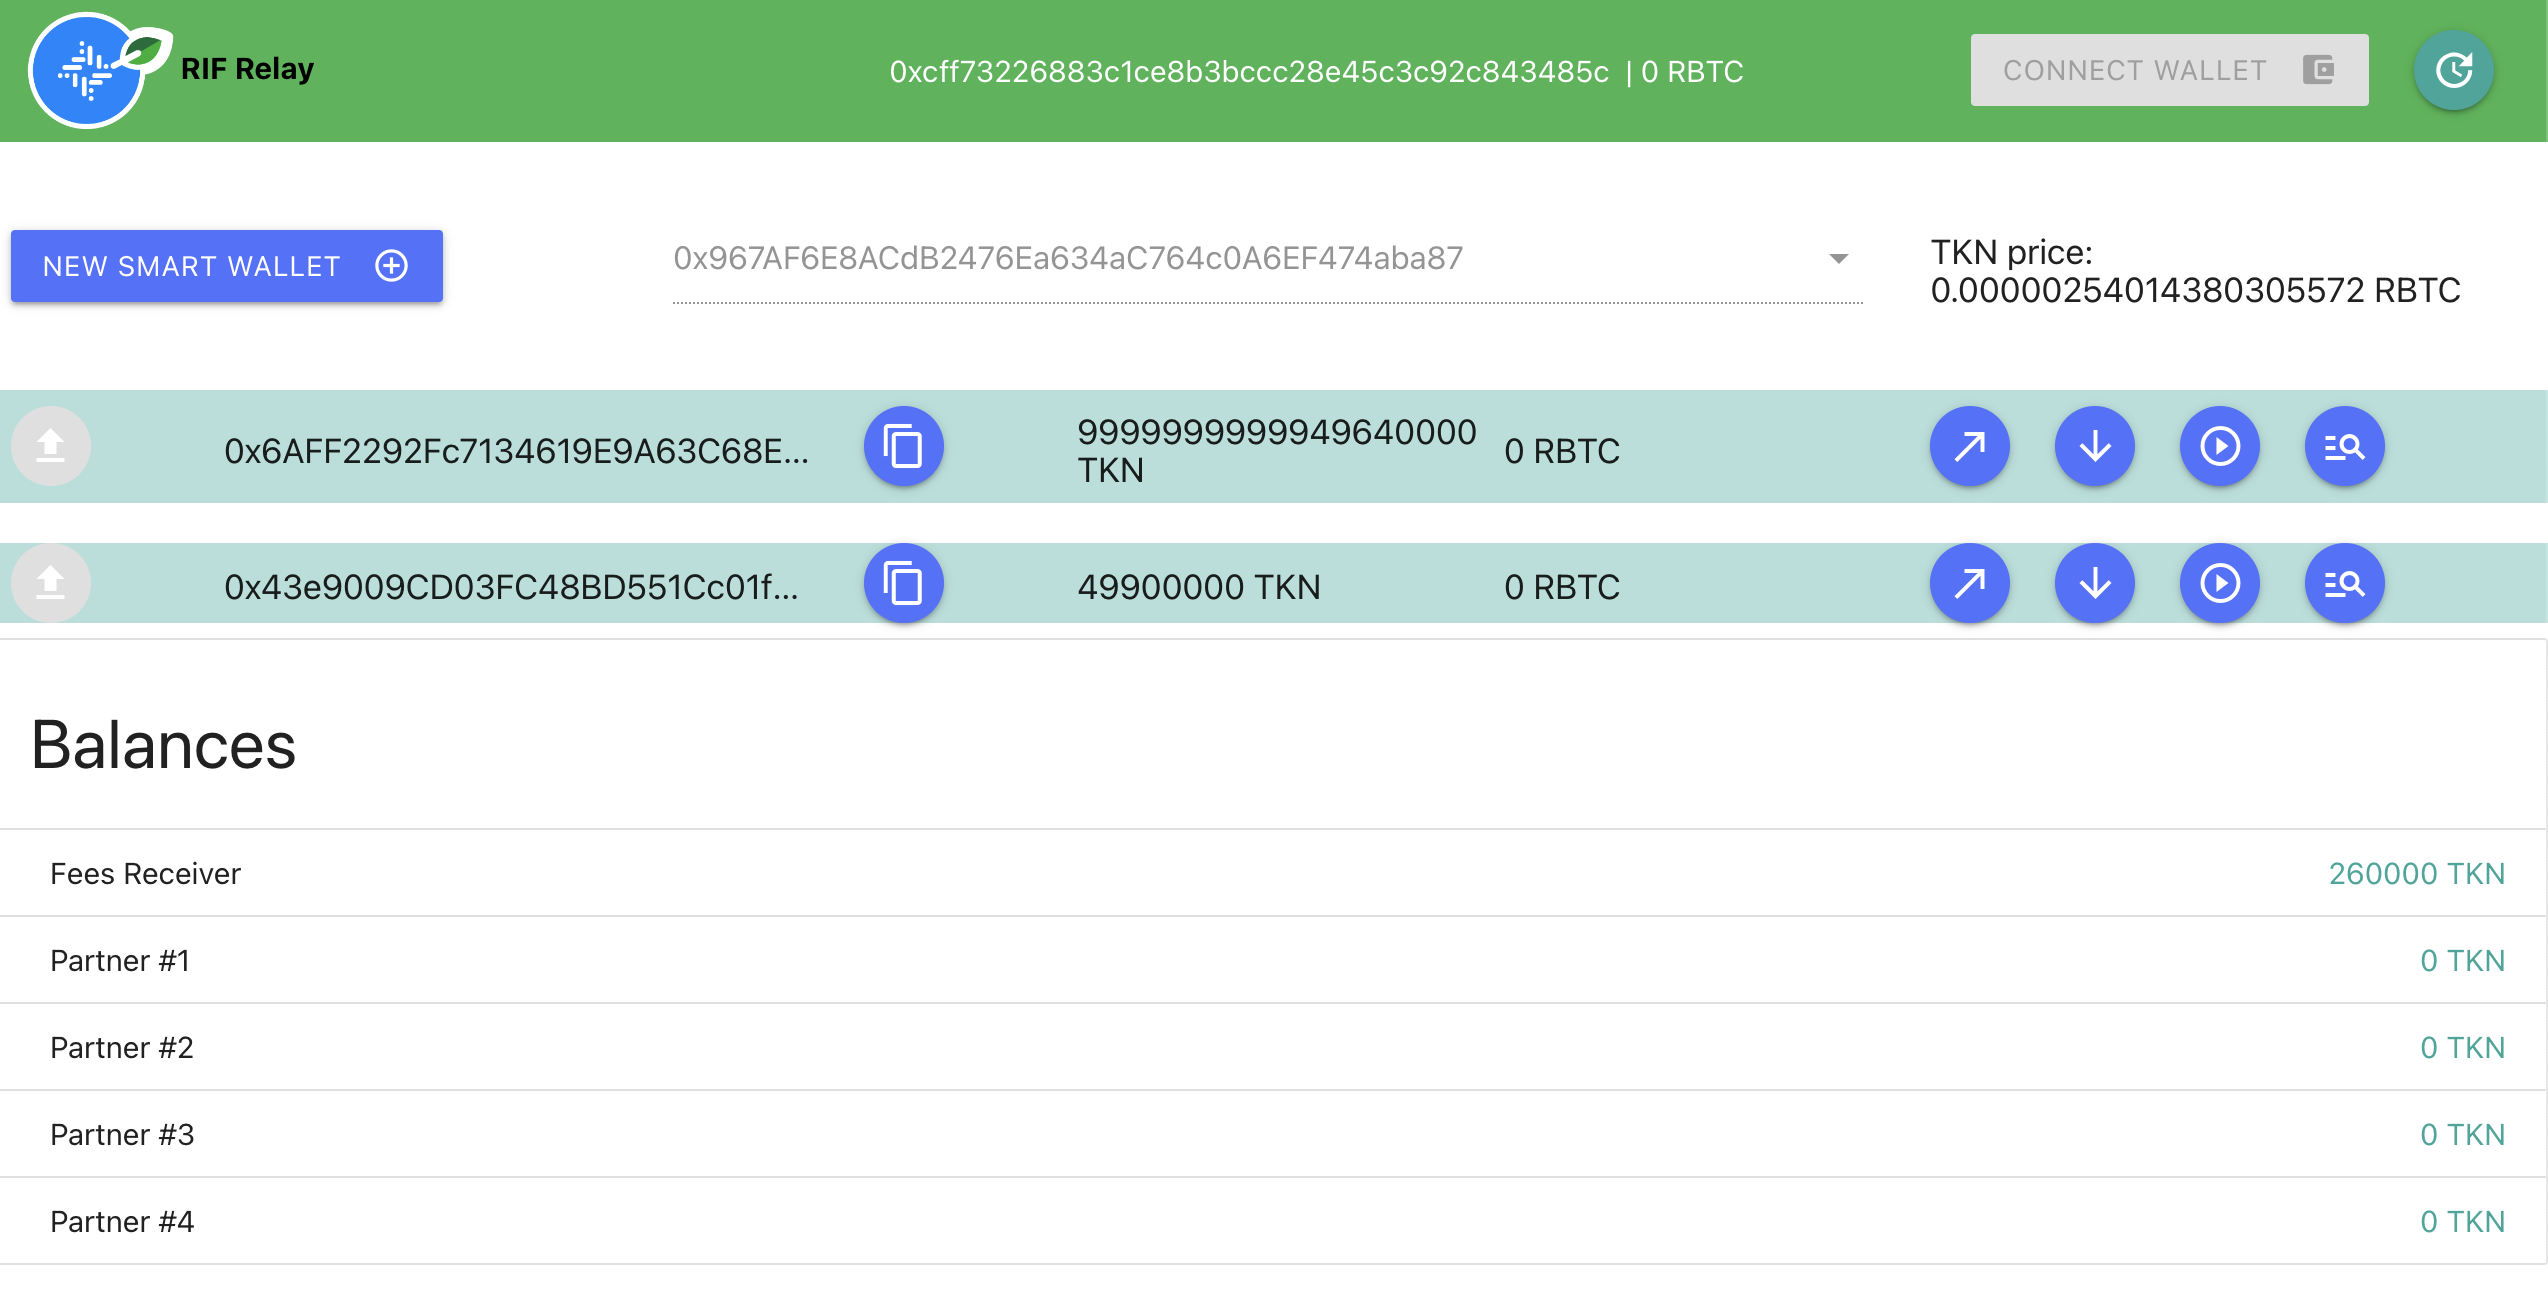
- For commands to mint token, See step 6 in the Set up RIF Relay contracts section above.
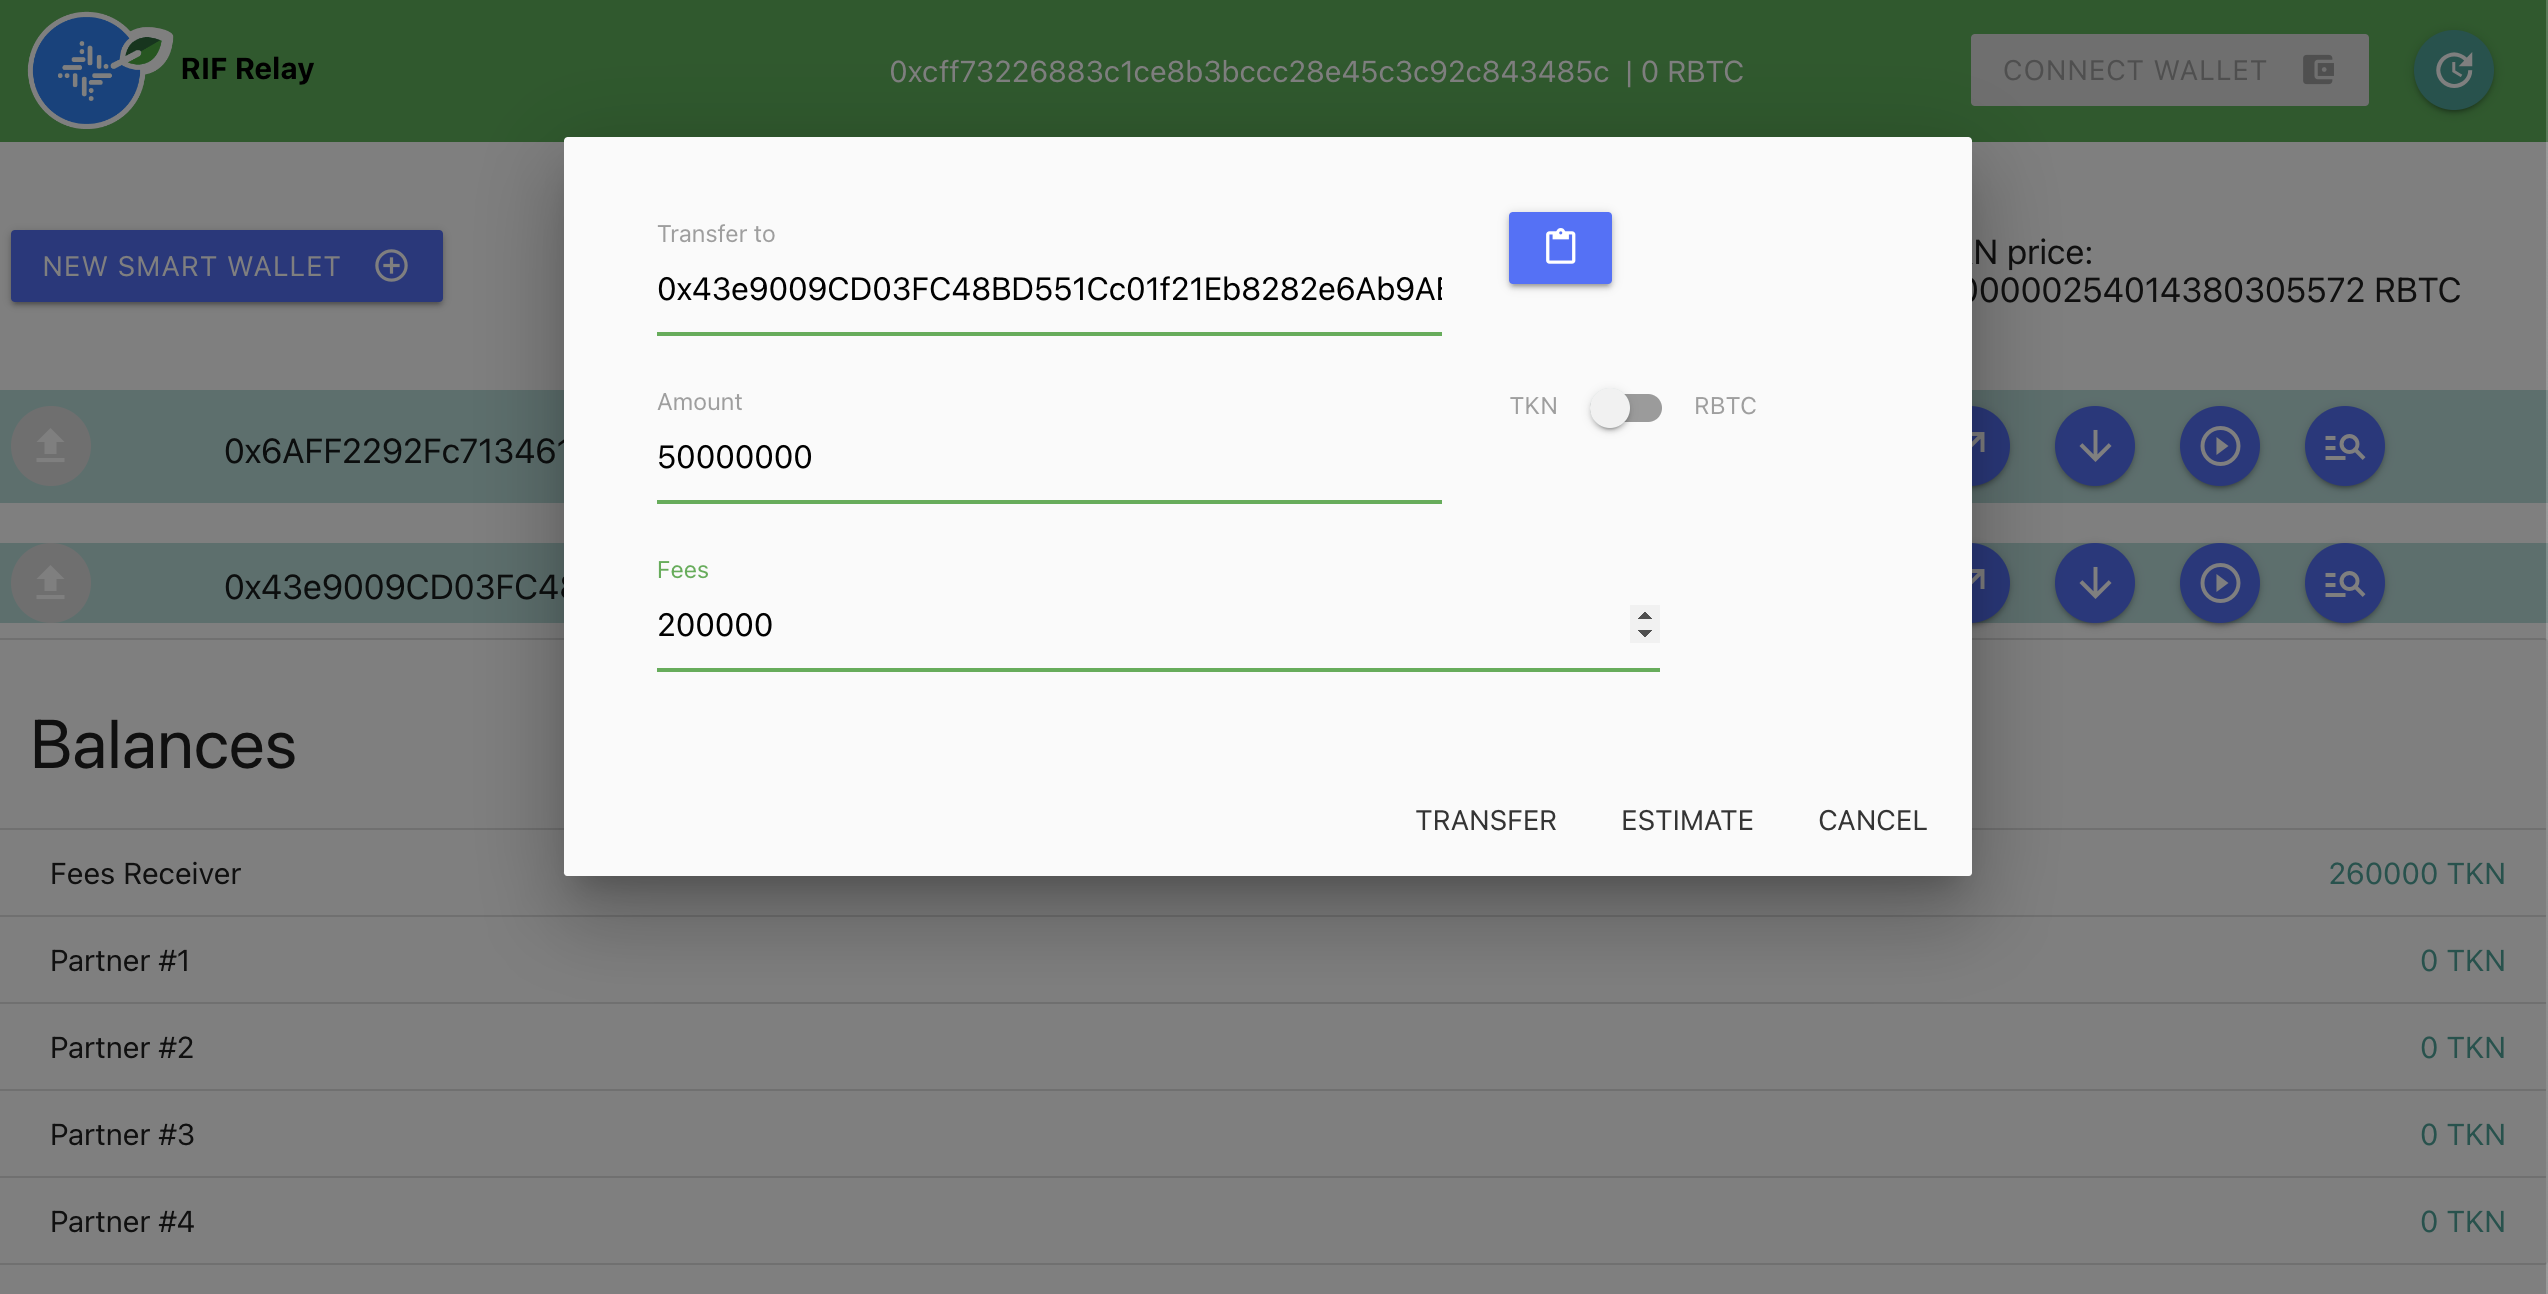
- Transfer to different addresses, using TKN for transfer fees payment, instead of rBTC