Adding Rootstock to Metamask Programmatically
Rootstock is a blockchain with smart contract capabilities, it is possible to build decentralised applications (dApps) with it. Most dApps are web applications that you access with a regular Internet browser, such as Chrome. However, the blockchain interactions require some additional software, which comes in the form of browser extensions. These browser extensions insert a web3 provider object, with the Javascript parts of the web application used to interact with the blockchain, forming an integral part of a dApp architecture.
Note that these browser extensions store your private keys, and use them to sign transactions. So keep them secure.
In this tutorial, we will learn how to add and initiate a network switch on Metamask from a website. Subsequently, we will create a frontend application to check if our configuration works by connecting our frontend website to metamask.
Note that this functionality is important as it alerts users when they are on a different network than the one needed by your dApp. It will allow them to switch automatically to the correct network when they are connecting their wallet or when interacting with a smart contract.
Stress here is on the ability to switch automatically. Typically switching to a network for the first time is very involved for the end user, involving reading documentation, and manually updating the configuration options in Metamask. This skips the need for all that, and enables a better user experience.
Requirements
To follow along in this tutorial, you will need the following;
- Metamask wallet
If you do not have a Metamask wallet installed, follow the instructions in How to Download, Install, and Setup a Metamask Wallet.
How to Download, Install, and Setup a Metamask Wallet
Getting started
In this section, we will do the following;
- Clone the initial state of the repo
- List configuration files
- Configure networks
- Configure index.js
- Try out our frontend application
- See common errors
Clone the initial state of the repository
To get started, clone the demo-code-snippets repository and navigate to the switch-network-to-rsk directory.
List Configuration Files
Let’s take a look at the contents of the switch-network-to-rsk folder/directory.
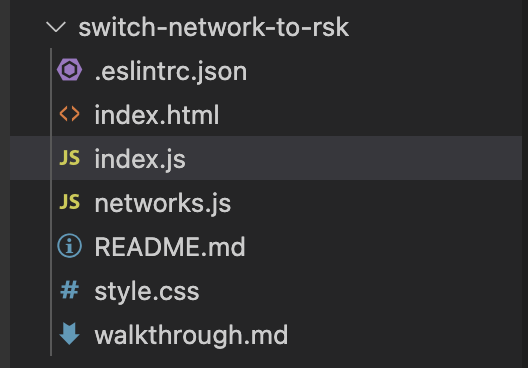
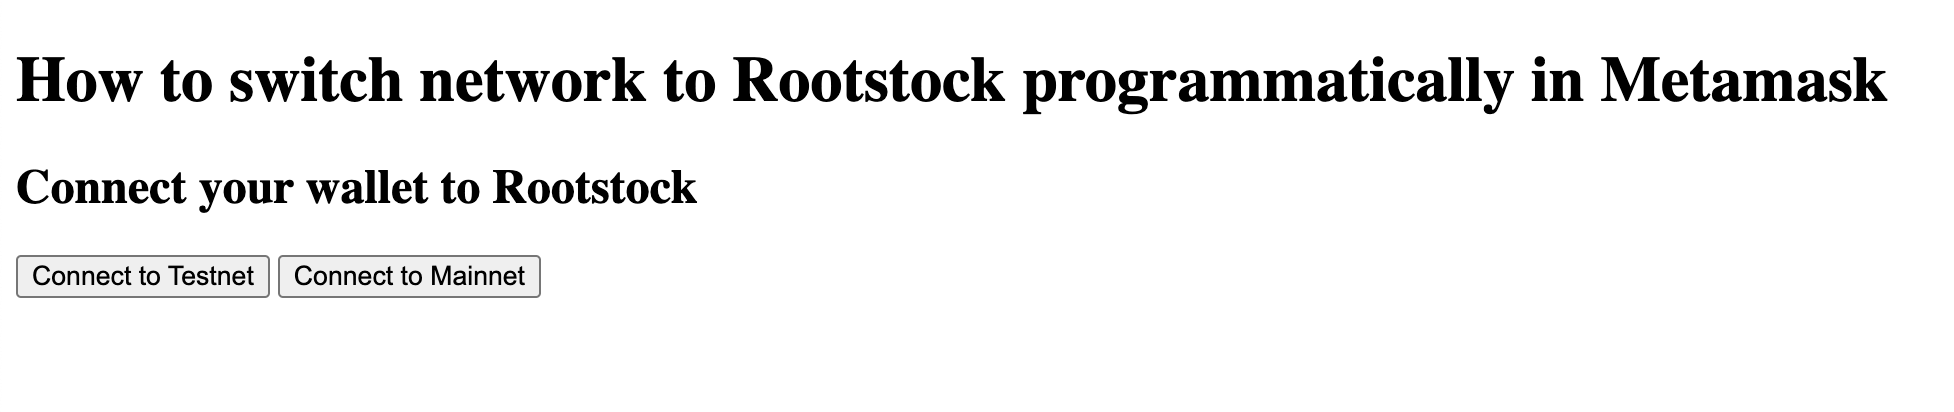
The index.html file contains a sample HTML file to test out our application. It includes a Connect to Testnet button and a Connect to Mainnet button, and we will see all these in action at the end of this tutorial.
The index.js file imports the network parameters from networks.js and defines the connectProviderTo() and switchToNetwork() functions.
The networks.js file contains all the configuration for the different networks on Rootstock that will be added to Metamask.
Configure Networks
Here, we will configure the networks for both Mainnet and Testnet.
Open the networks.js file, or copy the code below, then paste into the network.js file. For more information on the different types of networks on Rootstock, see MetaMask installation.
export const rskTestnet = {
  chainName: 'Rootstock Testnet',
  chainId: '0x1f',
  rpcUrls: ['https://rpc.testnet.rootstock.io/{YOUR_APIKEY}'],
  blockExplorerUrls: ['https://explorer.testnet.rootstock.io/'],
  nativeCurrency: {
    symbol: 'tRBTC',
    decimals: 18,
  },
};

export const rskMainnet = {
  chainName: 'Rootstock Mainnet',
  chainId: '0x1e',
  rpcUrls: ['https://rpc.testnet.rootstock.io/{YOUR_APIKEY}'],
  blockExplorerUrls: ['https://explorer.rootstock.io/'],
  nativeCurrency: {
    symbol: 'RBTC',
    decimals: 18,
  },
};
See how to Get an API Key from the RPC API
See full configuration on GitHub.
Configure index.js
In this section, we will configure the index.js file which contains all the functionalities powering our DApp, we will import some neccessary files, check if metamask is installed, see how to add and switch networks programmatically from within a smart contract.
Note that
index.jshas two files, the first file is a redacted version of the code which contains an initial state of the code and the second file contains the full version which contains the complete state of the code forindex.js.
Step 1: Import neccessary files
Here, we will import the networks just configured in the previous section in networks.js file into index.js.
import { rskTestnet, rskMainnet } from './networks.js';
Step 2: Check if Metamask is installed
initial state
async function connectProviderTo(network) {
  try {
    // TODO: implement request accounts

    await switchToNetwork(network);
    showPage(network.chainName, address);
  } catch (error) {
    showError(error.message);
  }
}
Code Walkthrough
The
connectProviderTo()function initiates the connection to each of the Rootstock networks in Metamask, it uses thewindow.ethereumAPI to check if Metamask is installed then throws an error - Please install Metamask, if false, a popup appears triggered bywindow.ethereum.requestmethod, this requests that the user provides an Ethereum address to be identified by. Once the request is accepted by the user it returns an Ethereum address and wallet is connected. See https://docs.metamask.io/guide/rpc-api.html#restricted-methods
Before adding a network, we need to be sure Metamask has been installed, to do this, add the following code to the try block:
try {
    // make sure Metamask is installed
    if (!window.ethereum) throw new Error('Please install Metamask!');
    // connect wallet
    const [address] = await window.ethereum.request({
      method: 'eth_requestAccounts',
    });
}
Copy and paste the full code below or see the code on GitHub;
async function connectProviderTo(network) {
  try {
    // make sure Metamask is installed
    if (!window.ethereum) throw new Error('Please install Metamask!');
    // connect wallet
    const [address] = await window.ethereum.request({
      method: 'eth_requestAccounts',
    });
    await switchToNetwork(network);
    showPage(network.chainName, address);
  } catch (error) {
    showError(error.message);
  }
}
Step 3: Adding and switching a network
initial state
async function switchToNetwork(network) {
  // TODO: implement network switching

  // make sure we switched
  const chainId = await window.ethereum.request({ method: 'eth_chainId' });
  if (chainId !== network.chainId)
    throw new Error(`Could not connect to ${network.chainName}`);
}
Code Walkthrough
The
switchToNetwork()function adds a new network to Metamask and subsequently switches to that network. This function expects a network argument, and awaits a rootstock address which uses thewallet_switchEthereumChainmethod and thechainID. It then throws an error if the switch prompt was rejected or the chainID passed was not found and tries to add the new chain to Metamask.
To programmatically add a network in Metamask, we need to call the wallet_addEthereumChain method, exposed by window.ethereum and pass the network parameters configured in Configure Networks section. To do this, add a try block inside the switchToNetwork() function.
  try {
    // trying to switch to a network already added to Metamask
    await window.ethereum.request({
      method: 'wallet_switchEthereumChain',
      params: [{ chainId: network.chainId }],
    });
See the full code below or see link to the code on GitHub;
async function switchToNetwork(network) {
  try {
    // trying to switch to a network already added to Metamask
    await window.ethereum.request({
      method: 'wallet_switchEthereumChain',
      params: [{ chainId: network.chainId }],
    });
    // catching specific error 4902
  } catch (error) {
    // this error code indicates that the chain has not been added to Metamask
    if (error.code === 4902) {
      // trying to add new chain to Metamask
      await window.ethereum.request({
        method: 'wallet_addEthereumChain',
        params: [network],
      });
    } else {
      // rethrow all other errors
      throw error;
    }
  }
  // make sure we switched
  const chainId = await window.ethereum.request({ method: 'eth_chainId' });
  if (chainId !== network.chainId)
    throw new Error(`Could not connect to ${network.chainName}`);
}
Show success if network switch was successful
initial state
async function showPage(chainName, address) {
  // TODO: Implement showPage functionality;
}
The showPage() function shows that the switch to another network is successful and should display
a connected status, the network and a wallet address. This is done by performing DOM manipulation to add a connected status, the chainName and an address.
Add the following code inside the async function, or see the code on GitHub;
async function showPage(chainName, address) {
  document.getElementById('connect-prompt').classList.add('hidden');
  document.getElementById('connected').classList.remove('hidden');
  document.getElementById('chain-name').innerHTML = chainName;
  document.getElementById('wallet-address').innerHTML = address;
}
Throw an error if there was a problem
initial state
function showError(message = '') {
  // TODO Implement showError;
}
The showError() function is called in the event that something went wrong. This function is meant to throw an error containing a message if something went wrong. It should look like this:
See common errors section for more explanation.
Add the following code into the showError() function or see code on GitHub;
function showError(message = '') {
  document.getElementById('error').innerHTML = message;
  if (!message) return;
  // hide error message in 3 seconds
  setTimeout(() => showError(''), 3000);
}
Enable click event listeners to buttons
To add a click event listener to the connect buttons created in index.html, use the DOM to get connect-testnet and connect-mainnet buttons, then add an on "click" event listener which uses the connectProviderTo() function to handle the connection to rskTestnet or rskMainnet respectively.
See the code below, or see link on GitHub;
// add click event listeners to the Connect buttons
document
  .getElementById('connect-testnet')
  .addEventListener('click', () => connectProviderTo(rskTestnet));
document
  .getElementById('connect-mainnet')
  .addEventListener('click', () => connectProviderTo(rskMainnet));
Complete code walkthrough
You can find the full code for index.js below, or in the GitHub repository.
import { rskTestnet, rskMainnet } from './networks.js';

async function connectProviderTo(network) {
  try {
    // make sure Metamask is installed
    if (!window.ethereum) throw new Error('Please install Metamask!');
    // connect wallet
    const [address] = await window.ethereum.request({
      method: 'eth_requestAccounts',
    });
    await switchToNetwork(network);
    showPage(network.chainName, address);
  } catch (error) {
    showError(error.message);
  }
}

// see details in Metamask documentation:
// https://docs.metamask.io/guide/rpc-api.html#wallet-addethereumchain
async function switchToNetwork(network) {
  try {
    // trying to switch to a network already added to Metamask
    await window.ethereum.request({
      method: 'wallet_switchEthereumChain',
      params: [{ chainId: network.chainId }],
    });
    // catching specific error 4902
  } catch (error) {
    // this error code indicates that the chain has not been added to Metamask
    if (error.code === 4902) {
      // trying to add new chain to Metamask
      await window.ethereum.request({
        method: 'wallet_addEthereumChain',
        params: [network],
      });
    } else {
      // rethrow all other errors
      throw error;
    }
  }
  // make sure we switched
  const chainId = await window.ethereum.request({ method: 'eth_chainId' });
  if (chainId !== network.chainId)
    throw new Error(`Could not connect to ${network.chainName}`);
}

async function showPage(chainName, address) {
  document.getElementById('connect-prompt').classList.add('hidden');
  document.getElementById('connected').classList.remove('hidden');
  document.getElementById('chain-name').innerHTML = chainName;
  document.getElementById('wallet-address').innerHTML = address;
}

function showError(message = '') {
  document.getElementById('error').innerHTML = message;
  if (!message) return;
  // hide error message in 3 seconds
  setTimeout(() => showError(''), 3000);
}

// add click event listeners to the Connect buttons
document
  .getElementById('connect-testnet')
  .addEventListener('click', () => connectProviderTo(rskTestnet));
document
  .getElementById('connect-mainnet')
  .addEventListener('click', () => connectProviderTo(rskMainnet));
Frontend
Now let's try out our application, follow the steps below to check out the application on your browser.
(1) Open the switch-network-to-rsk folder in VSCode and within the folder open index.html
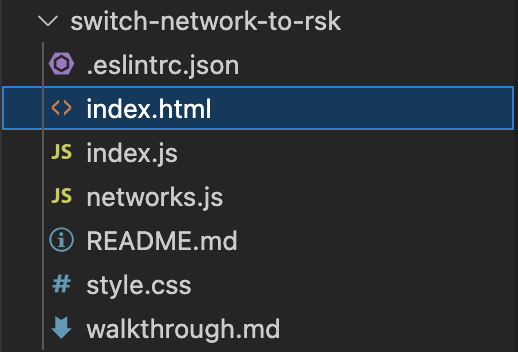
(2) Run index.html with the Live Server VSCode extension
by pressing Go Live button
![]()
In the bottom-right corner of the VSCode window. VSCode will open the web page from index.html in a new browser window.
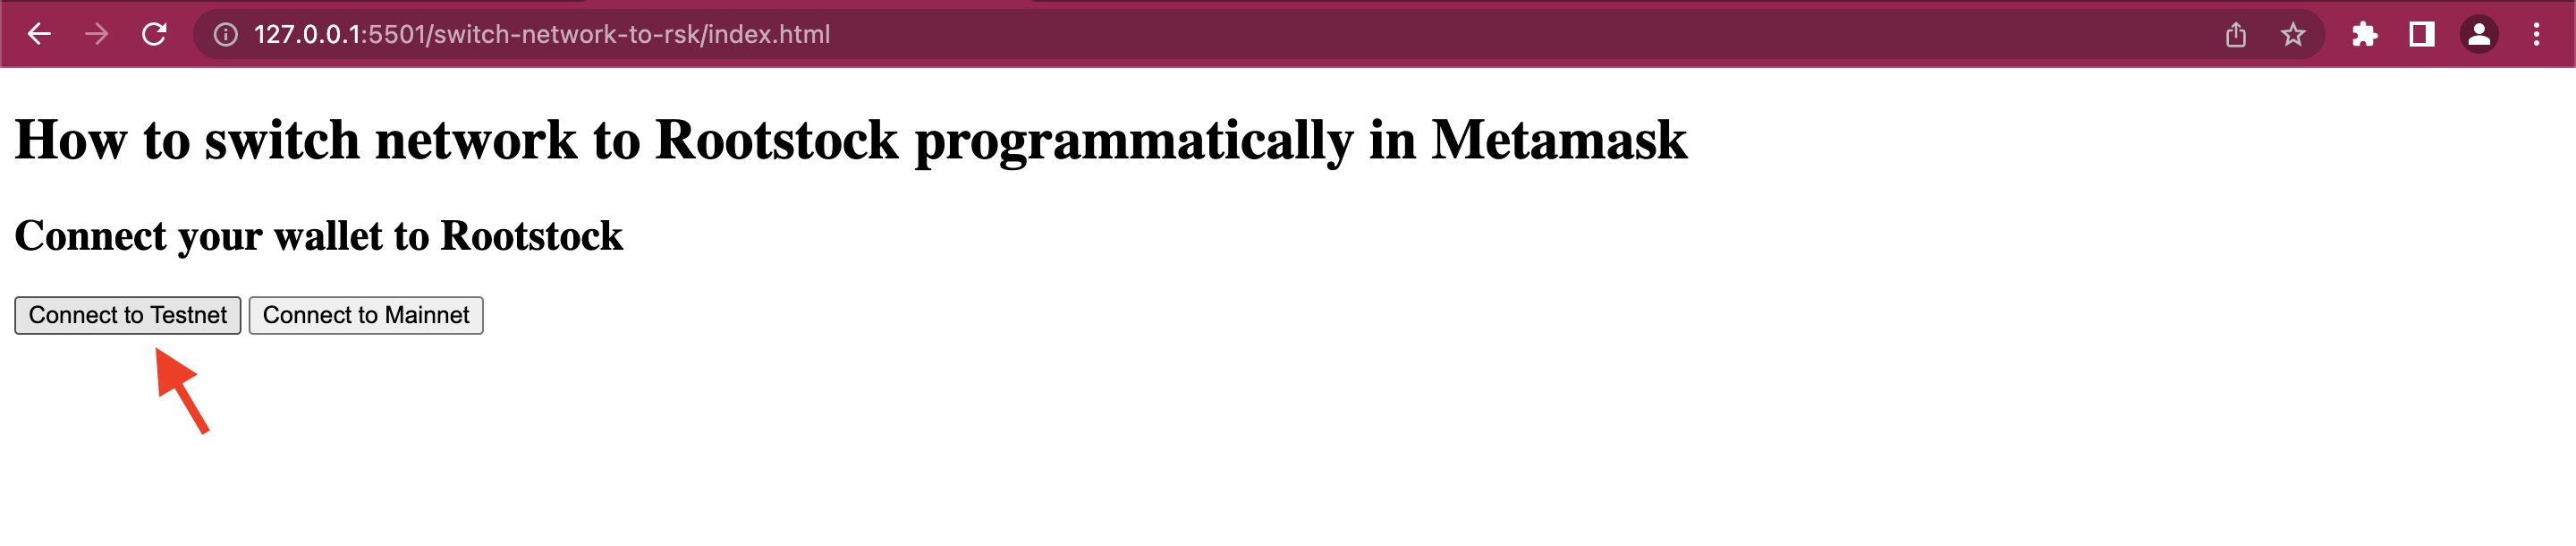
The browser should open a page
on 127.0.0.1 or localhost.
(3) On the web page, click on either Connect to Testnet or Connect to Mainnet button to add and switch to the corresponding network
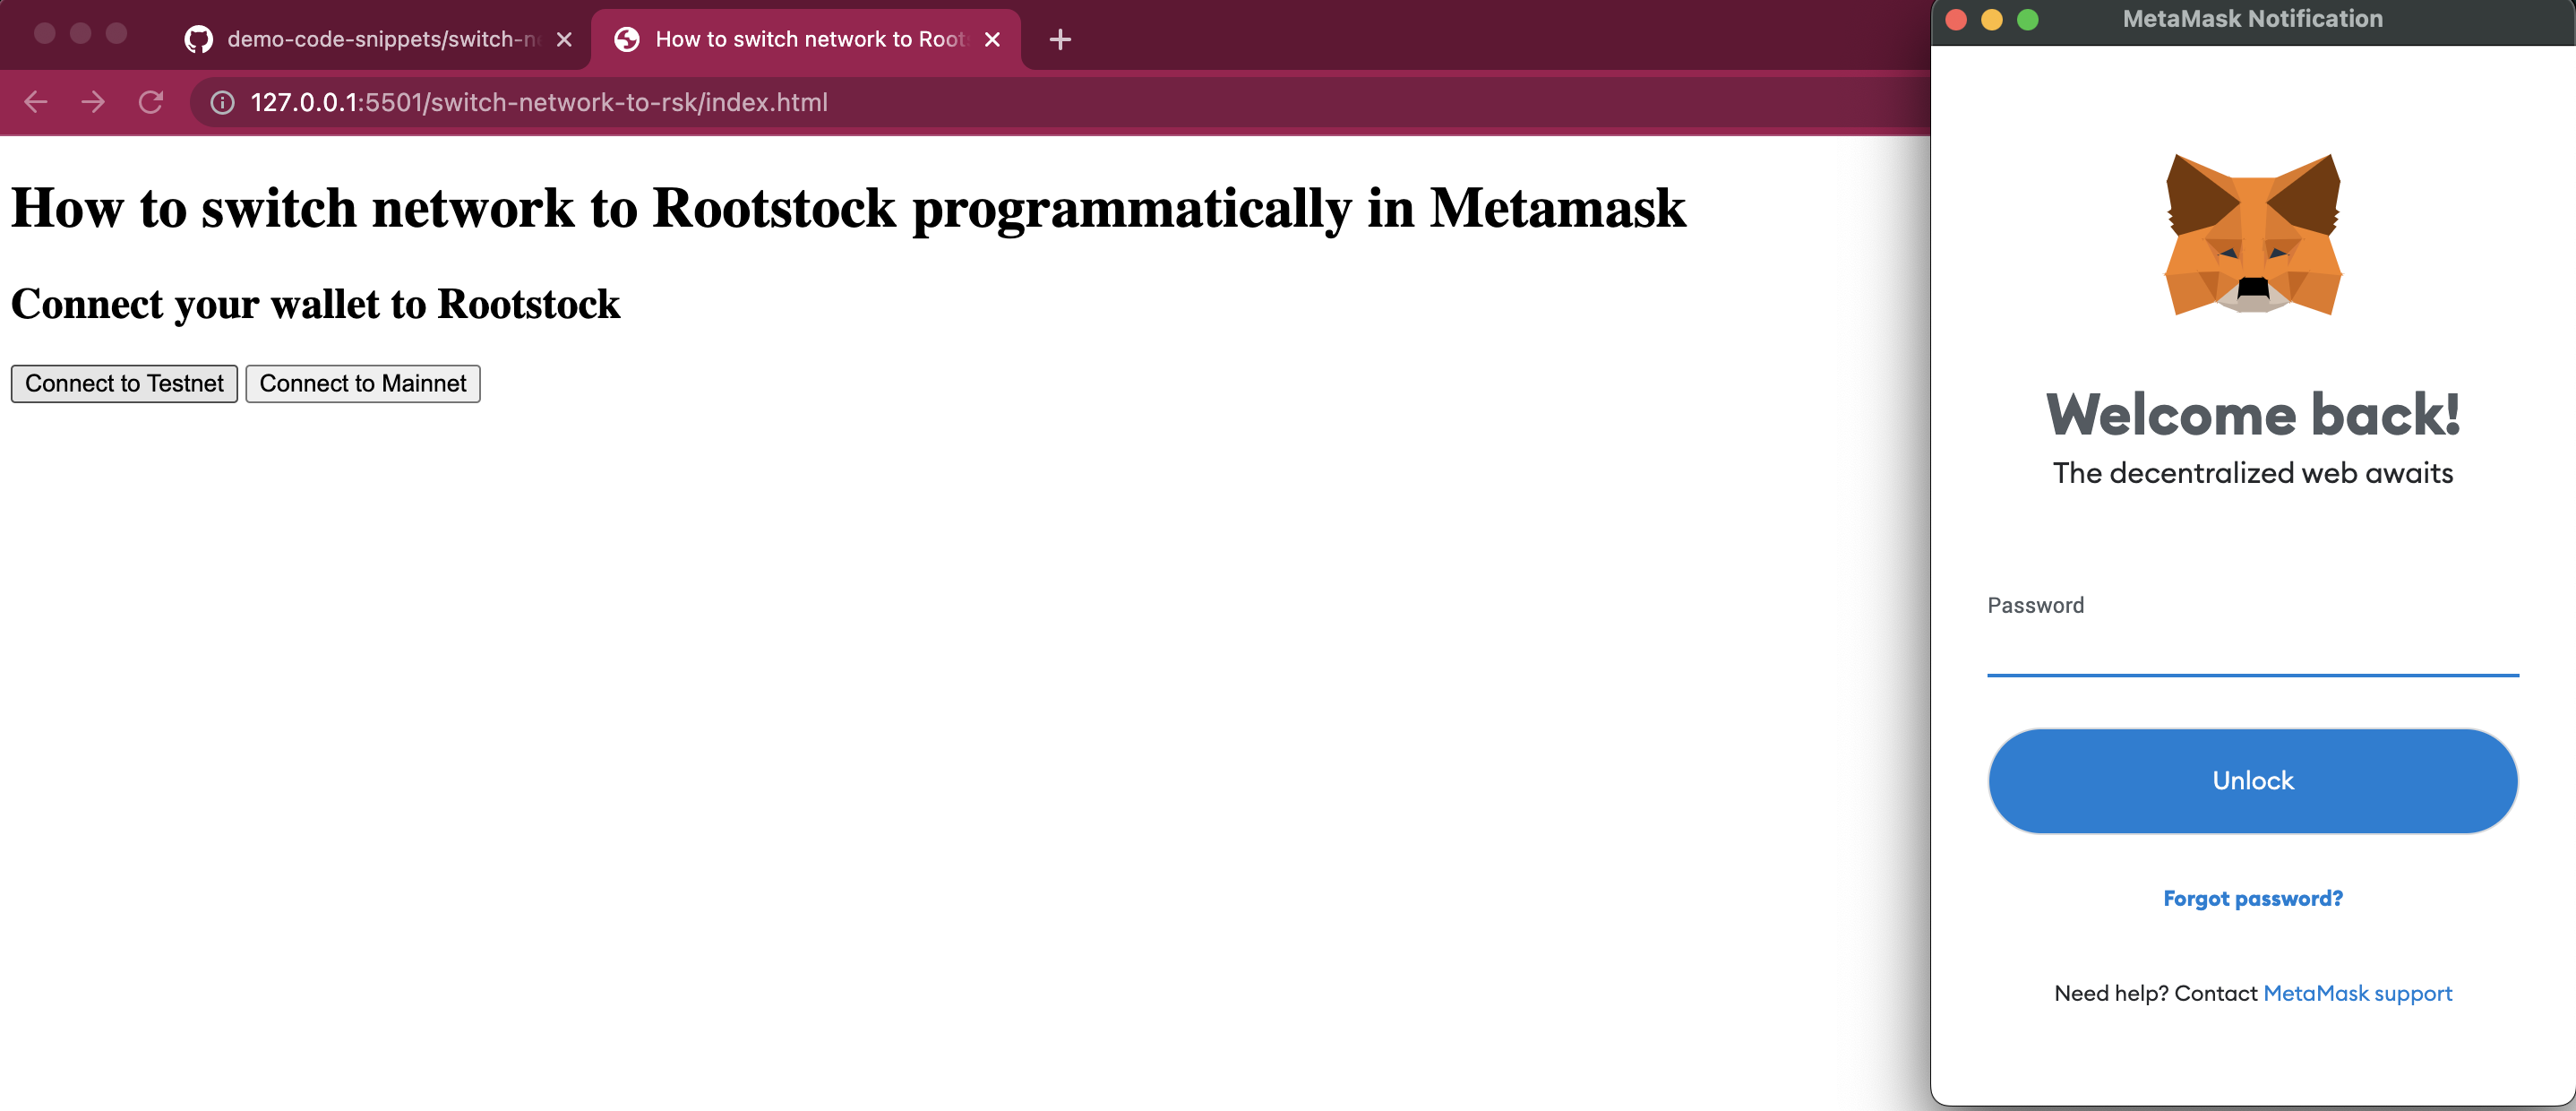
(4) The browser then opens up a Metamask password prompt window, enter your Metamask password and press Unlock
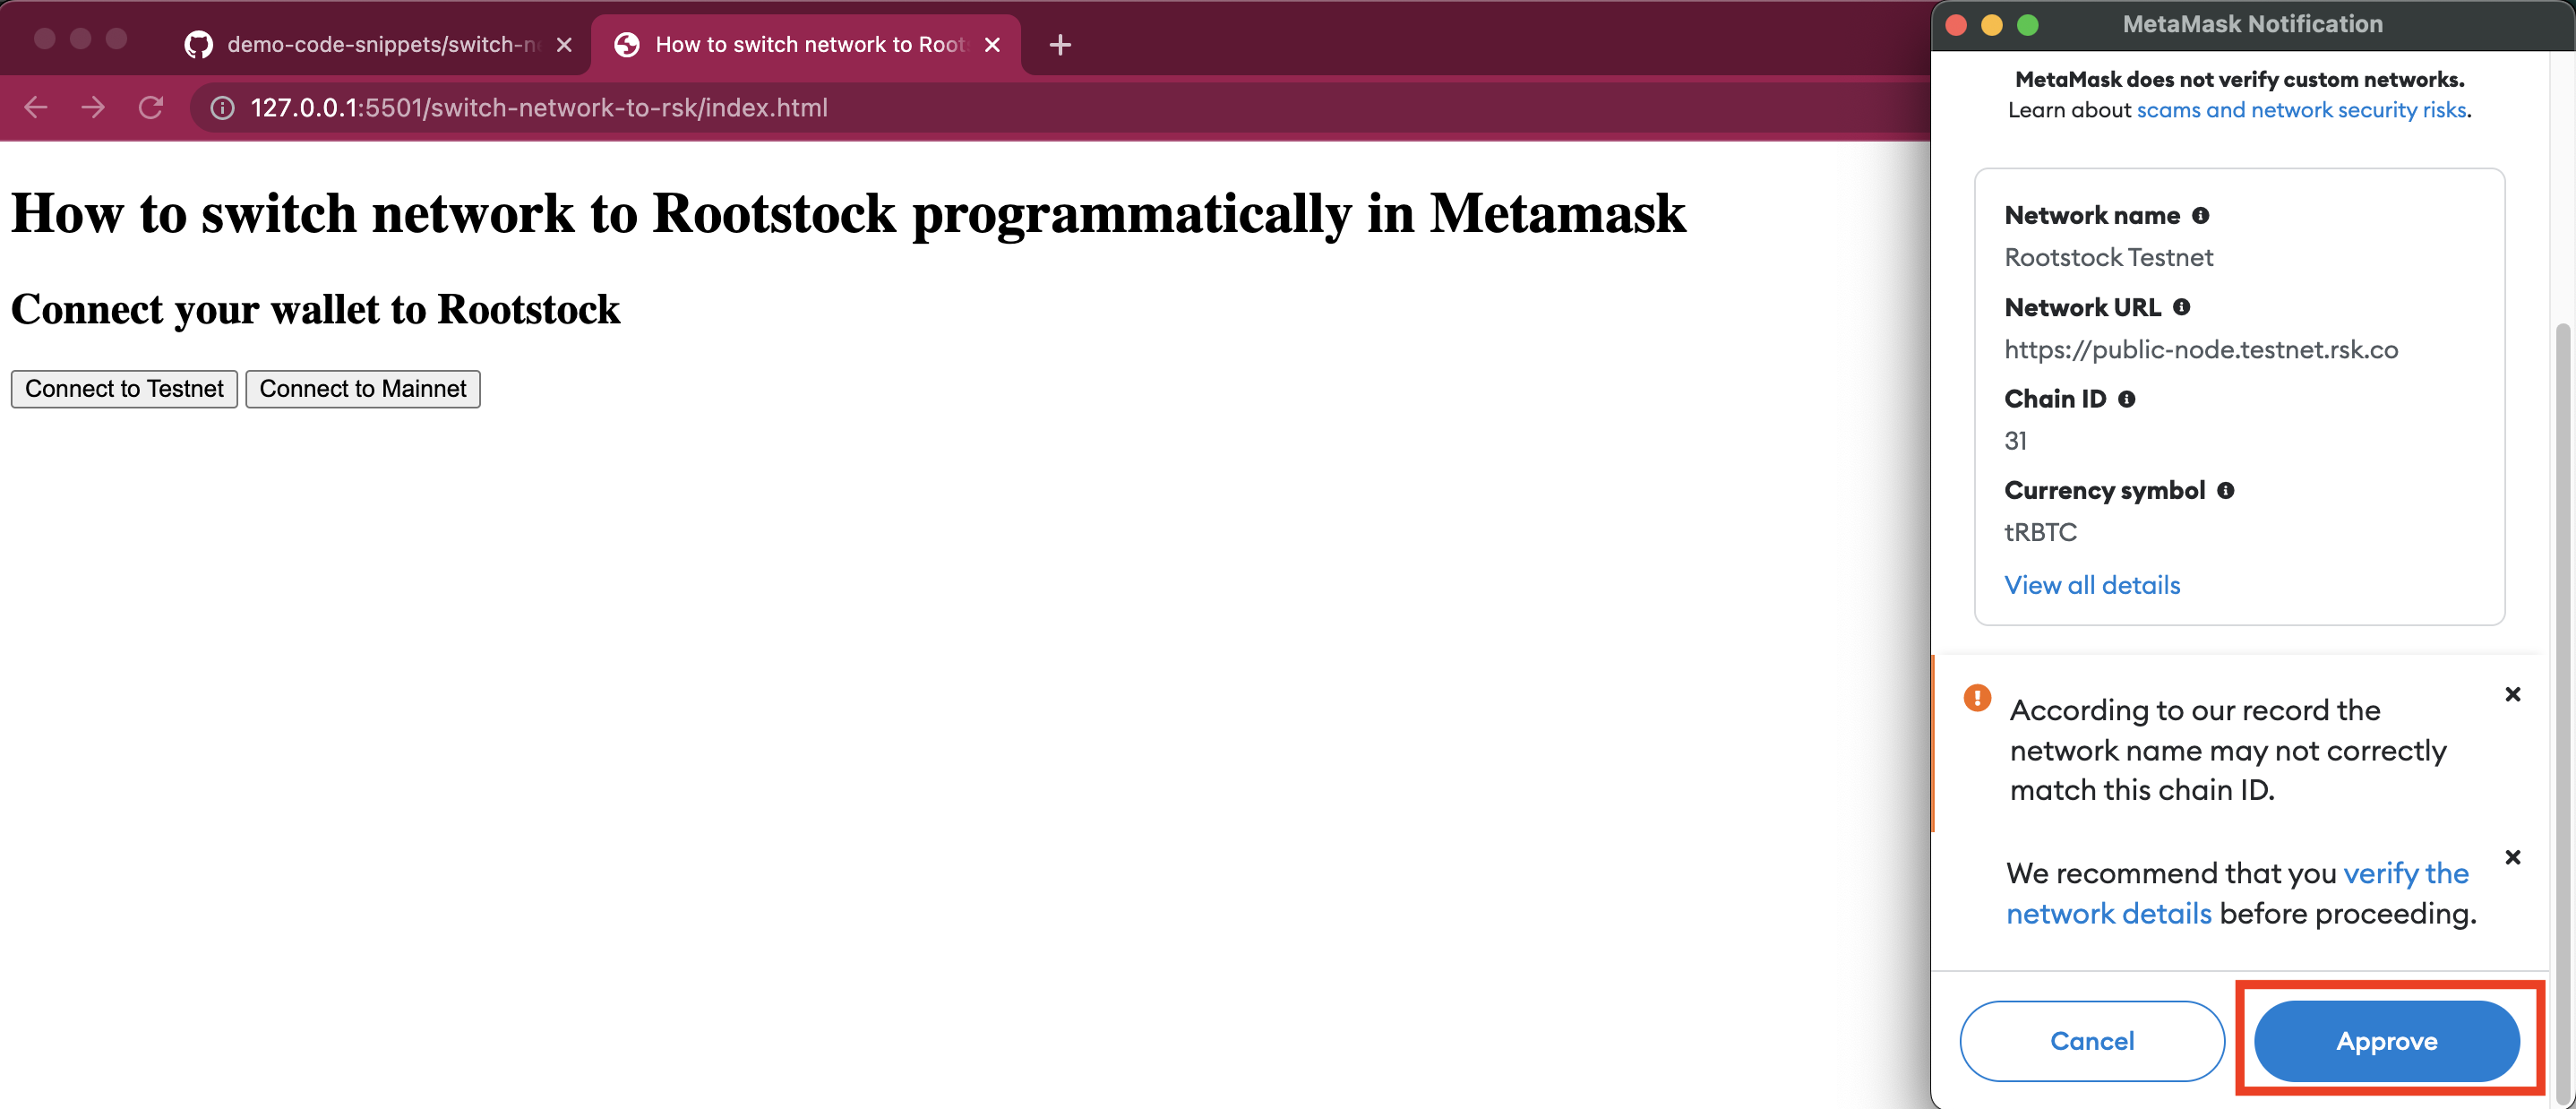
(5) Metamask shows a prompt: Allow this site to add a network?
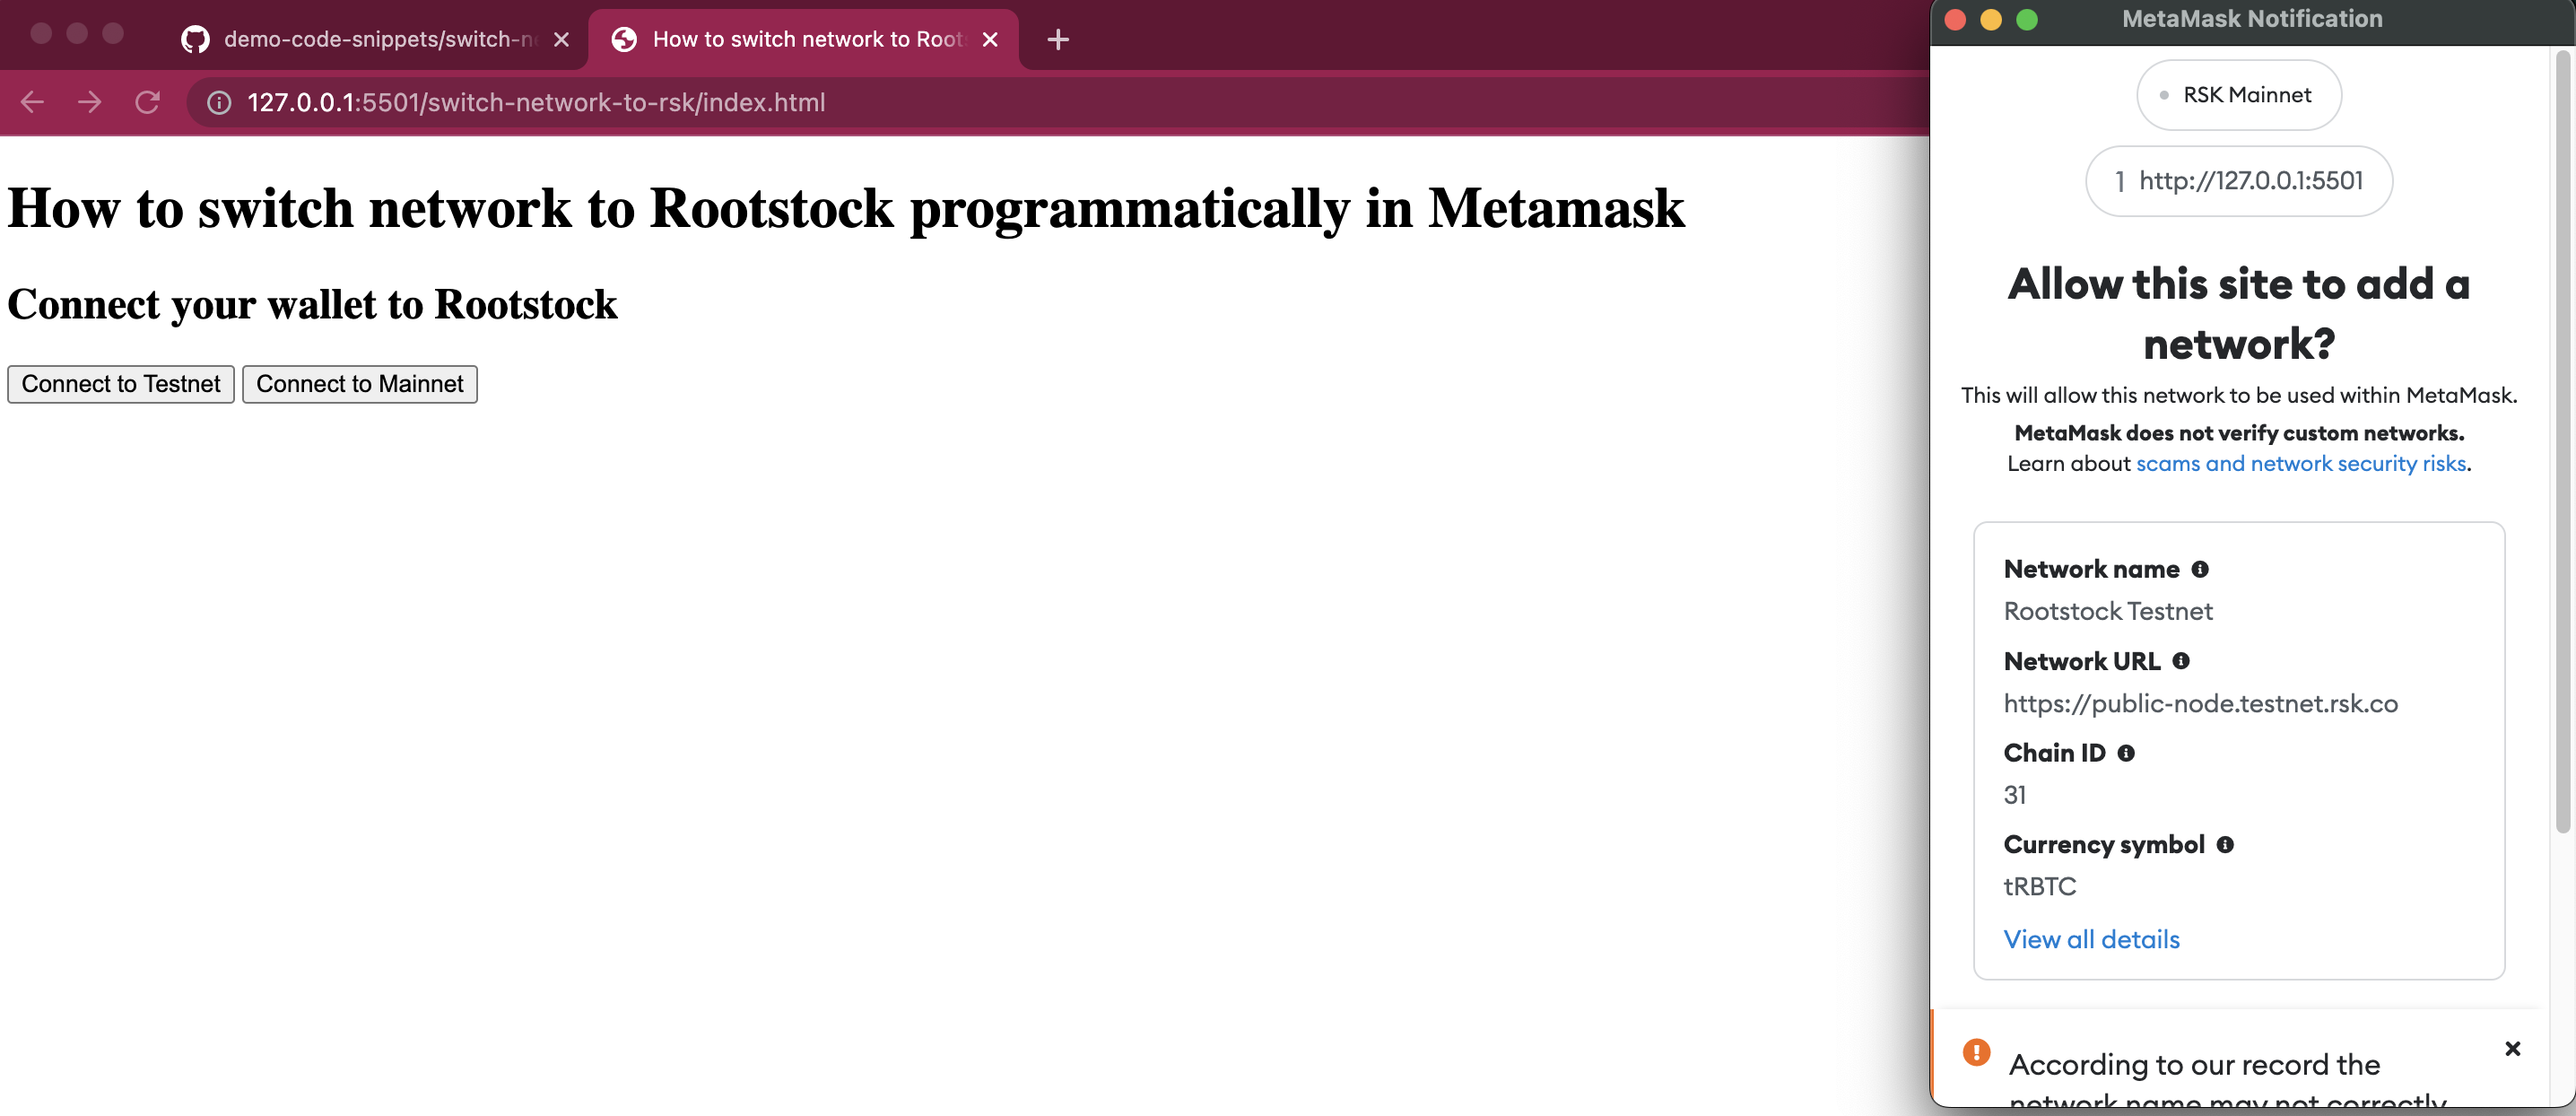
Inside the prompt you should see the details of the network configuration being added to Metamask. This gives the user the option to verify if the network configuration options are legitimate by comparing against the official documentation.
- See configurations for Rootstock Mainnet and Testnet.
(6) Press Approve
(7) Metamask subsequently shows another prompt: Allow this site to switch the network?. Press Switch network
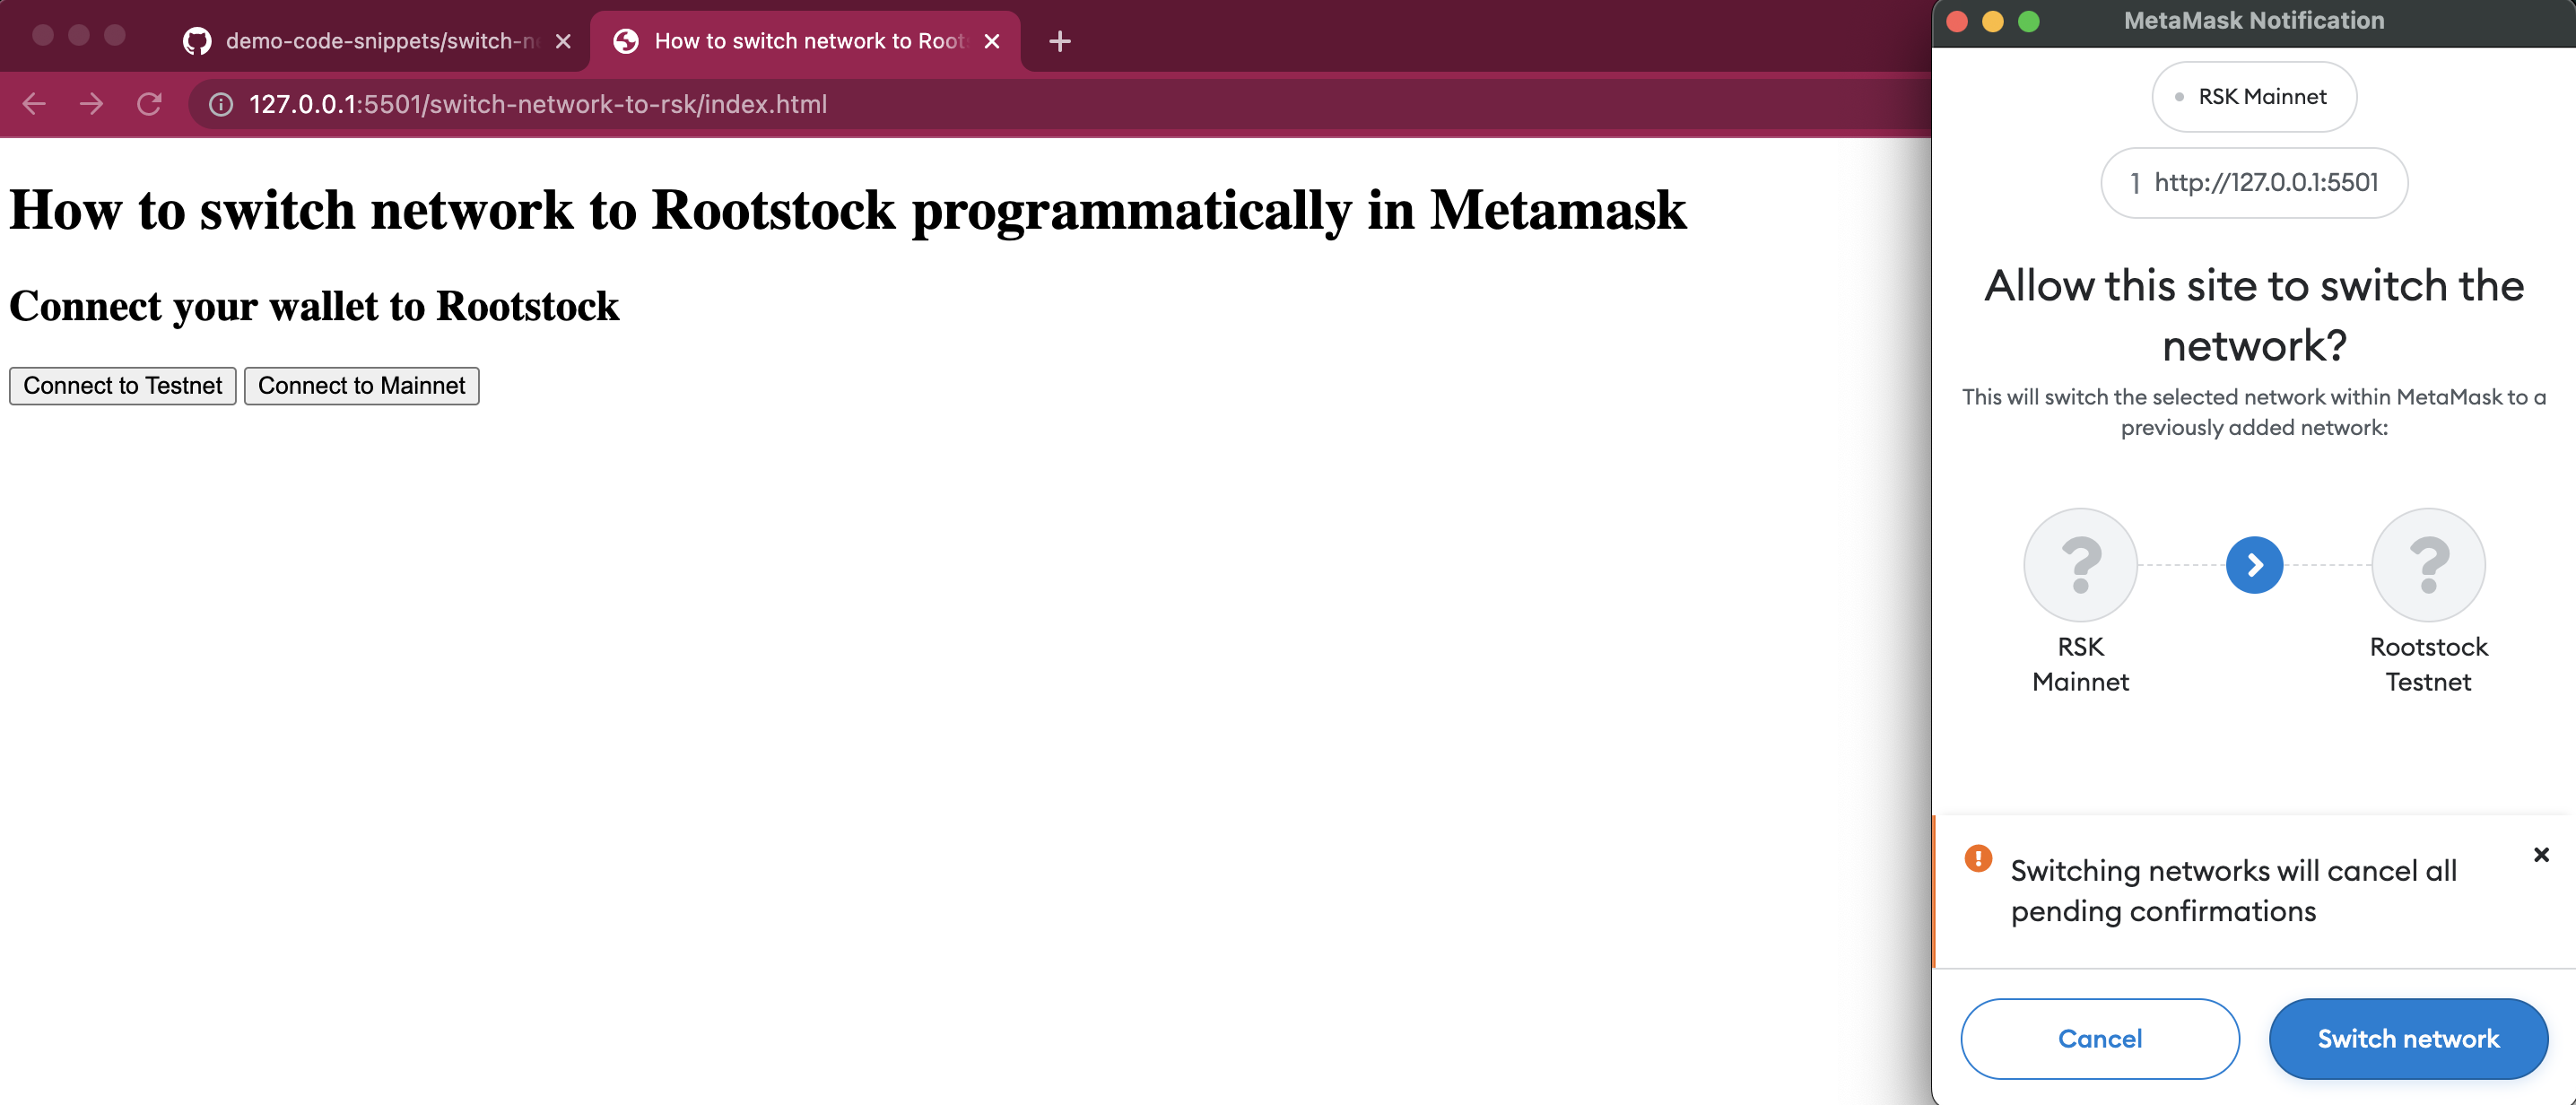
(8) Now Metamask has added the new Rootstock network and switched to it!

Common errors
You may encounter the following errors when trying out the application:
- Error: Cannot destructure property of intermediate value as it is undefined
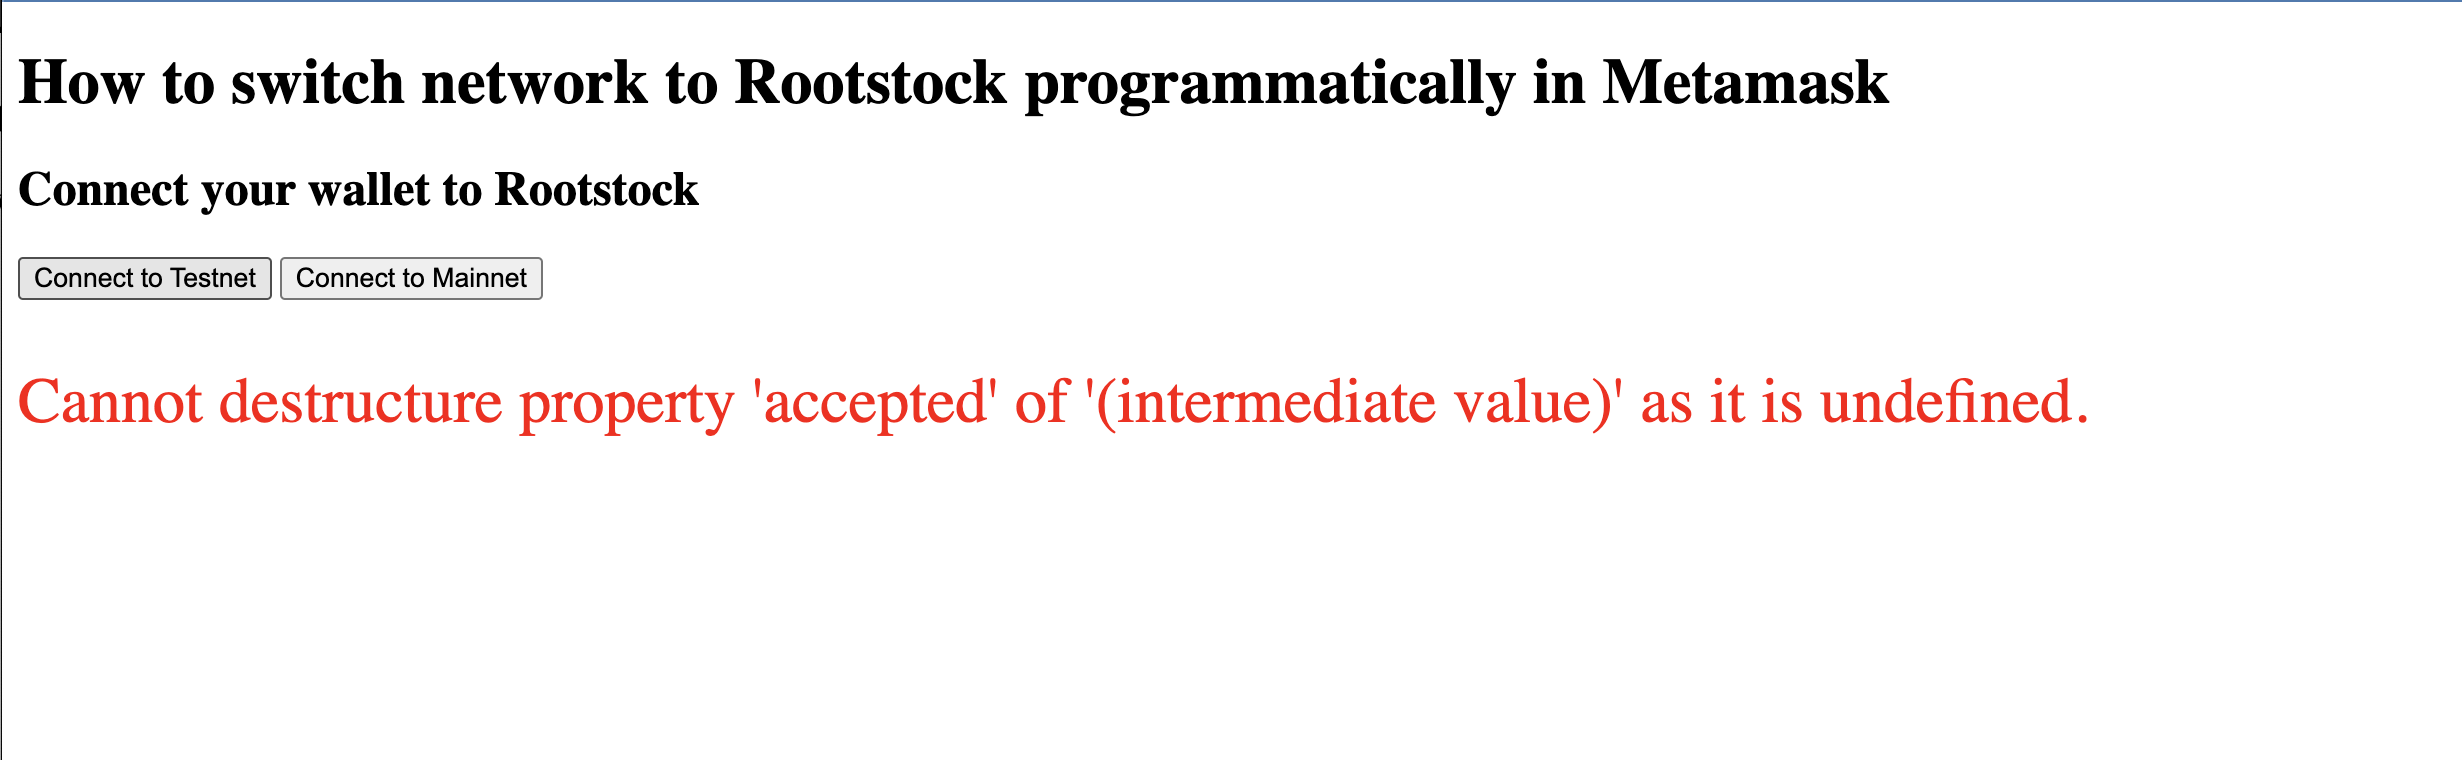
- Problem: This can occur if the user is already connected to Rootstock Mainnet or Rootstock Testnet.
- Possible Fix: If you encounter this error, ensure you're logged in to Metamask or check that you're not already connected to Rootstock Mainnet or Rootstock Testnet.
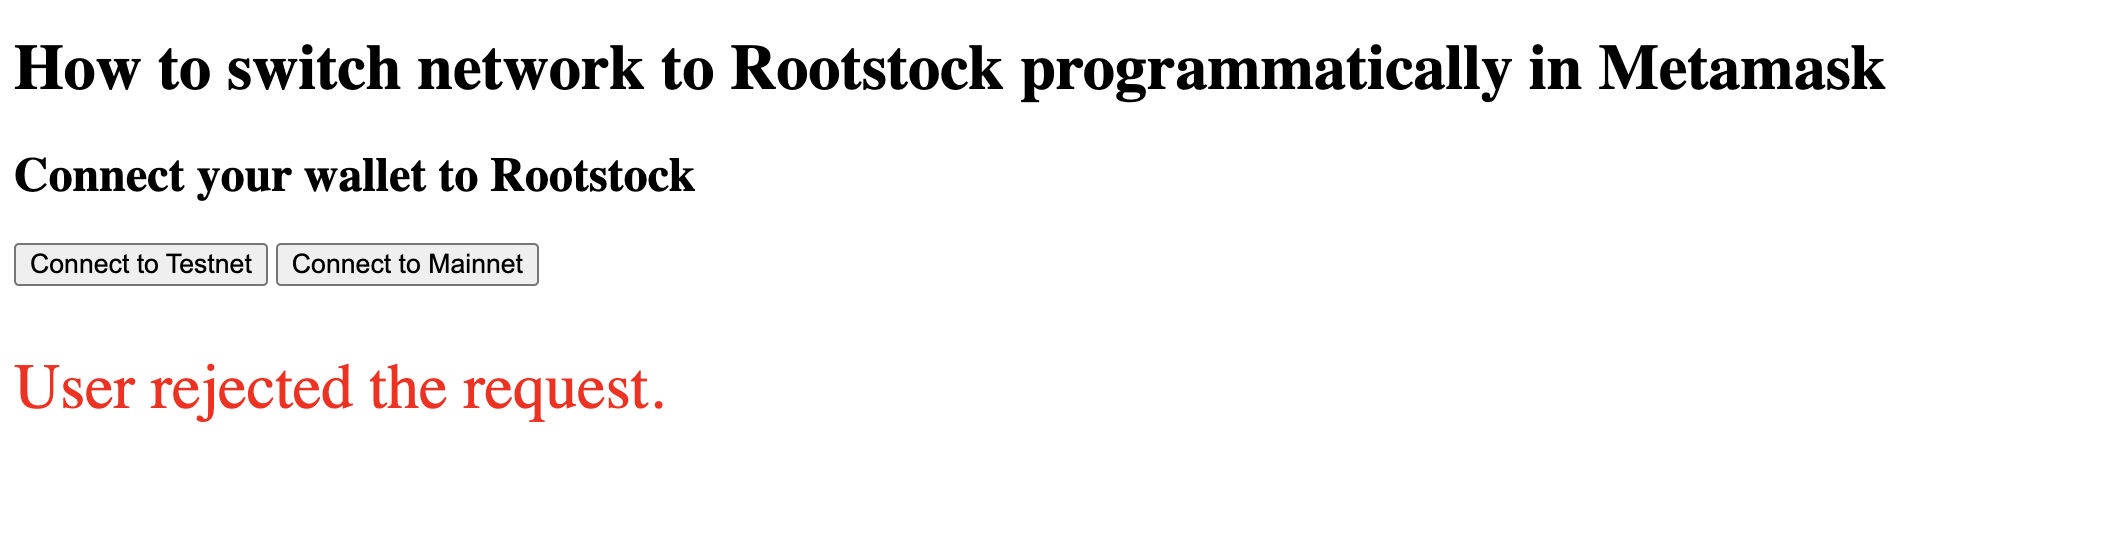
- Error: User rejected the request
- Problem: This occurs when the user closes Metamask unexpectedly, or presses "reject" instead of "approve" in the dialogs.
- Possible Fix: Confirm the request if all information is correct. Your dApp should have code to handle the scenario when the user does indeed decide not to go through with adding the new network configuration.
Wrap up
Congratulations!!
You have learnt how to create a dApp which can programmatically;
- Add a new Rootstock network configuration, and,
- Switch to a Rootstock network.